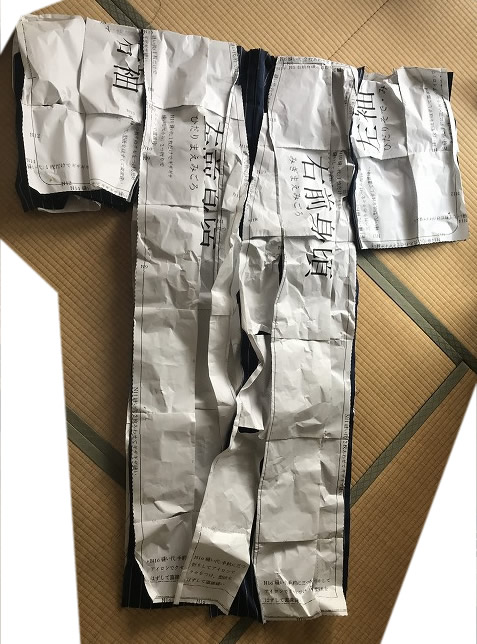
Detailed description about another page “Kimono’s paper pattern“.
目次
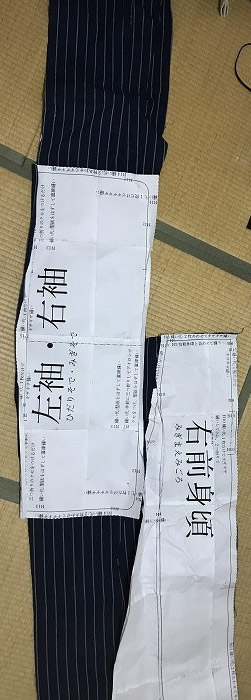
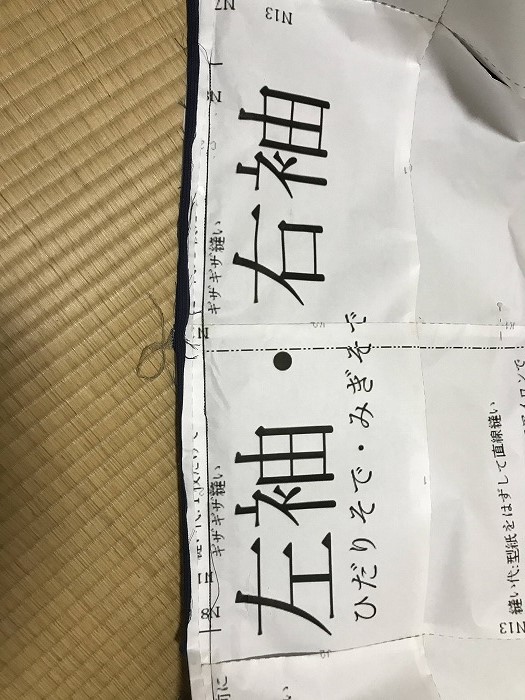
N7: Iron Cuff, Sleeve Bottom, Sleeve Root
About dashed lines on sleeves.
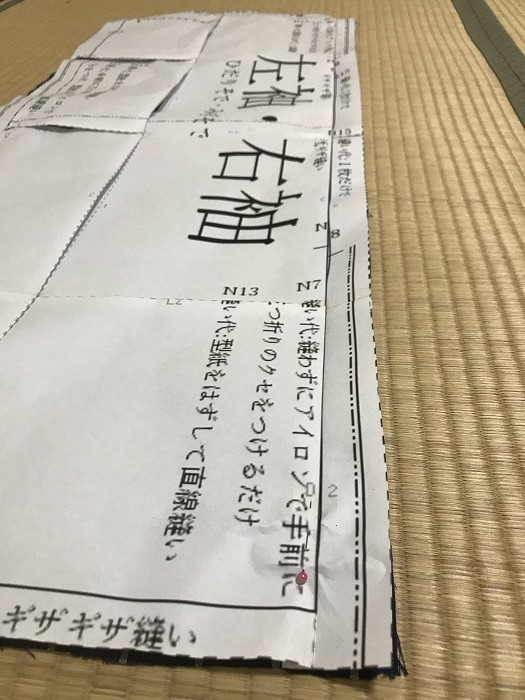
Fold the paper over.
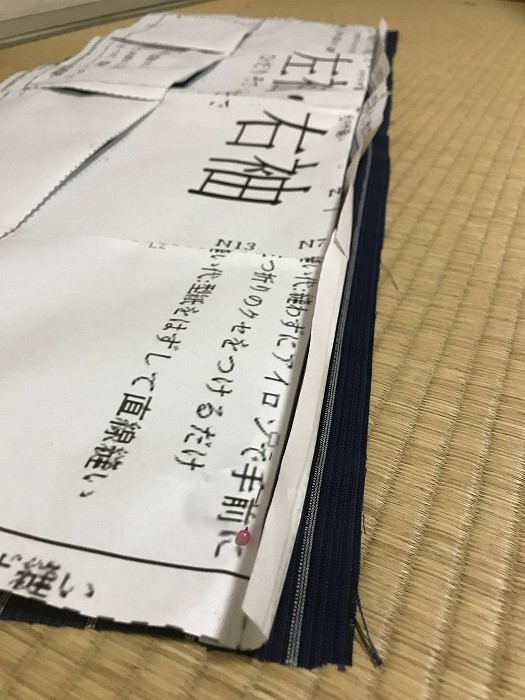
Fold the paper and fabric together, and form a fold on the fabric by iron.
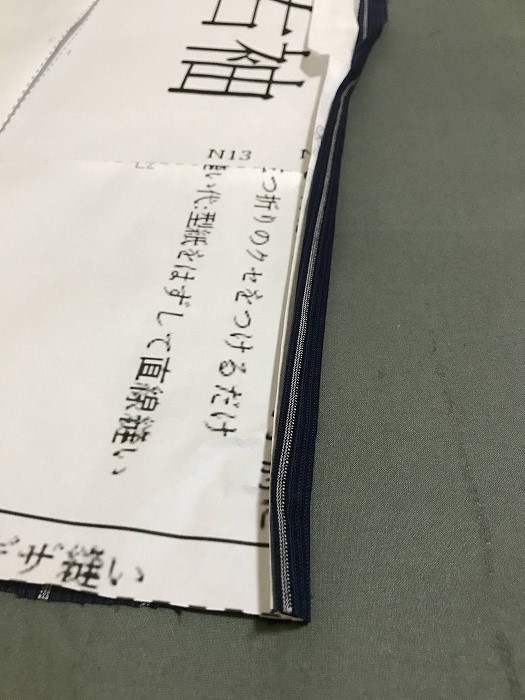
There’re dashed lines on both sides of the sleeve. Do the same for both sides.
Furthermore, do the same for both of left and right sleeves.
N8: Sew together sleeves and Migoro (Body)
Migoro (Body) is sewn together on shoulders like this.
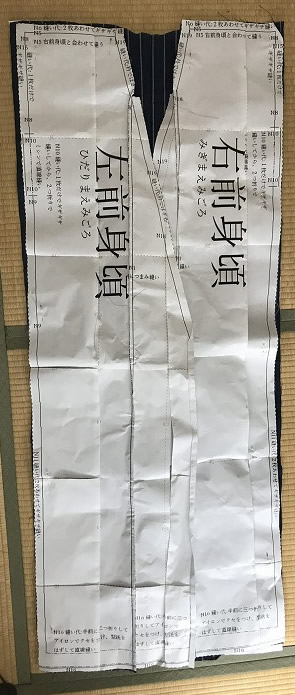
Open one side of Front Migoro.
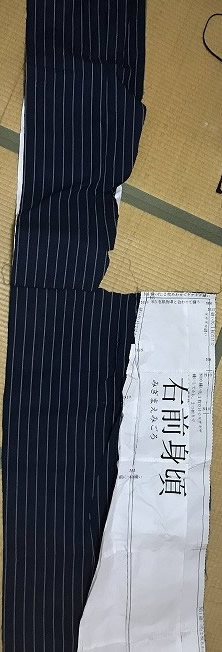
Put a sleeve here. Match the shoulder line Katayama (line sewn between Front Migoro and Back Migoro) and the center of the sleeve.
Sleeve is shaped of straight but Migoro is shared of V. So be careful and put the two fabrics (sleeve and Migoro) so that N8 lines match.
Sew straight N8 line.
This is what it looks like when the sleeves are opened. Little by little it looks kimono.