Detailed description about another page “Kimono’s paper pattern“.
Sew following “steps_onna.pdf” for women or “steps_otoko.pdf” for men in the zip, but I’m explaining each step with picture.
This page explains “Iron fabric to straighten wrinkles” and later.
目次
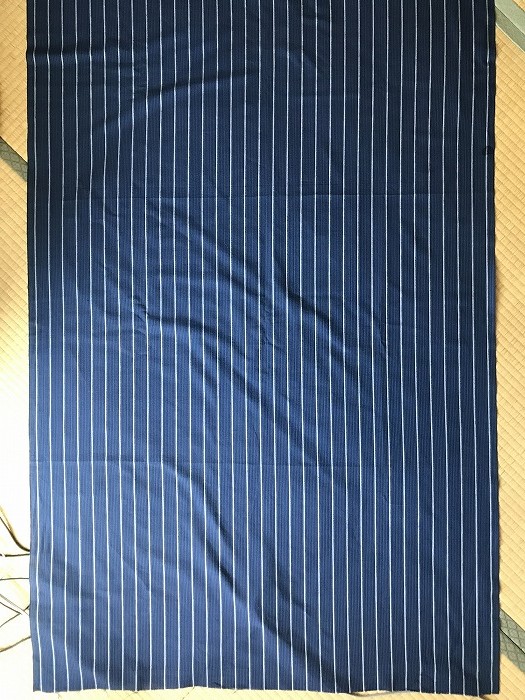
Iron fabric to straighten wrinkles
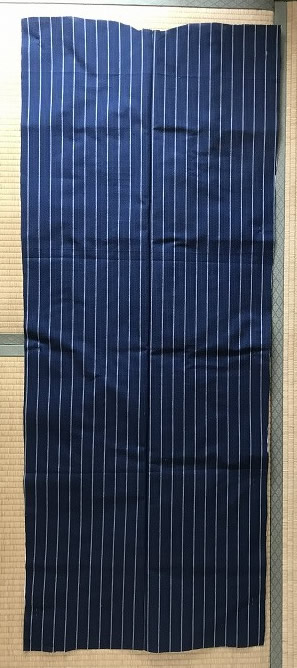
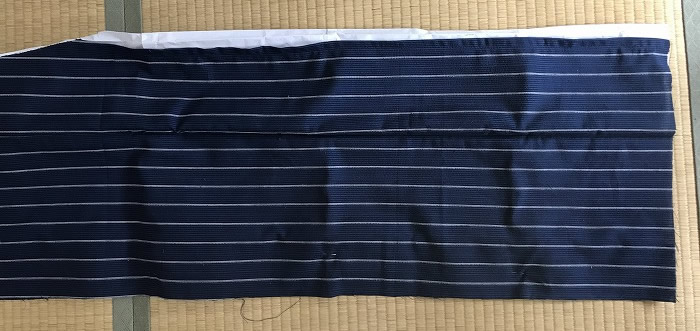
There’re wrinkles on fabric after we buy it at fabric stores as it’s folded.
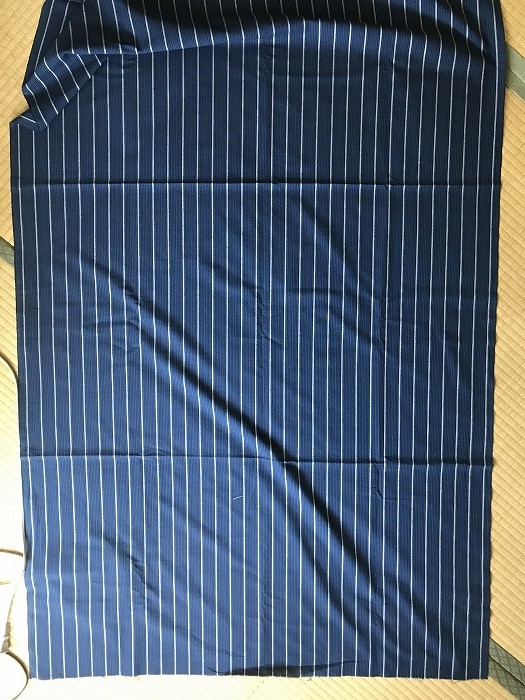
Iron it lightly like this. This is for cutting it in a precise size, and you don’t have to care small wrinkles. We’ll take off small wrinles at the last phase.
Fix paper patterns and fabric by marking pins
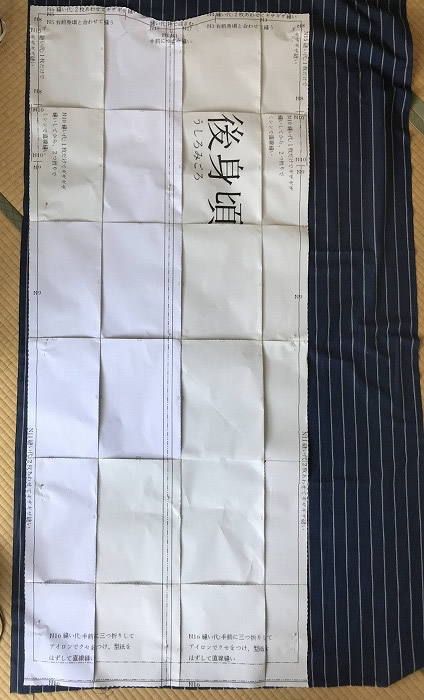
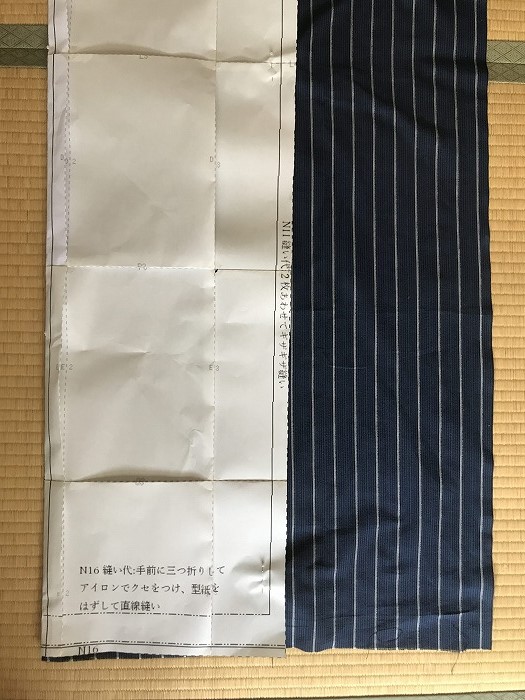
Put paper pattern on fabric.
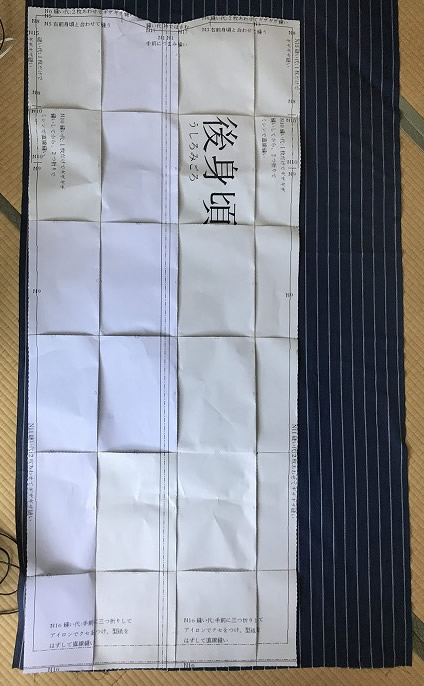
Put marking pins at the intervals like about 1 pin by 2 pages.
This is enlarged view.
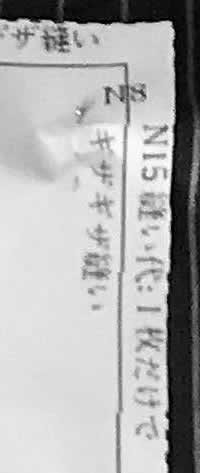
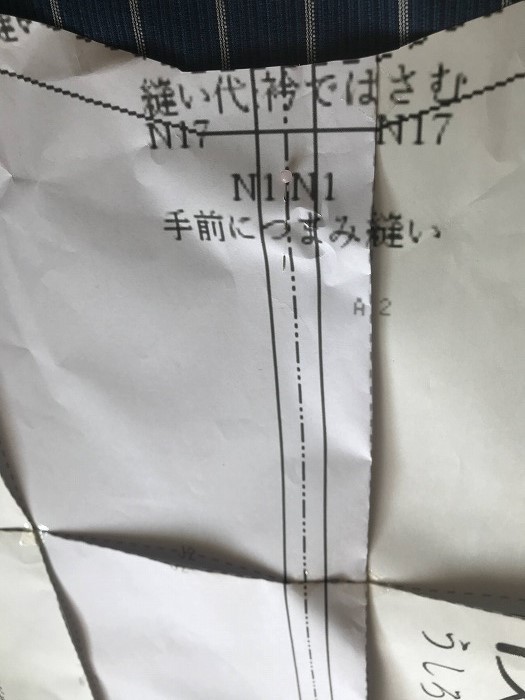
It’s better to put a marking pin in the center at the part of tucked seam.
Put marking pins at sleeves and collars in the same way.
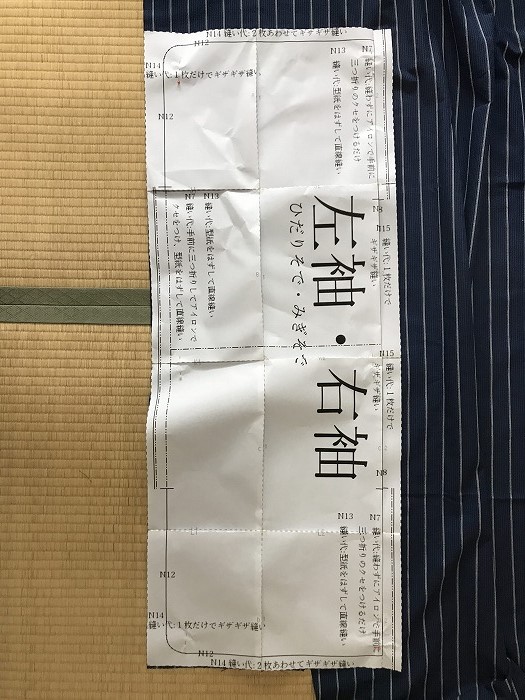
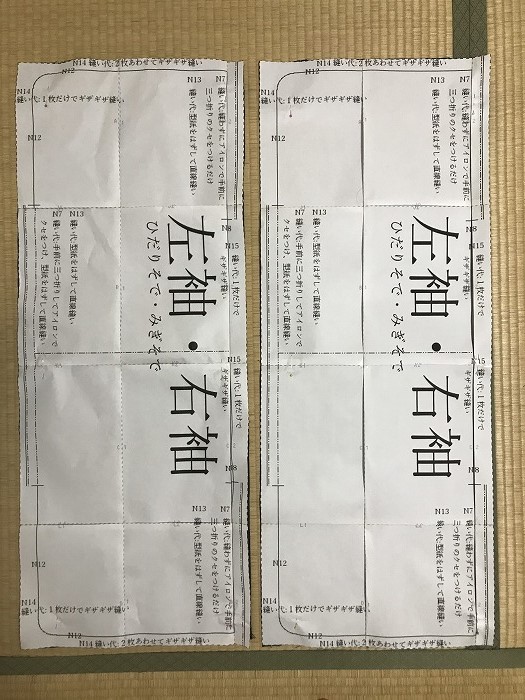
Make the same two paper patterns for sleeves.
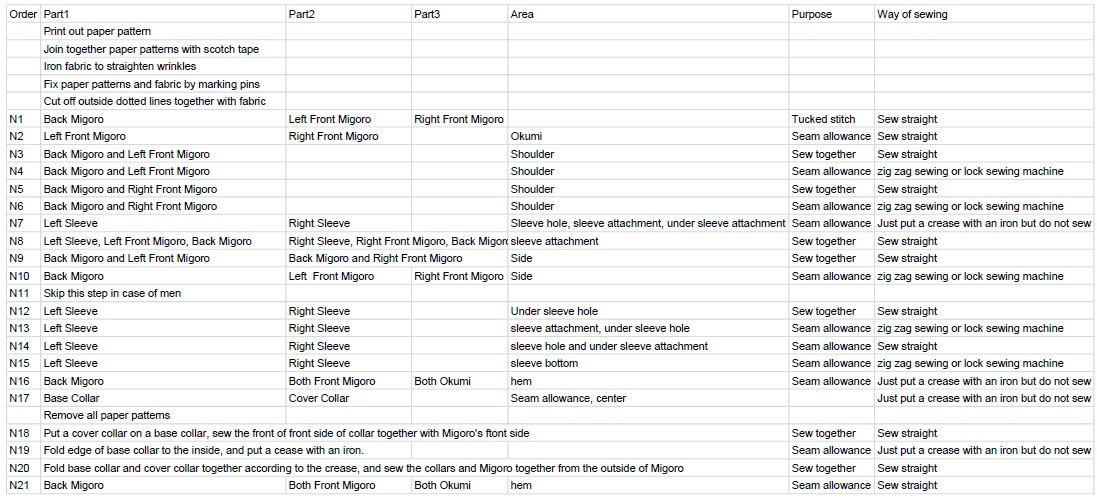
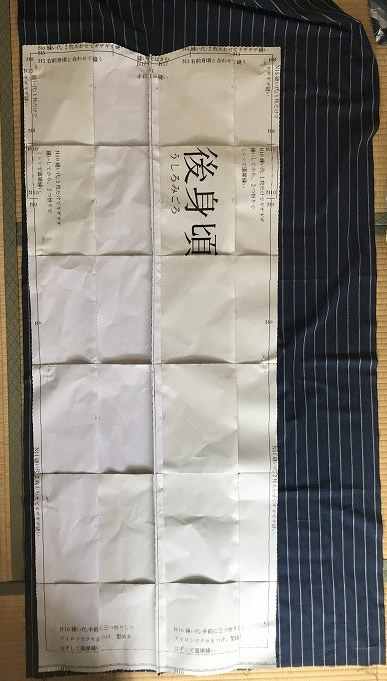
N1 Back Body: 3 parts for tucked seam
The names of parts are written on each paper pattern such as “Ushiro Migoro (Back Body)” and “Jieri (Base Collar)” with big characters.
In
- Ushiro Migoro (Back Body)
- Hidari Mae Migoro (Left Front Body)
- Migi Mae Migoro (Right Front Body)
of the paper patterns, there’re 3 parts for Tucked Seam.
FYI tucked seam is not to sew 2 fabrics together, but to fold the center of one fabric and sew it along with the fold. So the front side will look like a joint.
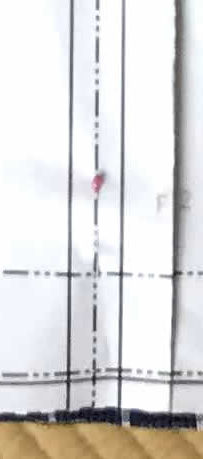
The following picture will explain rather than words.
There’re 3 lines like this, under “N1”.
In the above, dashes lines
![]()
mean
fold to front.
Also, solid lines
![]()
mean
sew straight by sewing machine.
So, first fold the paper along with the dashed line to front.

And then, fold both of the fabric and the paper along the dashed line.
Confirm fabric is inside the paper pattern.
Sew straight along with the solid line.
![]()

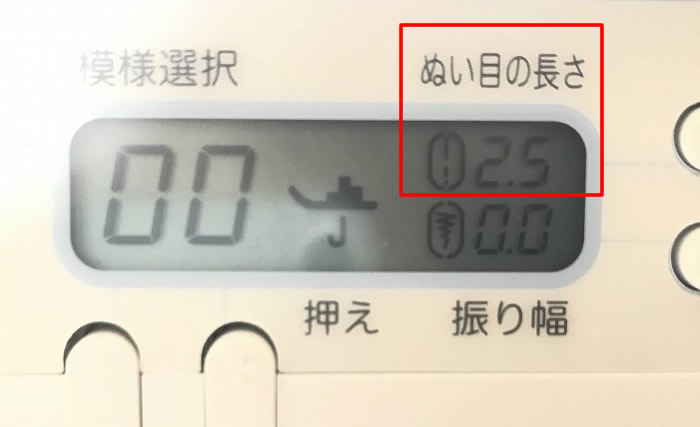
I recommend the stitch to be about 2.5 mm. Fine stitch is better to peal off the paper later.
It’ll look like this after sewing.
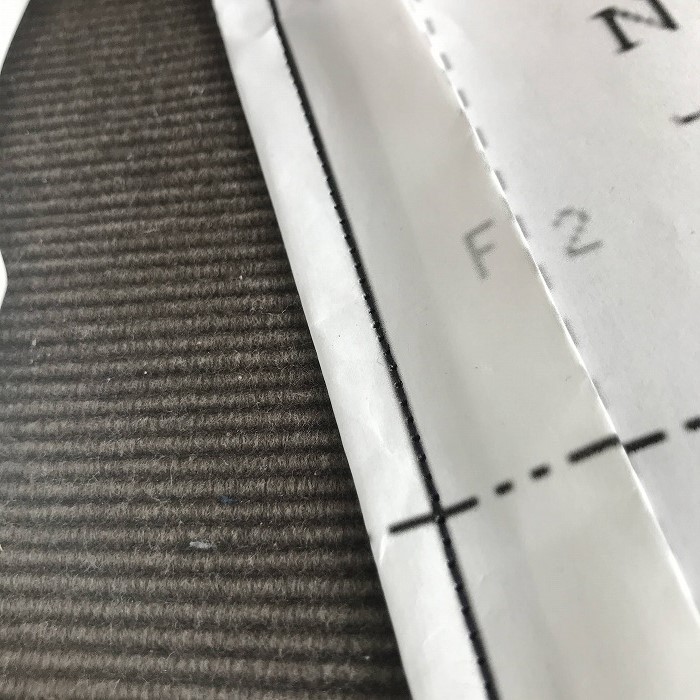
Expanded.
Cut off outside dotted lines together with fabric
The outlines of the pattern is
![]()
dotted lines like this.
Cut off both of paper and fabric along with these lines.
FYI it’s alright if you do this right after sewing N1.
It’ll look like this after cutting it off.
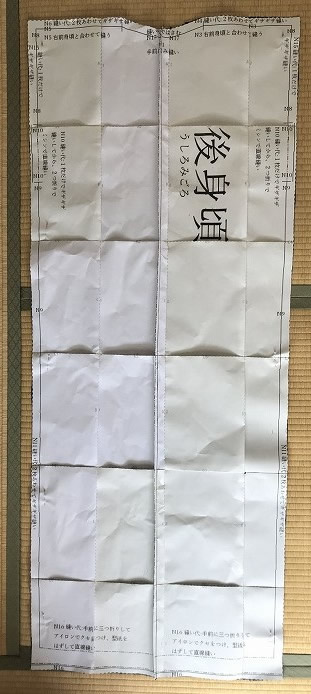
Flipped to the front side.
Roll it and keep it for now.
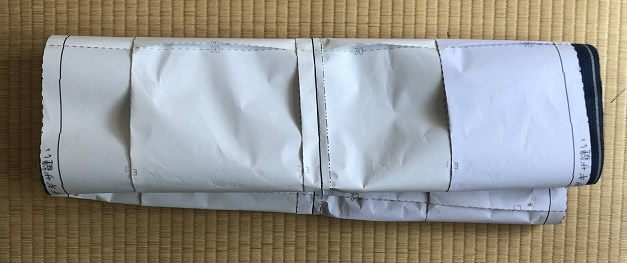
Do the same
- tucked seam
- cut off both of paper and fabric
for Left Front Migoro (Body) and Right Front Migoro (Body).
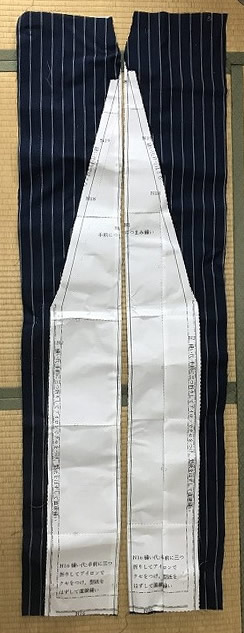
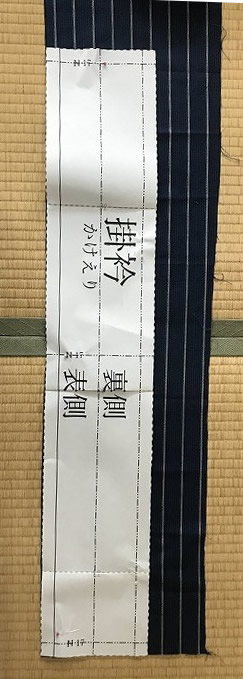
N2 Seam allowance of Okumi
Next, it’s N2 of Left Front Migoro (Body) and Right Front Migoro (Body).
Fold the two dashed lines over.
![]()
Fold it like this.
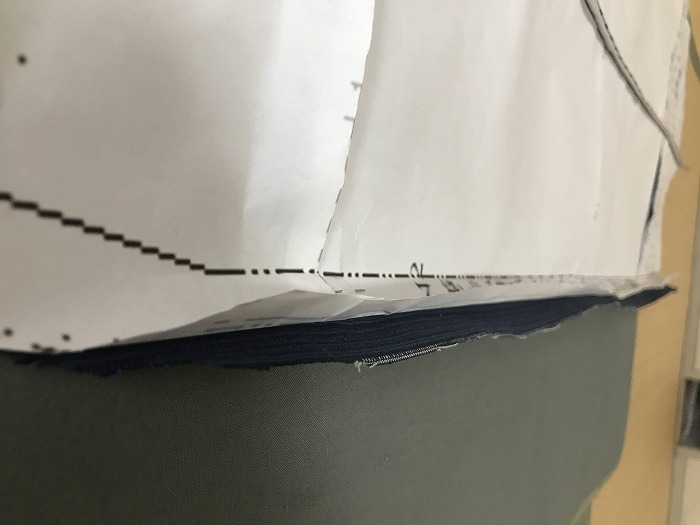
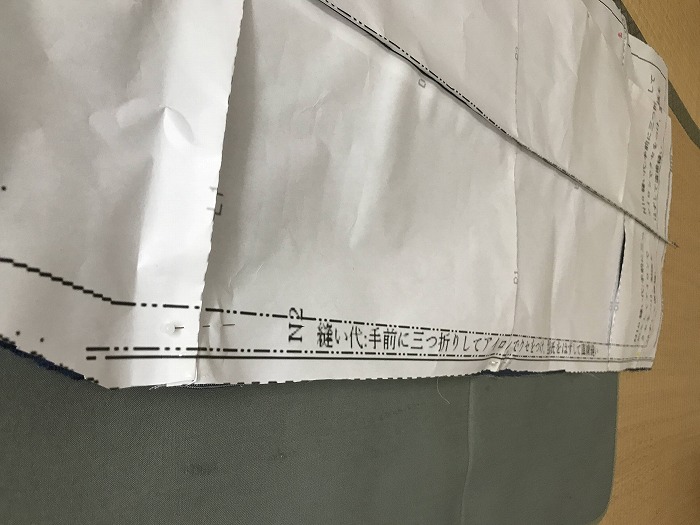
And then, fold both of fabric and paper along the fold, and iron both.
After a fold is formed on the fabric, take off the marking pins beside it.
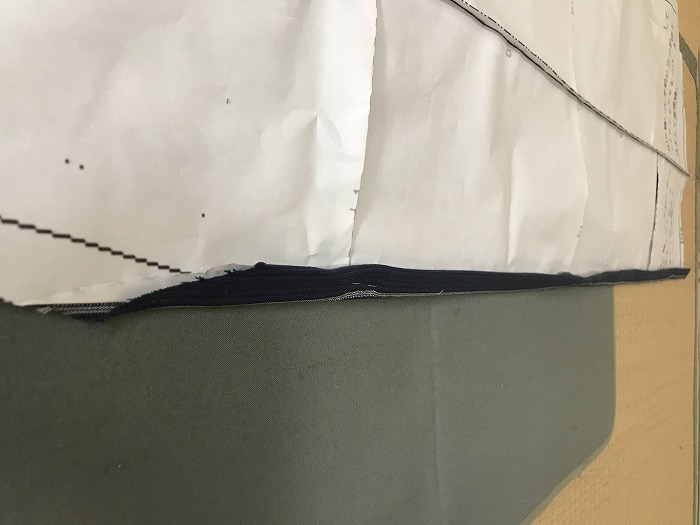
Peal off the paper, and sew straight only the fabric. Long stitch like 5mm is better so that you can undo the seam to repair/modify later.
Similar collor yarn is better so that the seam won’t be visible.

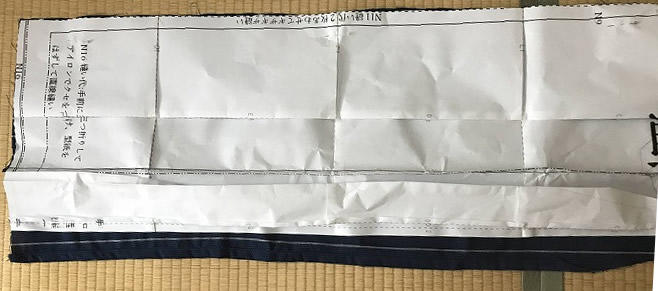
Completion
Enlarged
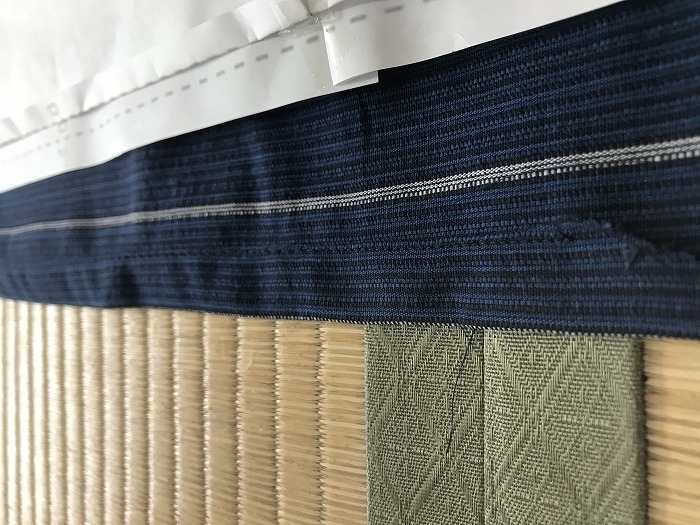
Front side
Do the same for Left Front Migoro (Body) and Right Front Migoro (Body) both.
To be continued to N3.