
About My Shop
I want more people to wear kimonos in their daily lives. This is the ...
I want more people to wear kimonos in their daily lives. This is the ...

This time I got interesting questions from my customer, and I shar...
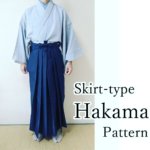
Simple way of making hakama It looks like complex but it's actually...
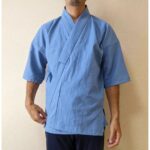
Making half Juban from paper pattern Juban is an undergarment of ki...
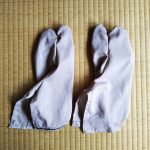
Making Tabi from paper pattern I made paper patterns for everyb...
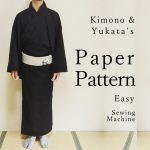
Making kimono from paper pattern I made paper patterns for everybod...
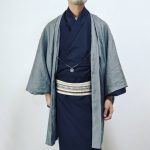
Making Authentic haori by paper pattern There're some Youtube video...
Detailed description about another page "Kimono's paper pattern". Her...
Detailed description about another page "Kimono's paper pattern". Her...
Detailed description about another page "Kimono's paper pattern". Her...