Detailed description about another page “Kimono’s paper pattern“.
目次
N16: Iron hem
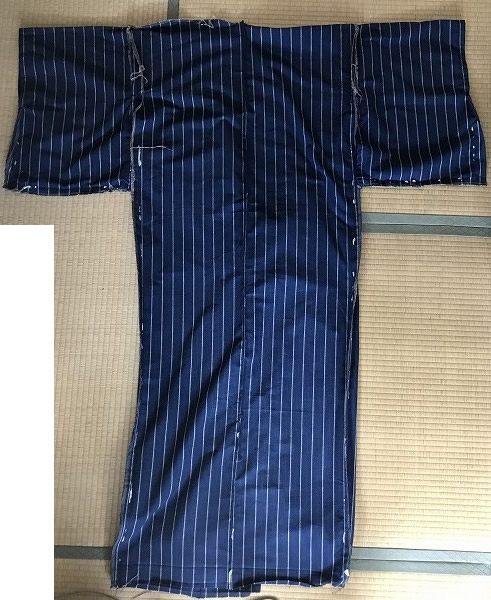
Mitake (height from hem to shoulder) is what can most easily have error, when it comes to tailoring. I designed long seam allowance, 5cm, for hem so that you can adjust Mitake at last when you try it on.
So sew hem at last after you wear the kimono as test. For now, just iron this part.
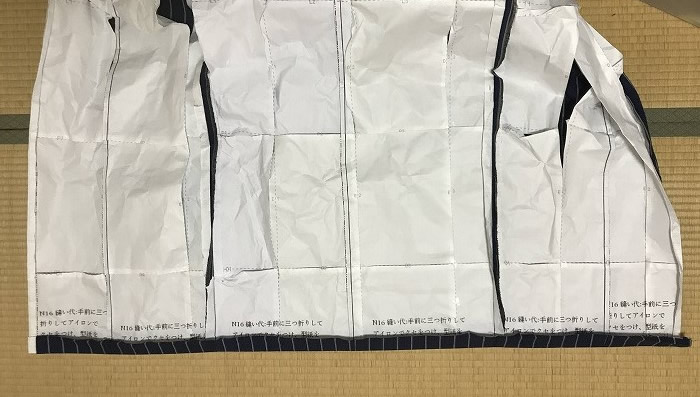
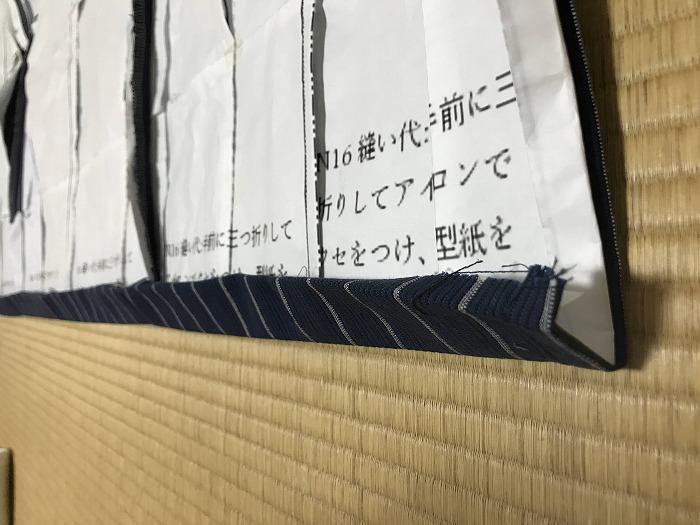
First, fold the paper over, along with the dashed lines.
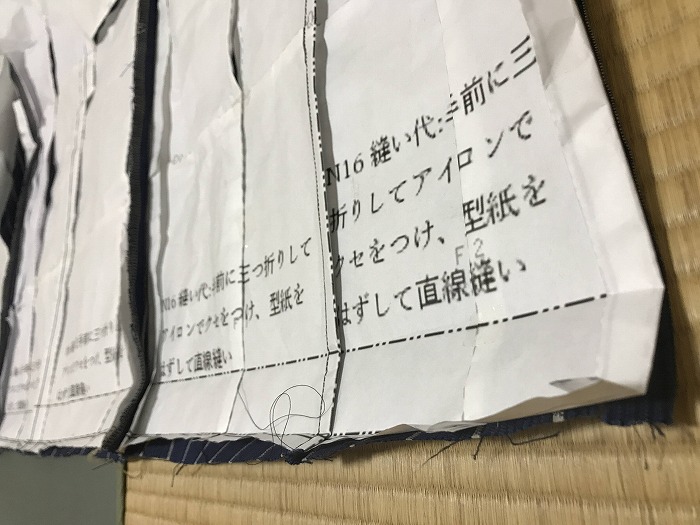
And then, form a fold on the fabric by ironing both of the fabric and paper.
N17: Iron collar
Put the paper pattern of collar on fabric, put marking pins, and cut off the fabric.
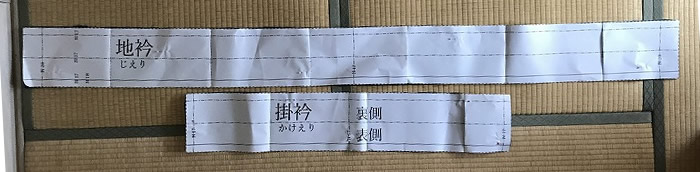
Fold only the paper pattern, and then iron both of the fabric and the paper together.
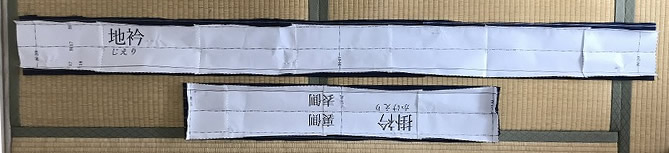
“Back side” has 3mm longer width than “Front side”. Please remember this for the time when you sew collar onto Migoro (Body).
Peal off the paper pattern.
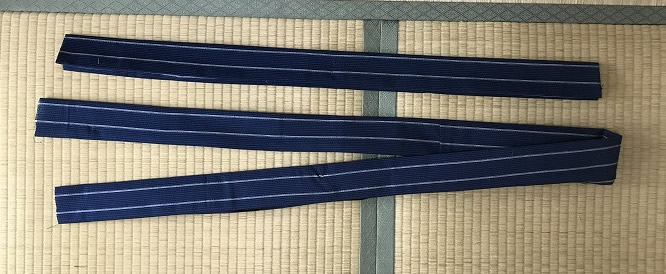
Peal off all the paper pattern
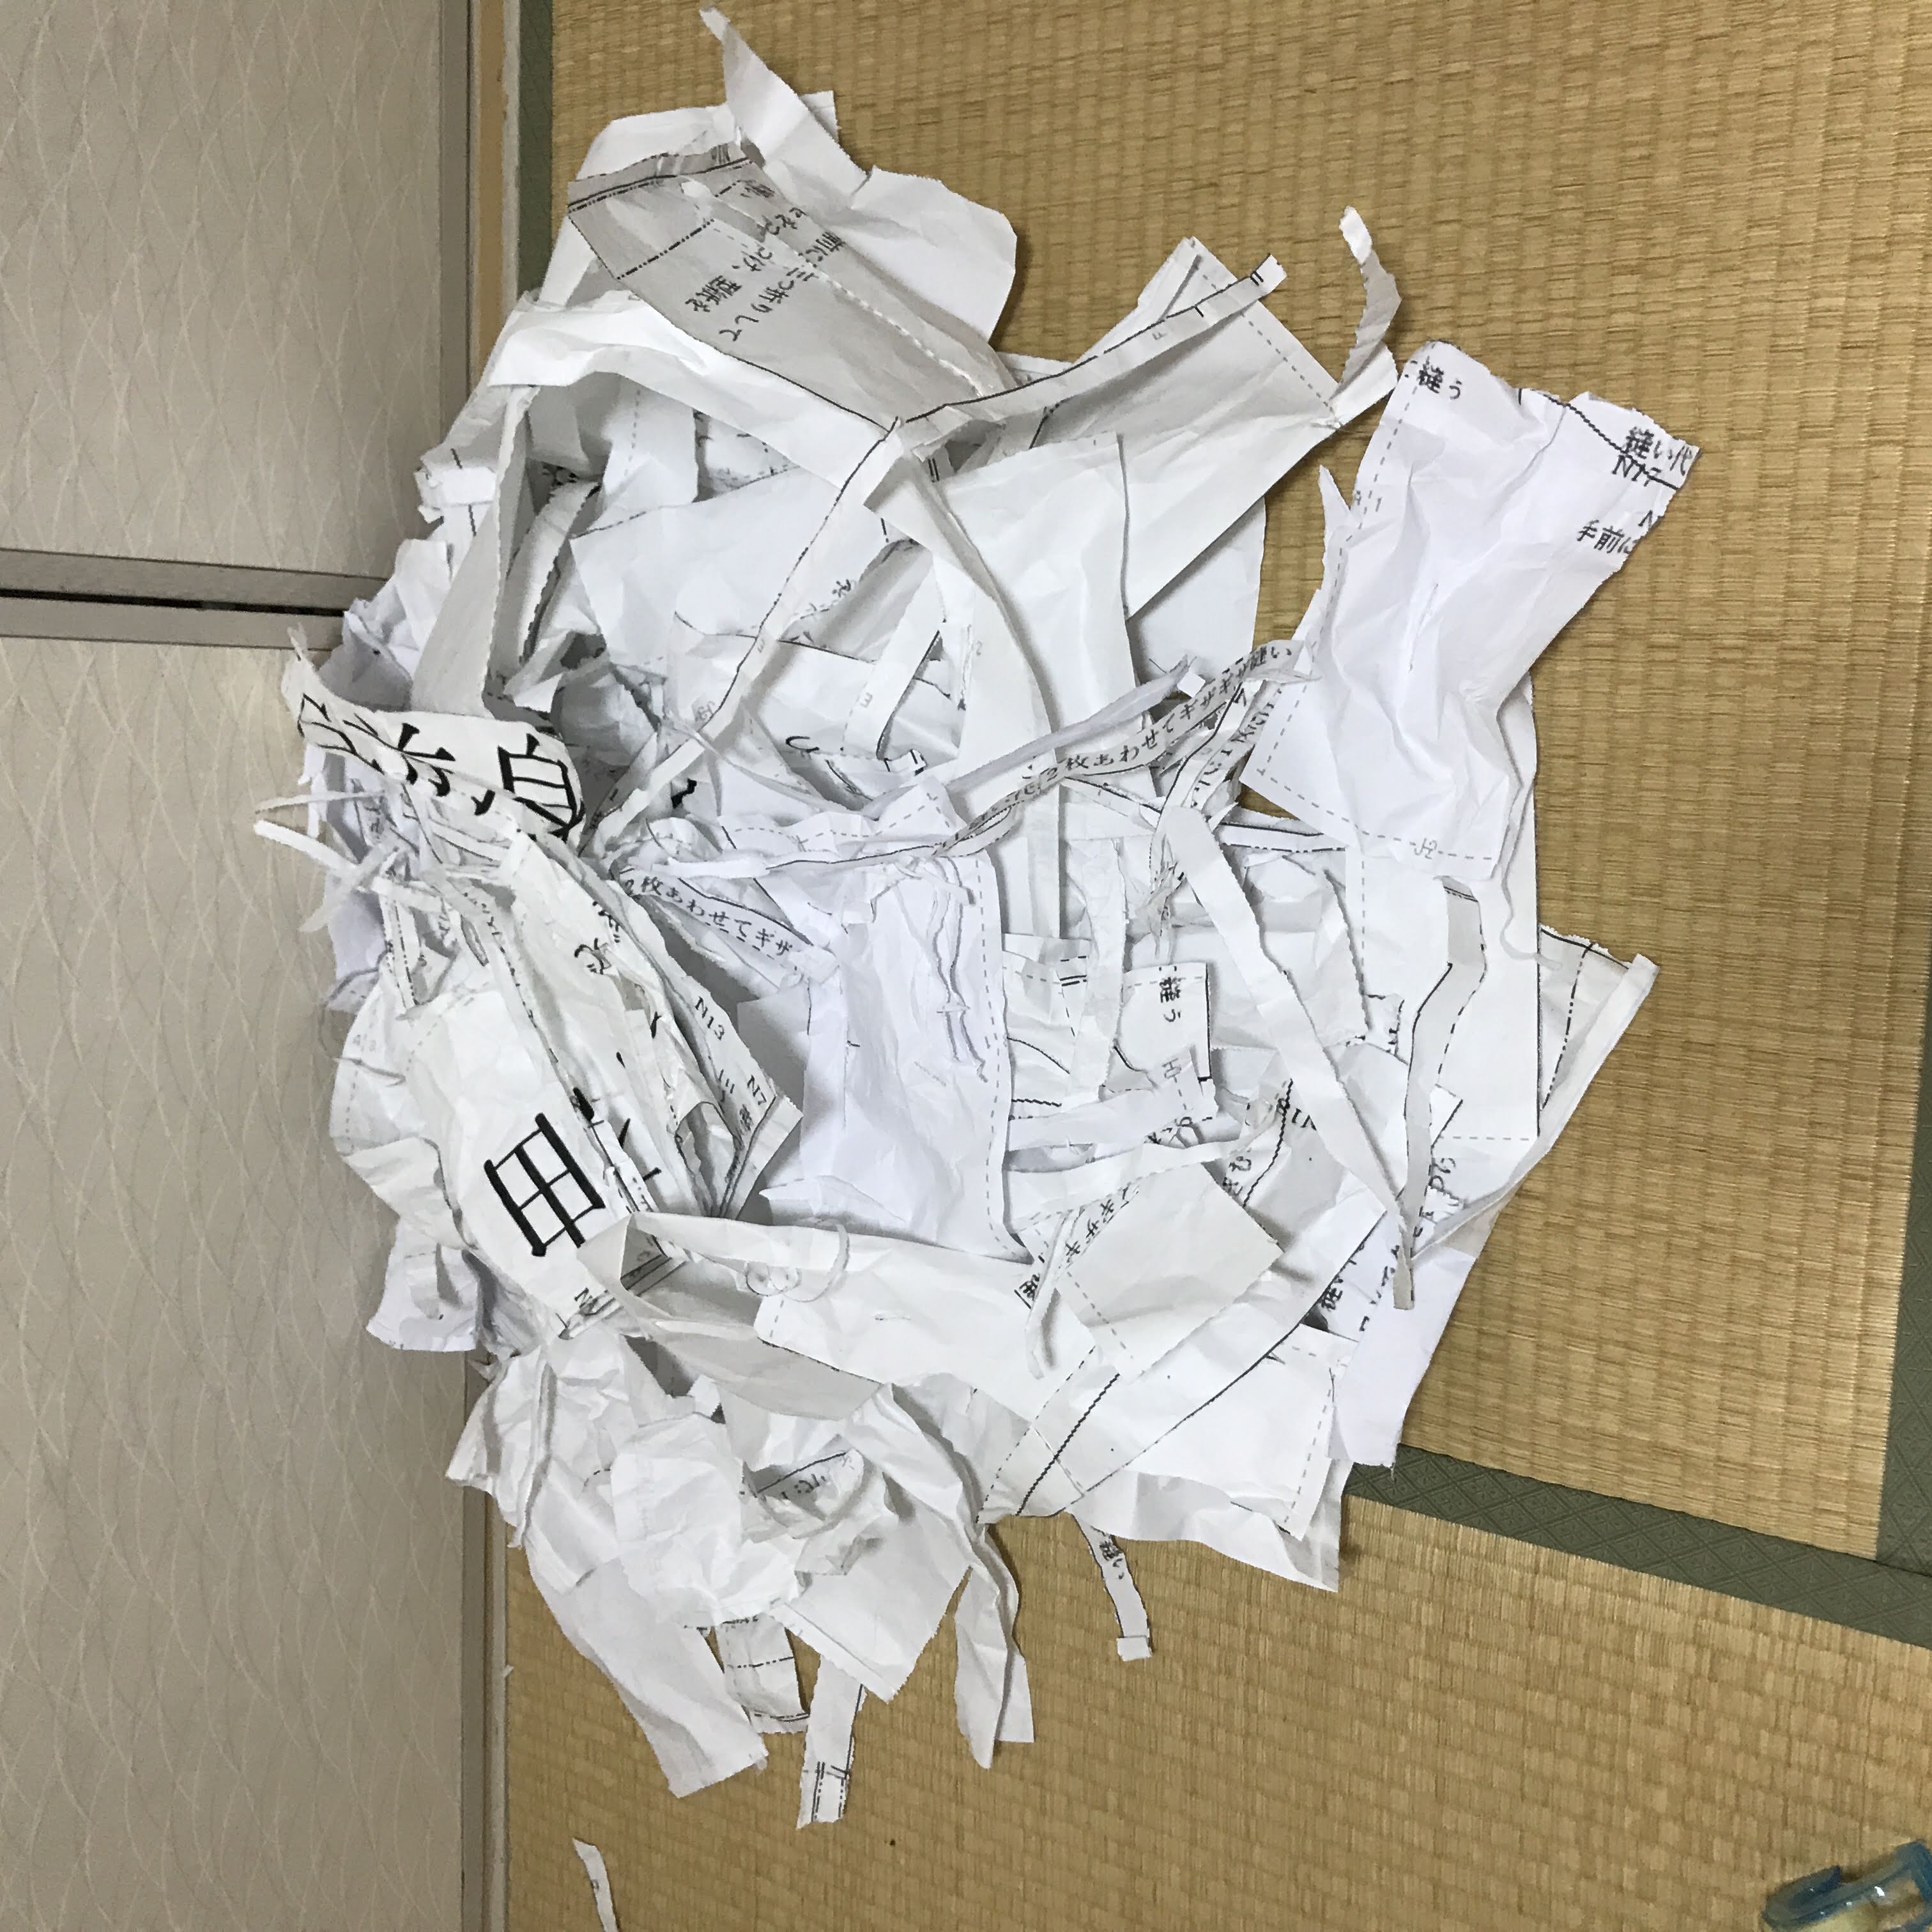
Holes were made on the paper because you sew this by sewing machine. Now it’s easy to tear off the paper. Withdraw it along with the seam, and tear it off.
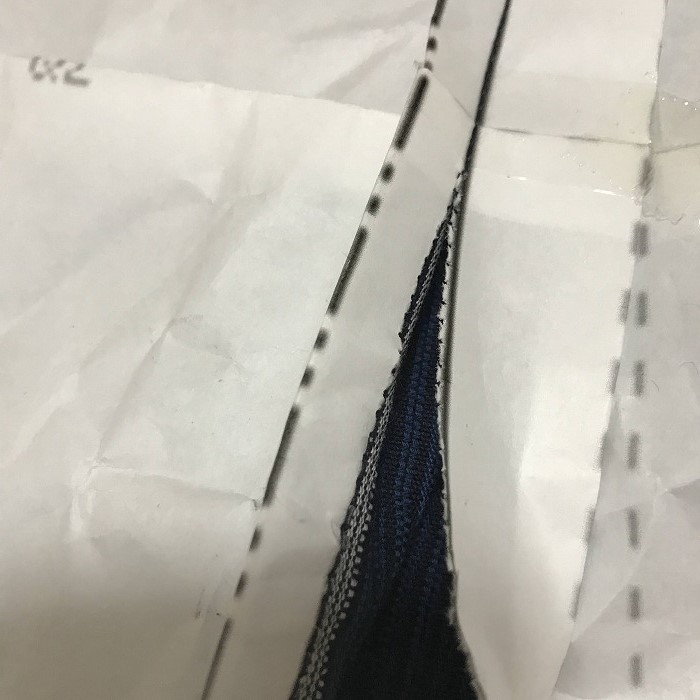
There’ll be a lot of trash.
After pealing off the paper.