Detailed description about another page “Kimono’s paper pattern“.
目次
Before printing
Download and unzip a zip file from the above page.
And then there’re 5 PDF files in the “pdf” folder

like this.

Each PDF is named as something like ushiromigoro.
The meaning is as follows.
- eri : collar
- maemigoro hidari: front body left
- maemigoro migi: front body right
- sode: sleeve
- ushiromigoro: back body
Open the PDF file by such as Adobe Reader

Print it out at A4 size
![]()
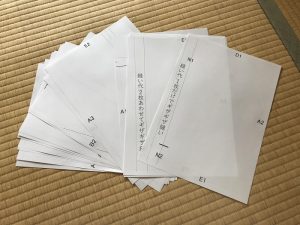
Stick them with cellophane tape.
I’m explaining how to stick below.
After printing
The following picture says “L2”. My program numbers each edge so that you look for the paired number and stick the edges.
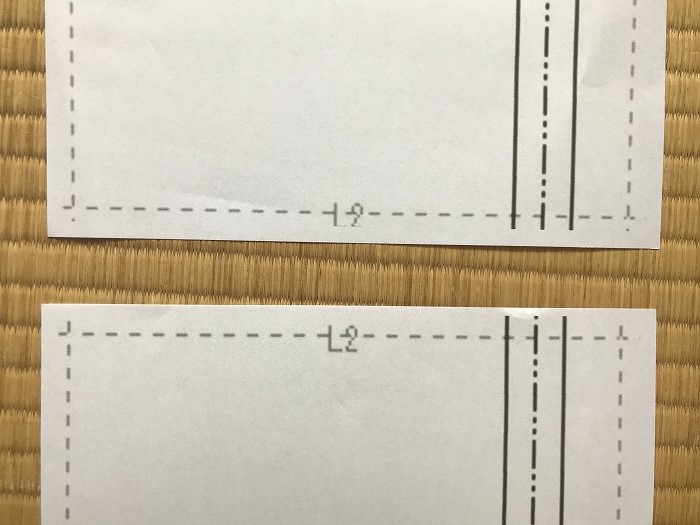
Cut off or fold the edge to stick the papers.
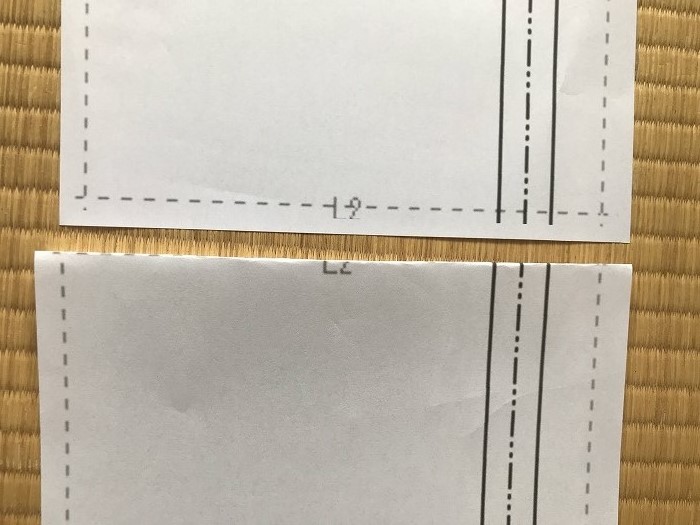
And then stick the both sides of the edge with cellophane tape.
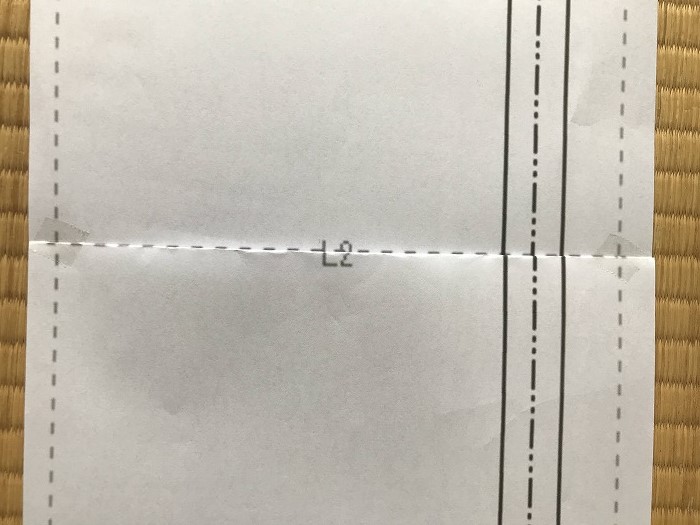
Just a little cellophane tape is enough. Otherwise the tape will be a waste.
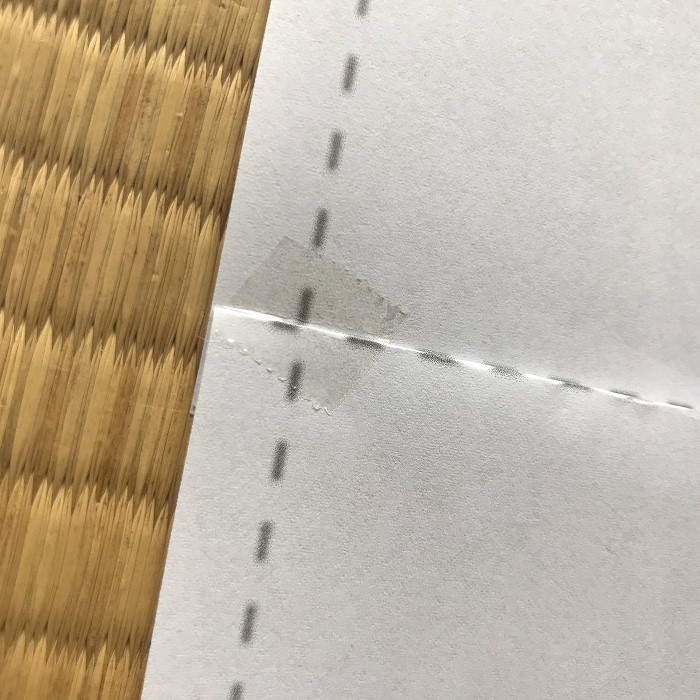
It’ll look like this after attaching them vertically.
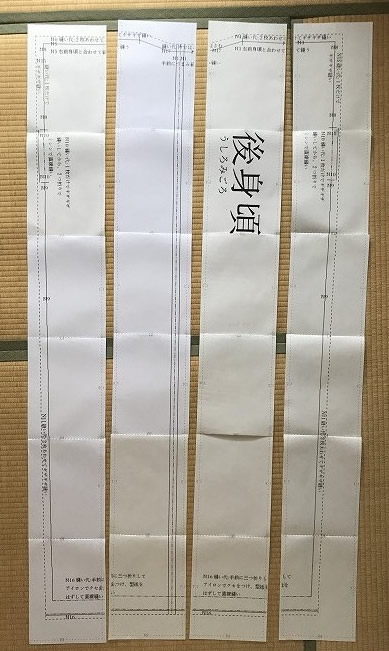
Again, stick the same numbers.
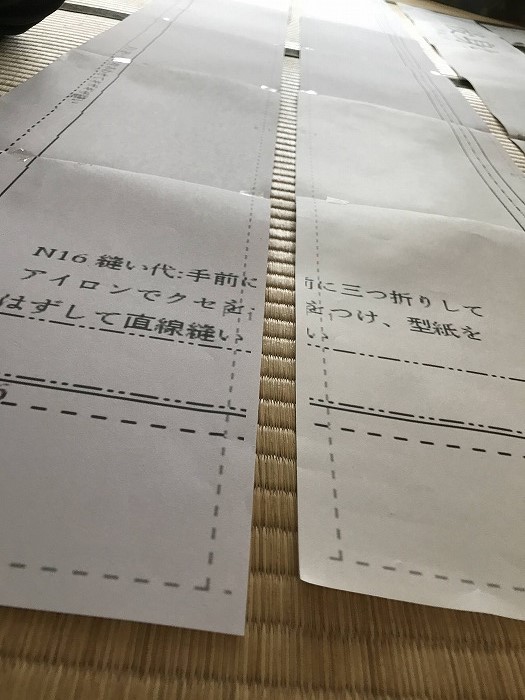
Cut off or fold the edge to stick.
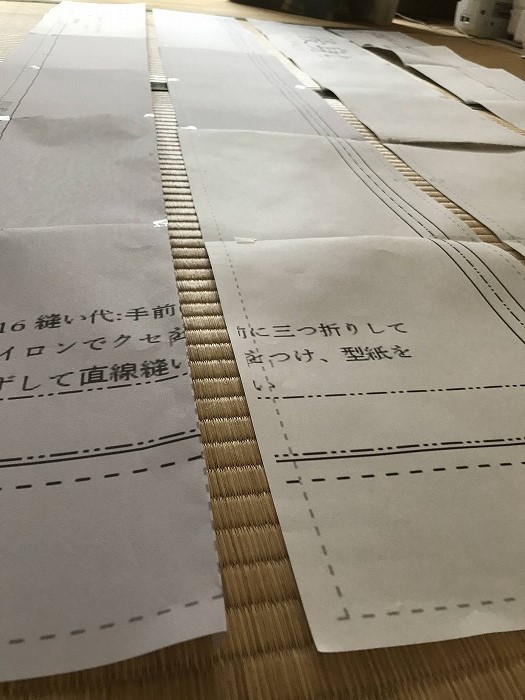
Stick corners with cellophane tape. As for the 1st end and the last end, you’ll cut them off from now, so put cellophane tape on the seam allowance.
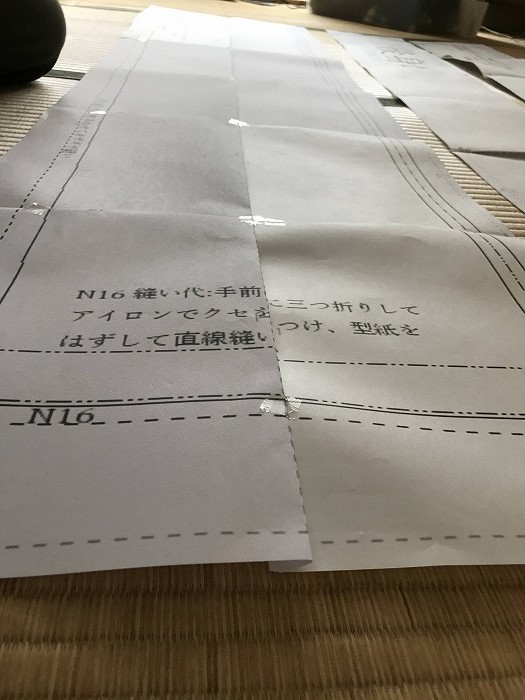
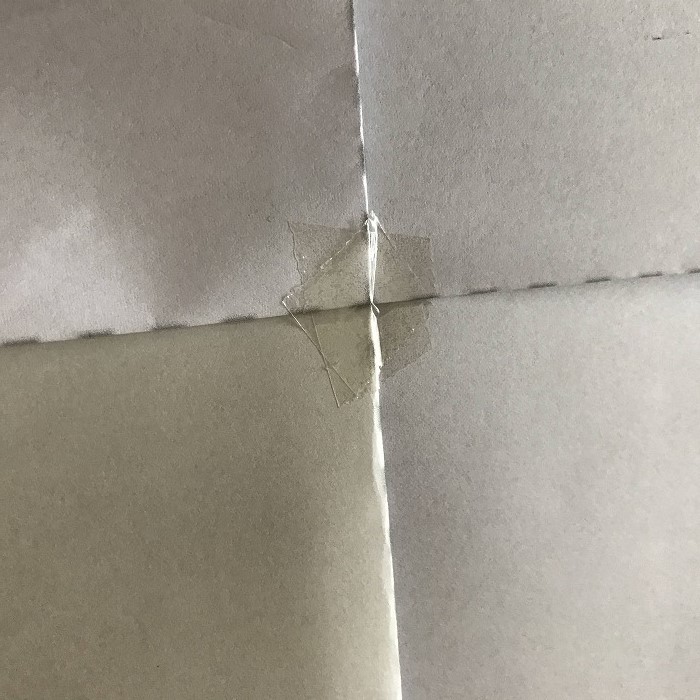
Stick the corner with cellophane tape like this.
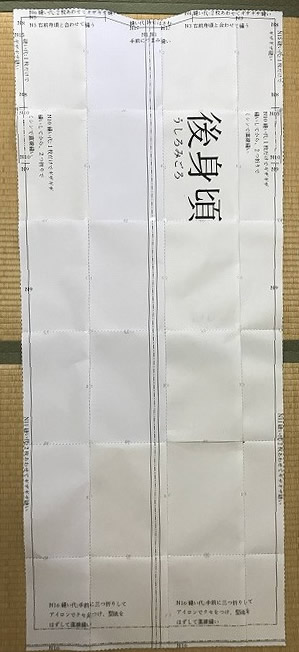
ushiromigoro.pdf (Back body) will look like this after sticking all the papers.
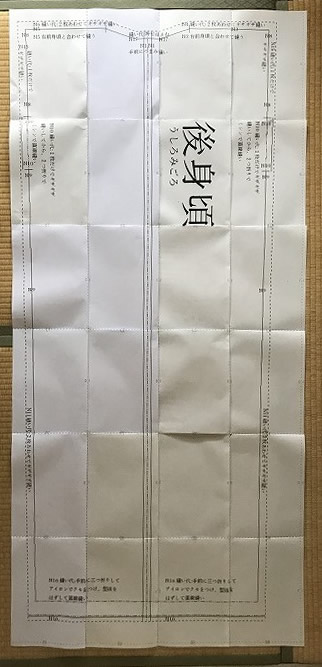
You could cut of both of the paper and fabric together later, but it’s better to cut off the margin on the paper in advance so you can use fabric at the exact position without waste.
