Detailed description about another page “Kimono’s paper pattern“.
目次
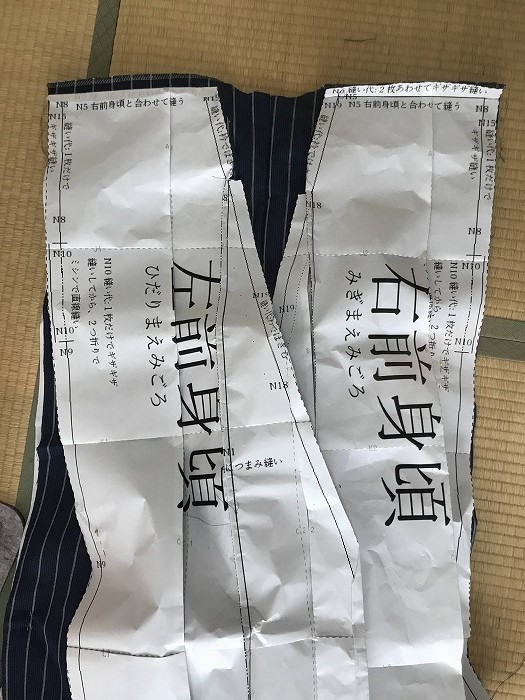
N3: Sew together the left shoulder
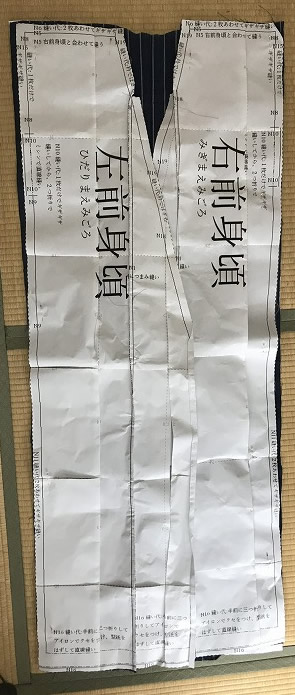
Put Left Front Migoro (Body) and Right Front Migoro (Body) on Back Migoro (Body).
N3 and N5 are written on the shoulders of Back Migoro. Put each Front Migoro so that it matches the numbers.
Sew together the shoulder as follows. Sew straight by sewing machine.
* N5 is written in this picture but it’s wrong. I modified the actual file.
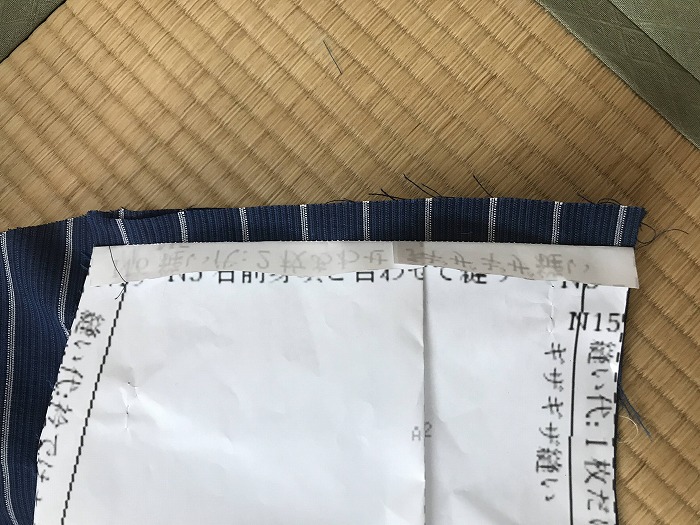
N4: Seam allowance on the left shoulder
Fold N3 line after sewing there, so that only the fabric is visible.
Zig-zag sew two fabrics together.
* Process it by lock sewing machine if you have one.
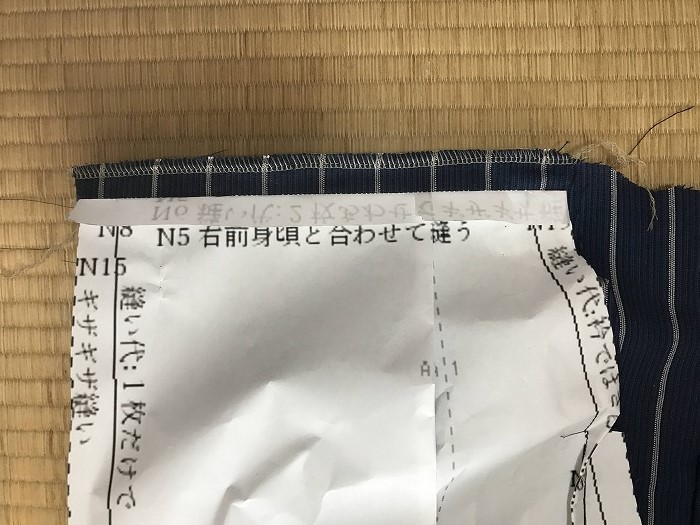
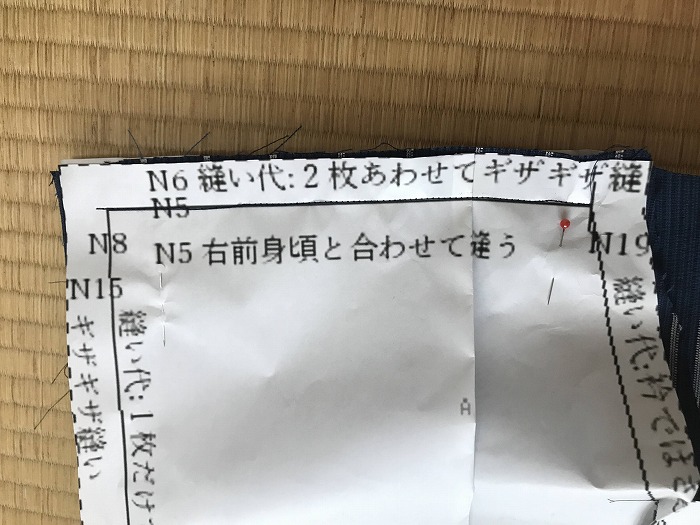
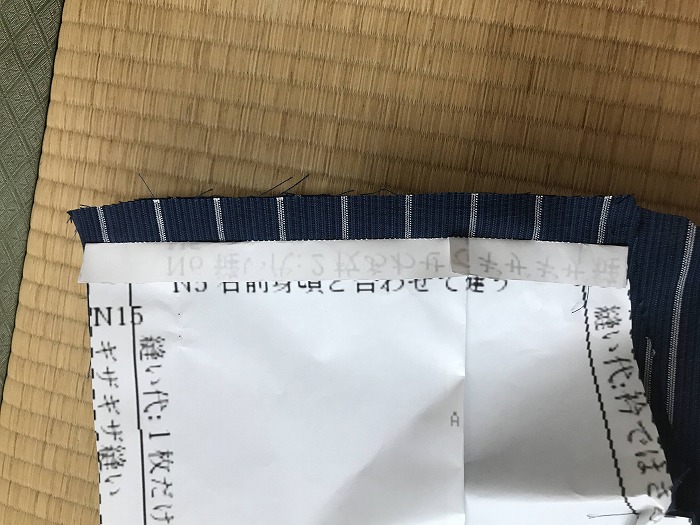
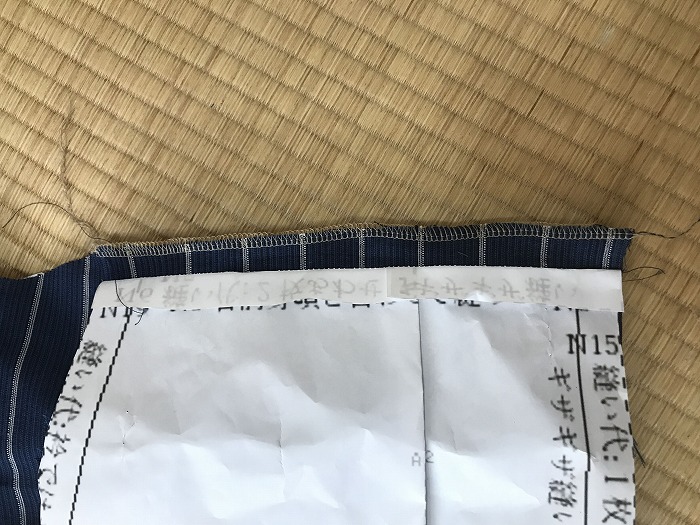
N5: Sew together on the right shoulder
Sew N5 line together, and fold only the paper like N3.
N6: Seam allowance on the right shoulder
Process it by zig-zag sewing
Back Migoro and Front Migoro are connected like this.
You don’t use this for a while, so roll it and keep it. It’s good to keep it in a plastic bag or something so that marking pins don’t drop.
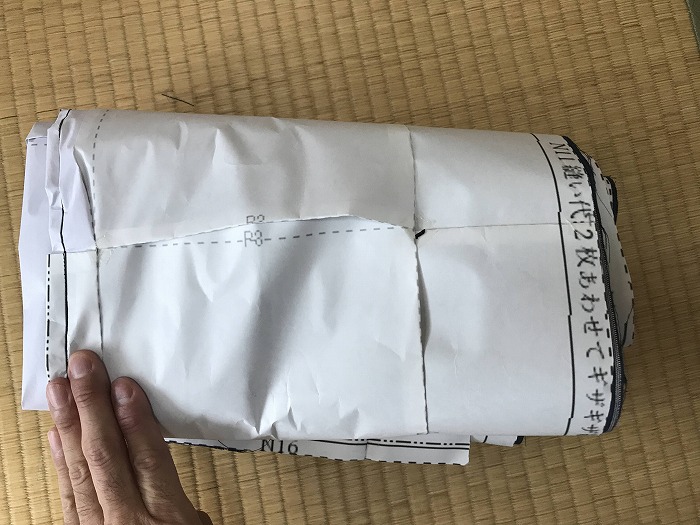
Next is to process sleeves.