

目次
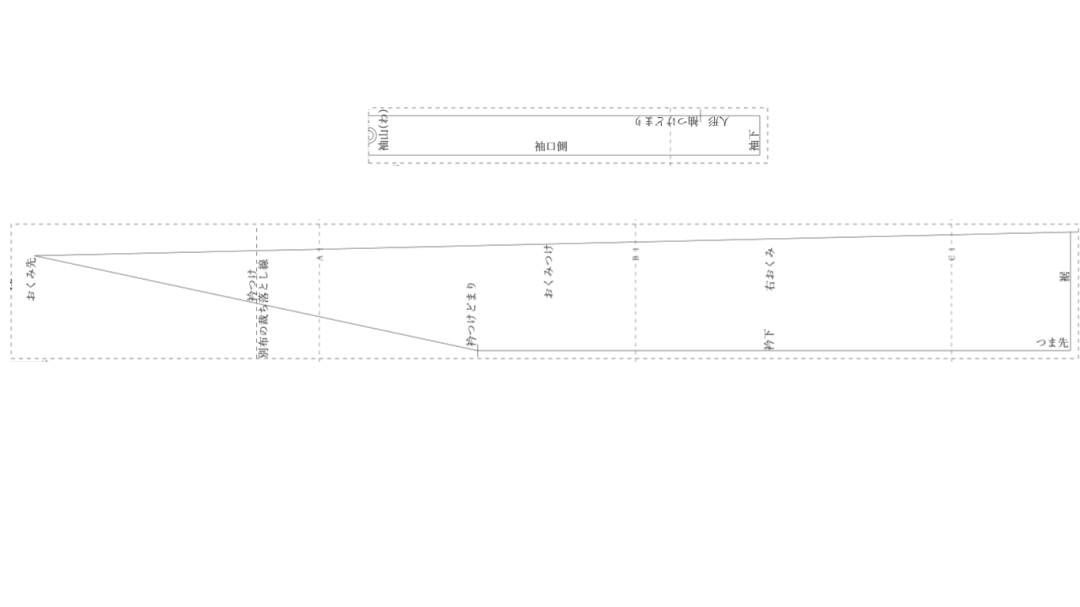
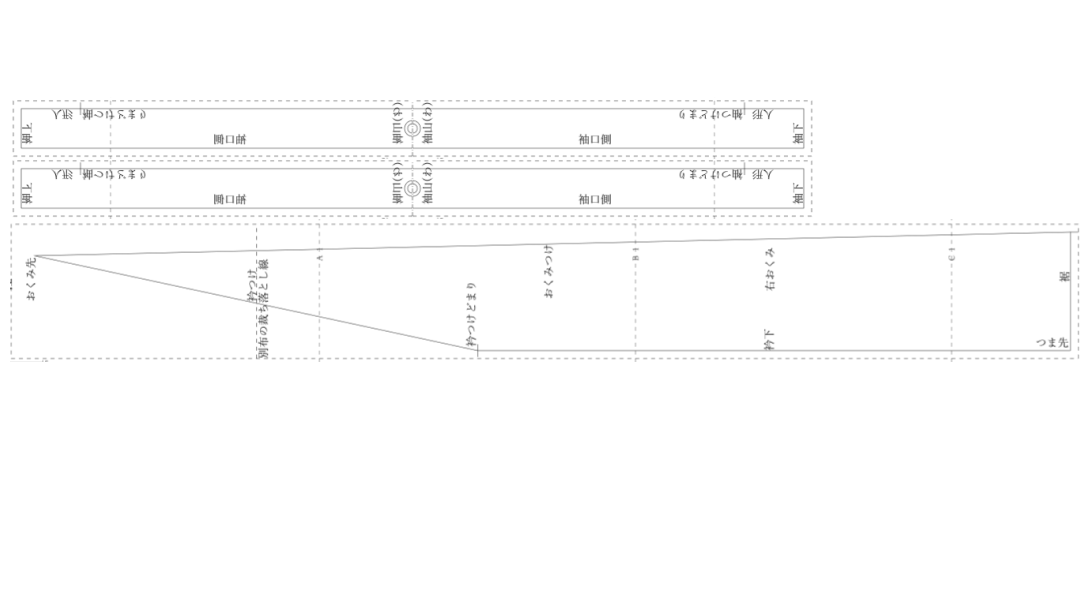
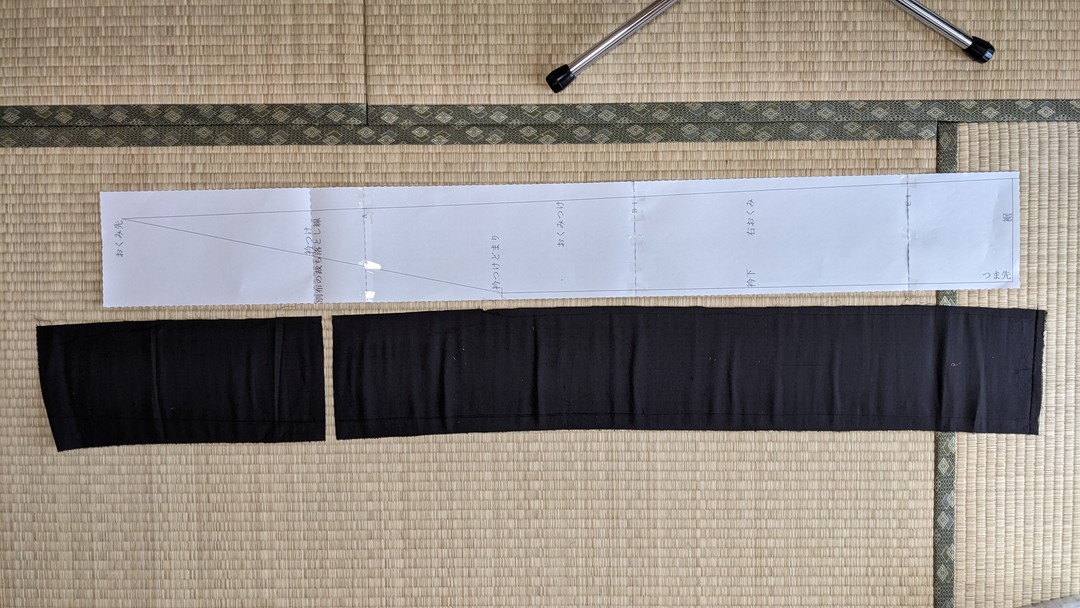
1. Print the patterns.
Cut one side of the pattern along the line.
Overlap along the line.
Tape them together with cellophane tape.
Cut off along the outermost seam allowance line.
Sleeve attachment of the sleeve
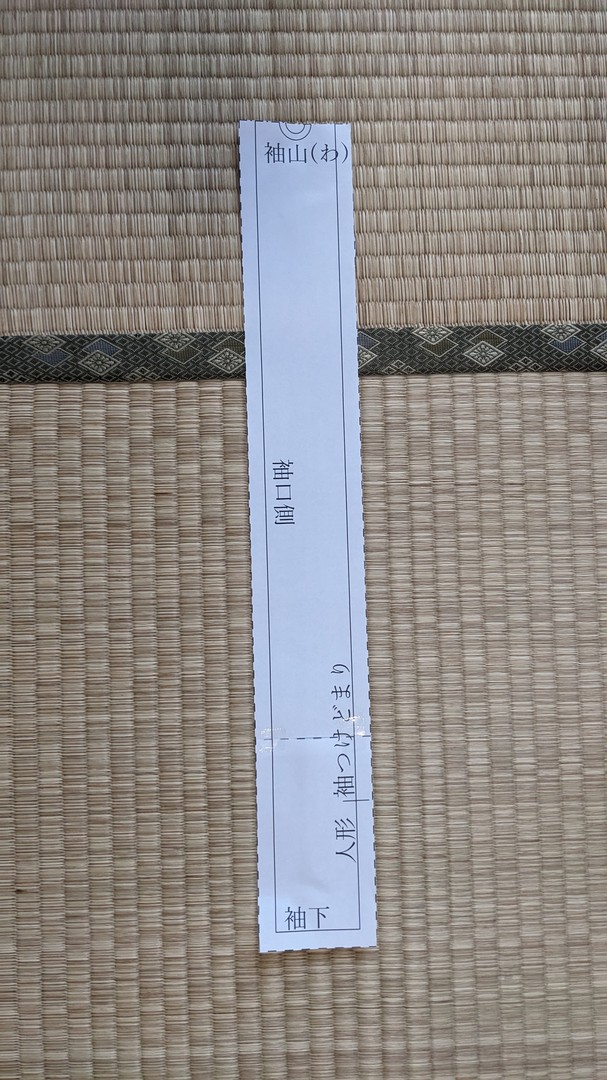
Sleeve attachment of the body
Mitsuwari-eri (three-piece collar)
Right Okumi
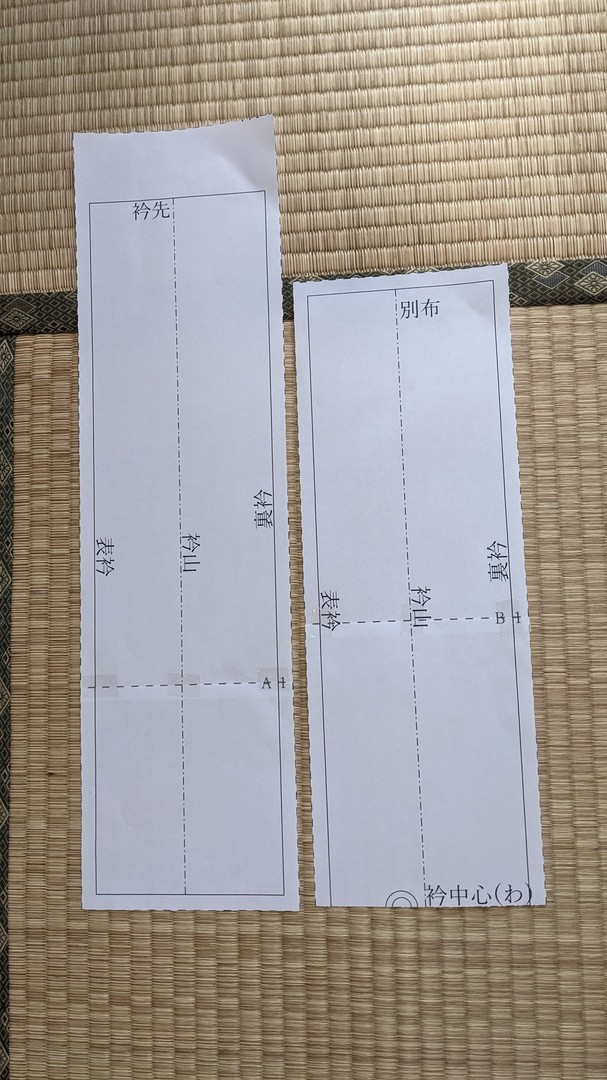
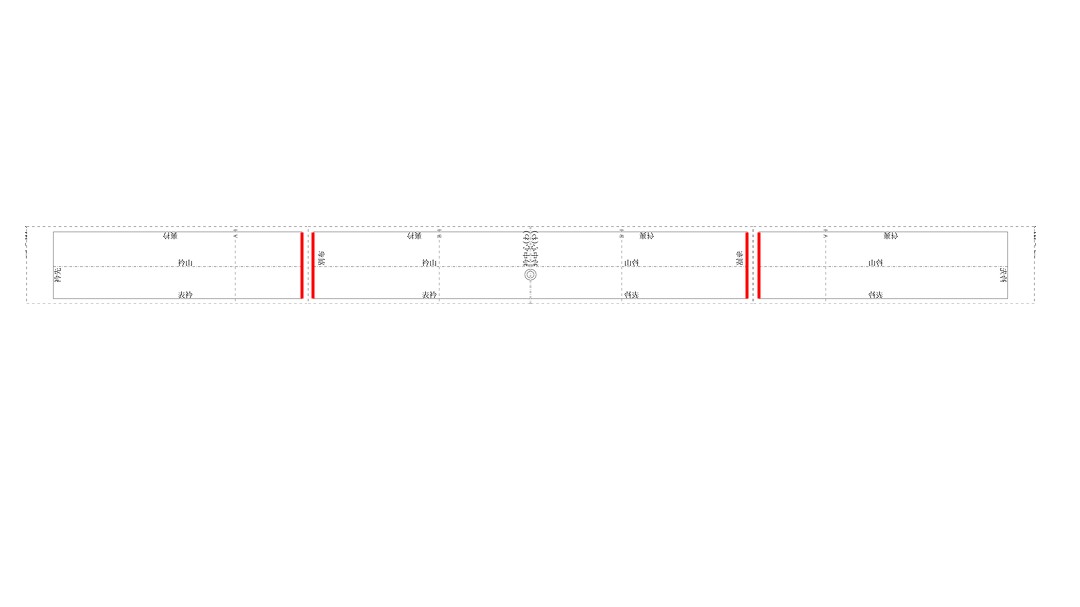
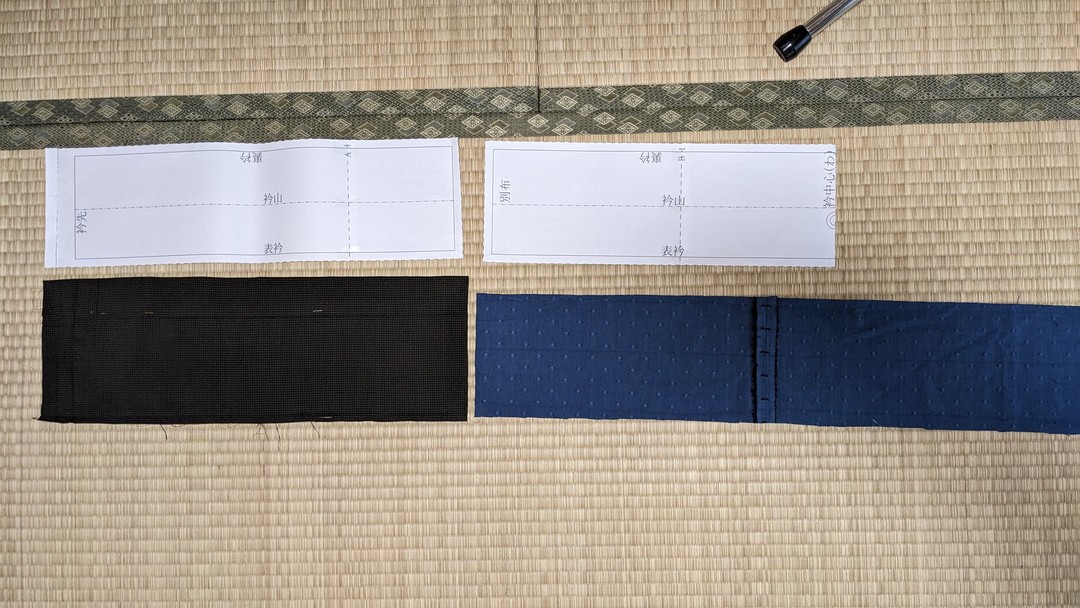
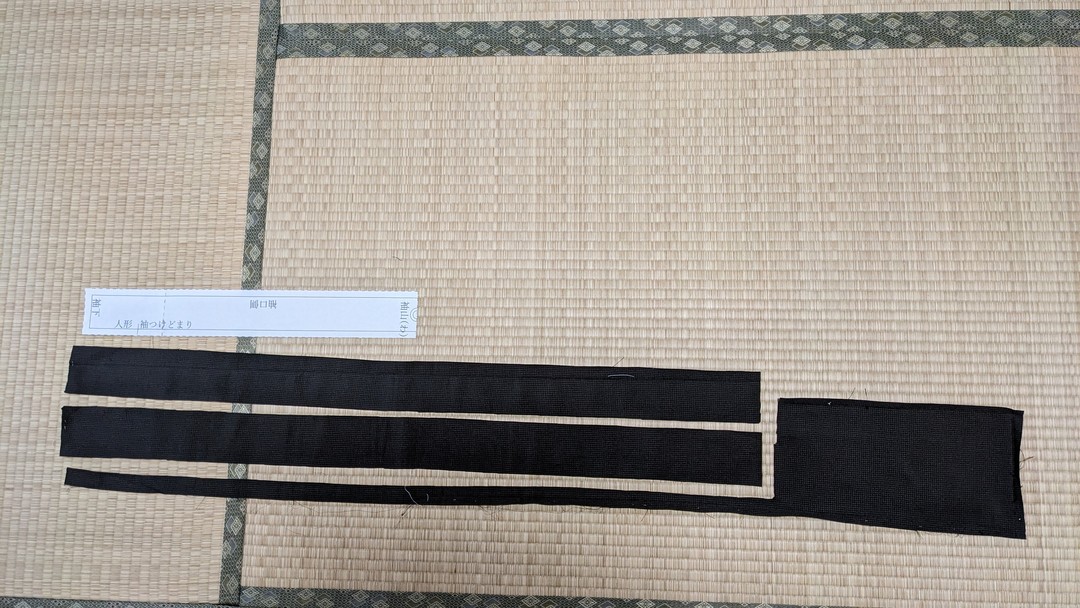
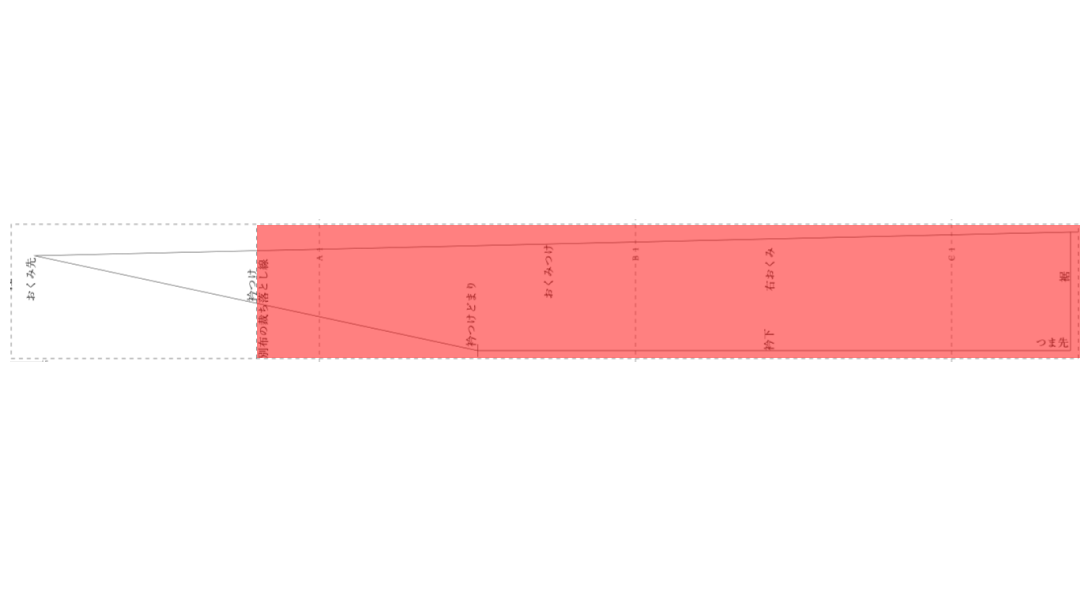
2. Among the unpicked collar pieces,
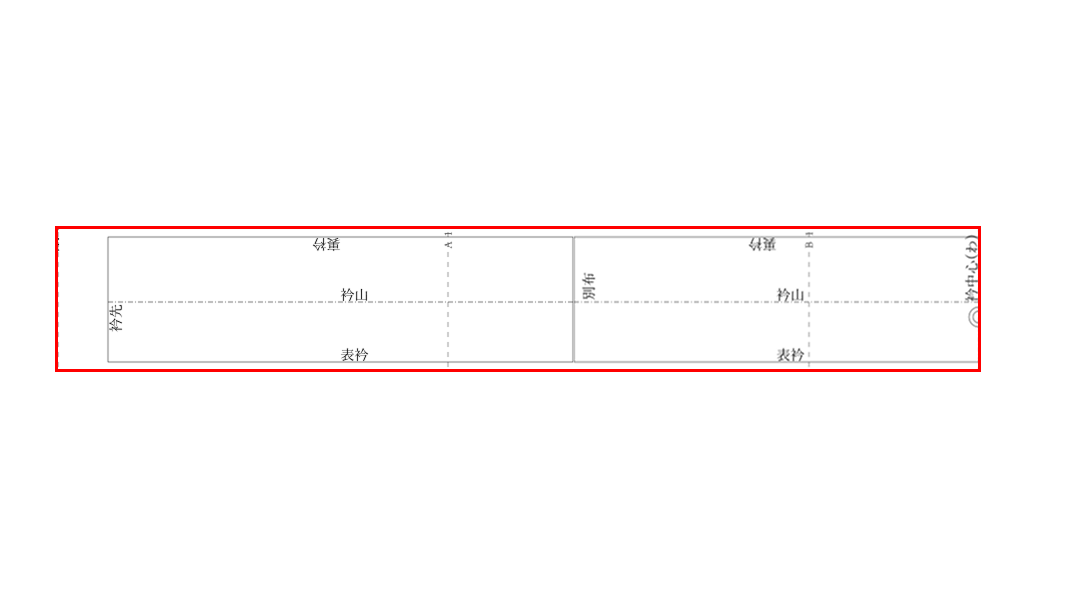
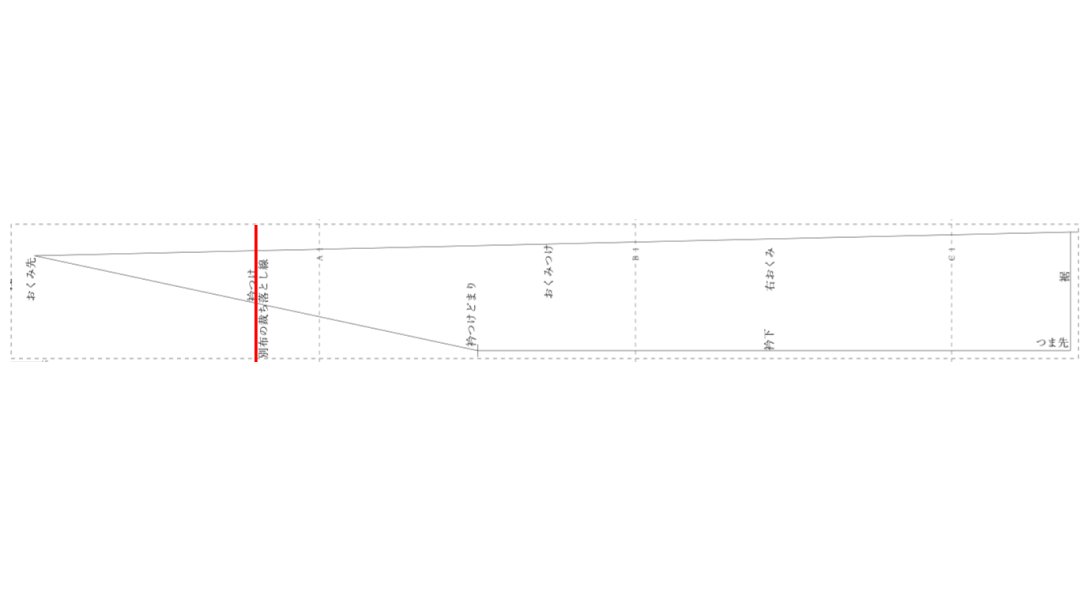
Use separate fabric for the part hidden by the cover collar.
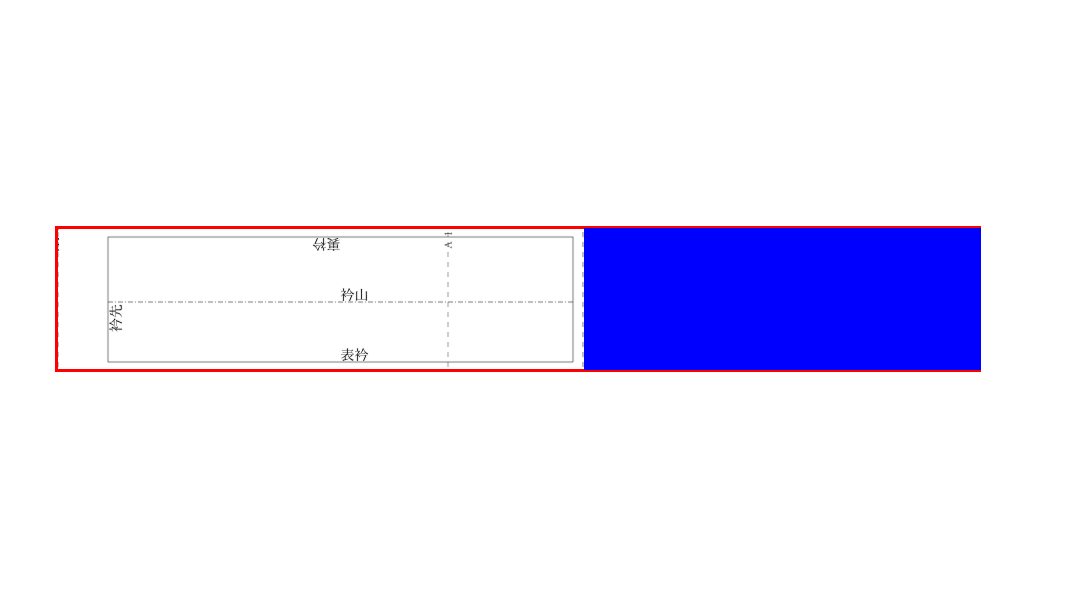
For that purpose, cut out along the collar tip fabric seam allowance line.
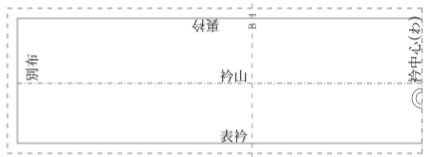
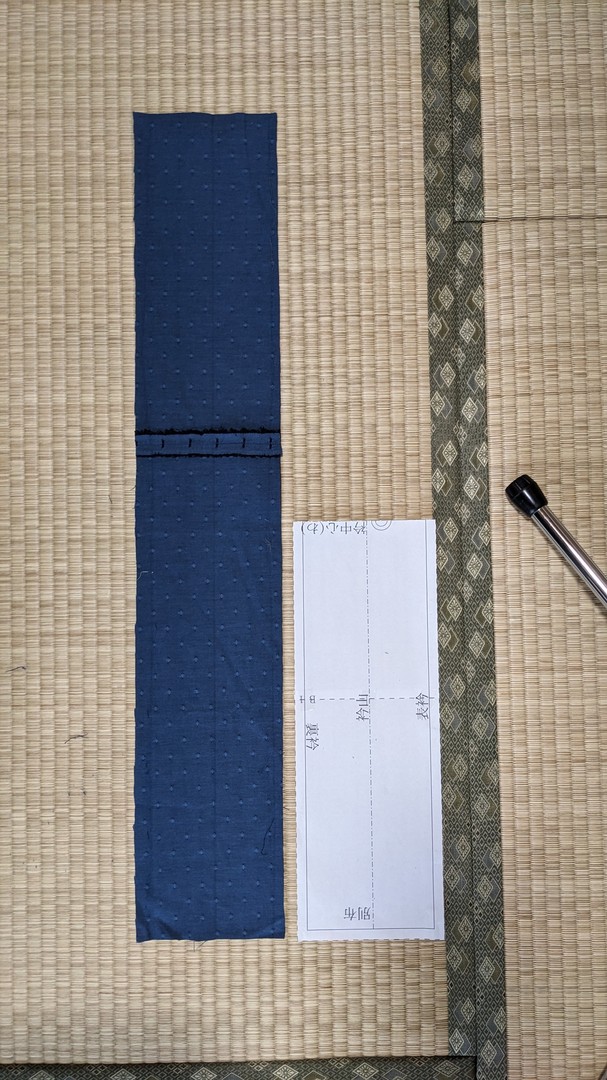
On the collar folded in half with outer/inner sides together,
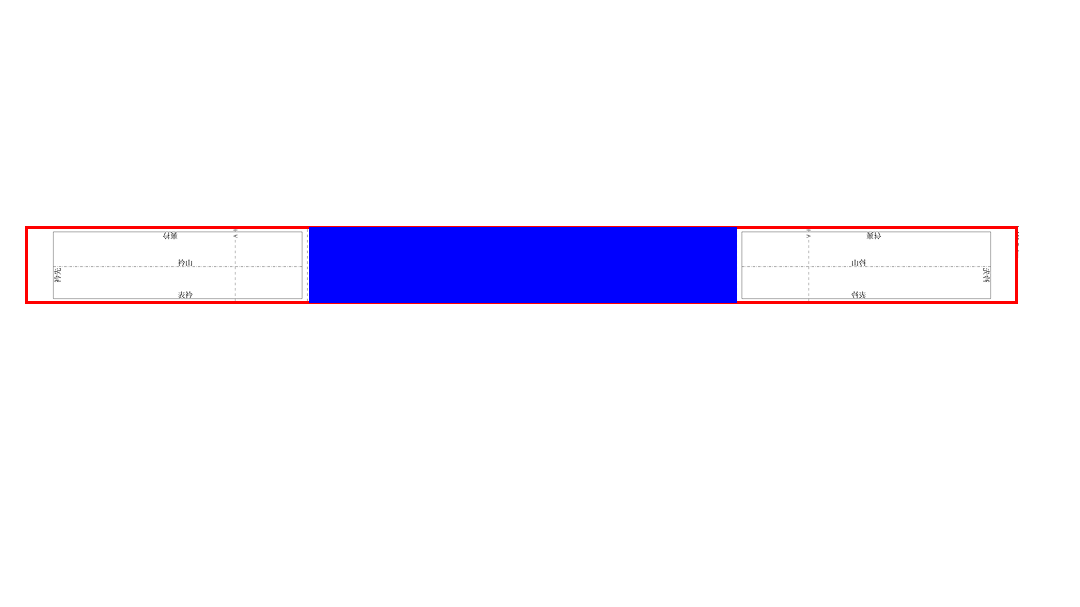
Place the separate fabric pattern, aligning with the collar center.
Fold the collar tip center-side seam allowance
and overlap with the separate fabric finished line.
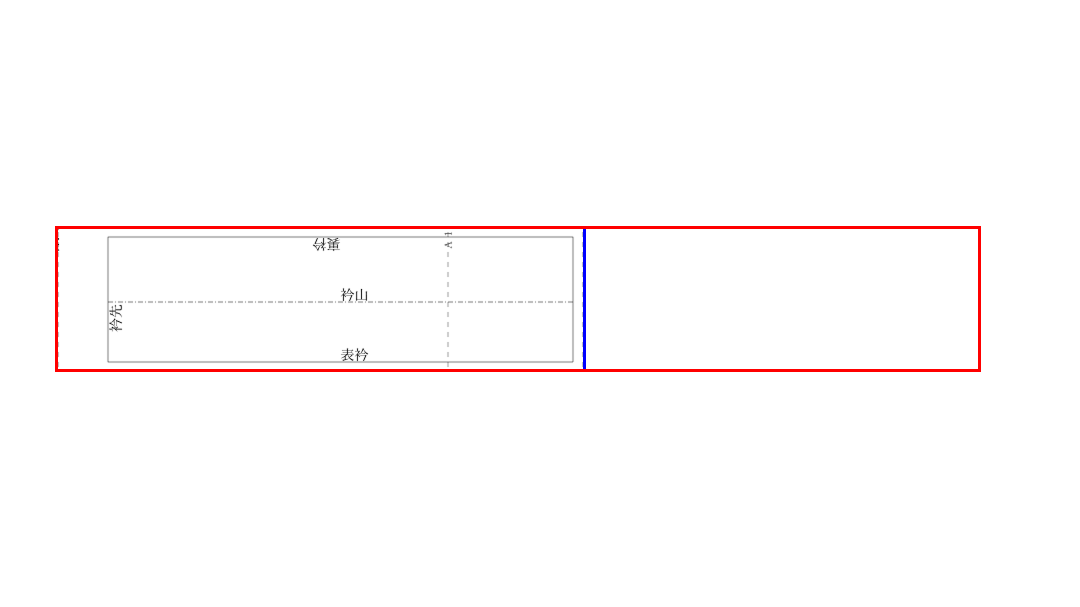
If the collar tip seam allowance pattern extends beyond the fabric edge, fold it.
Remove the separate fabric pattern.
Open the center-side seam allowance of the collar tip pattern and pin with basting pins.
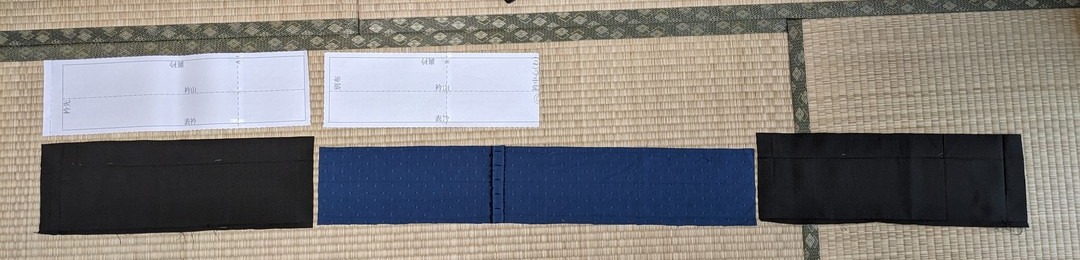
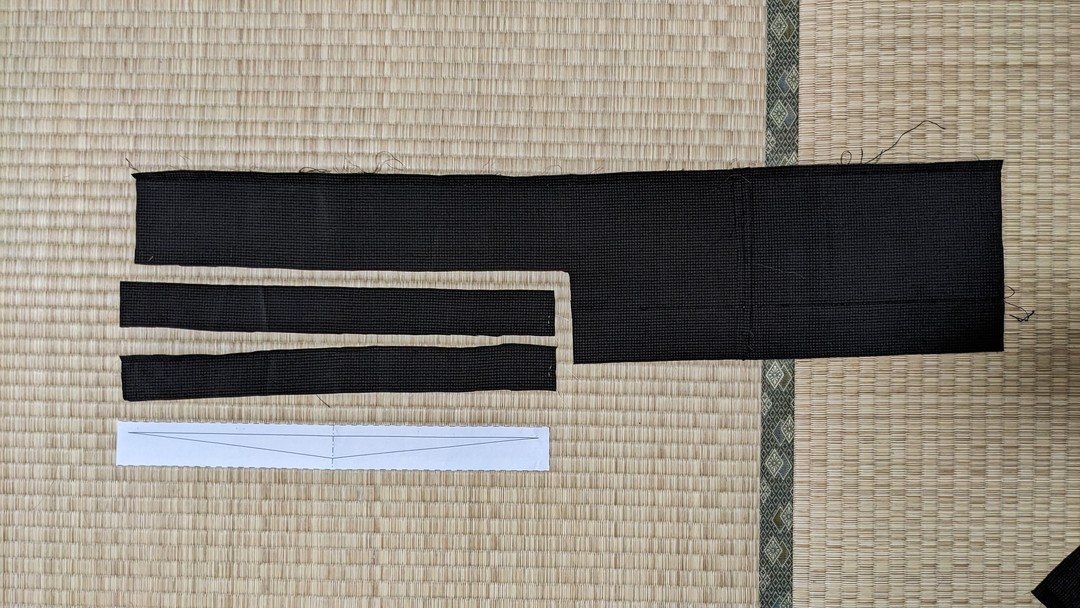
Cut out two fabric pieces along the collar tip center-side seam allowance line.
Extra seam allowance on the inner collar side is fine.
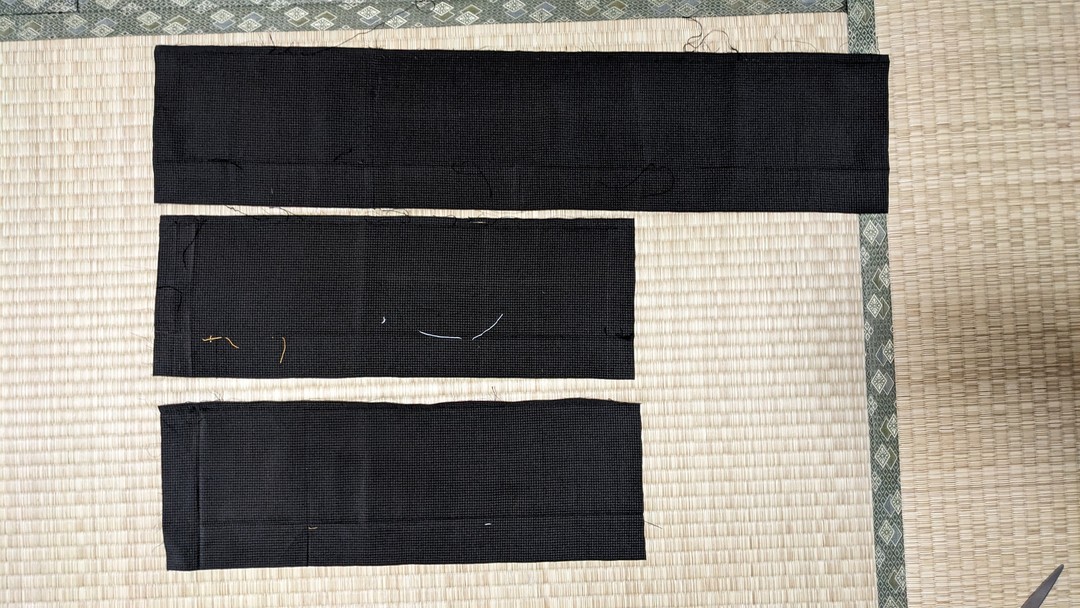
This gives two collar tip pieces and one collar center piece.

Use the collar center fabric as patch fabric.
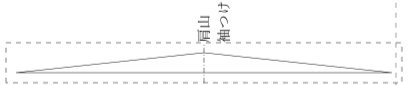
3. Make the center collar with separate fabric.
Place the collar center pattern on the wrong side of the separate fabric,
Secure with clips,
Fold in half along the collar center crest line with outer/inner sides together,
Pin with basting pins,
Cut out along the seam allowance line.
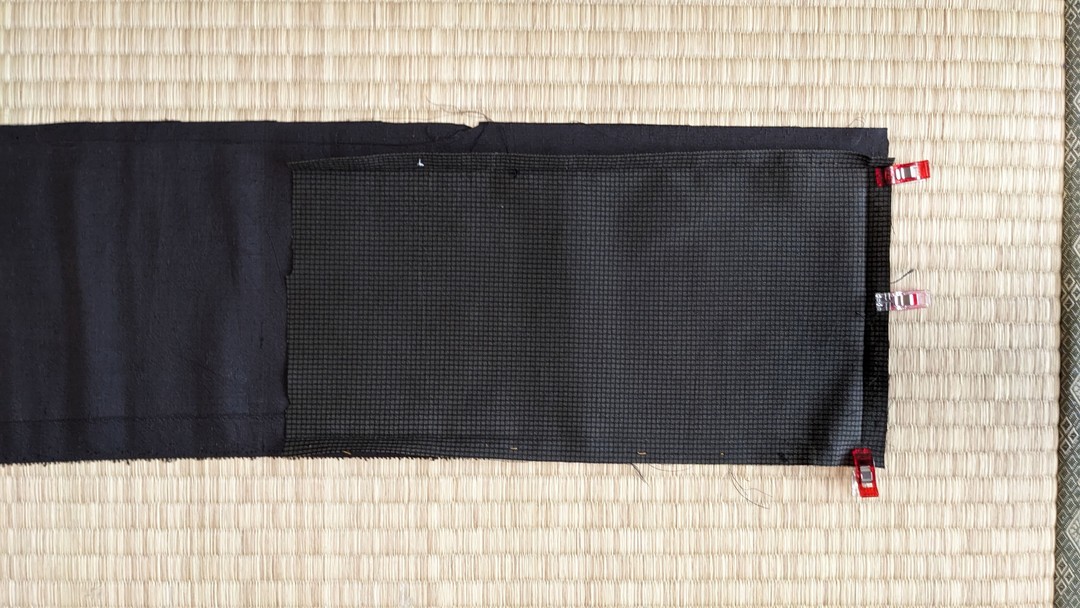
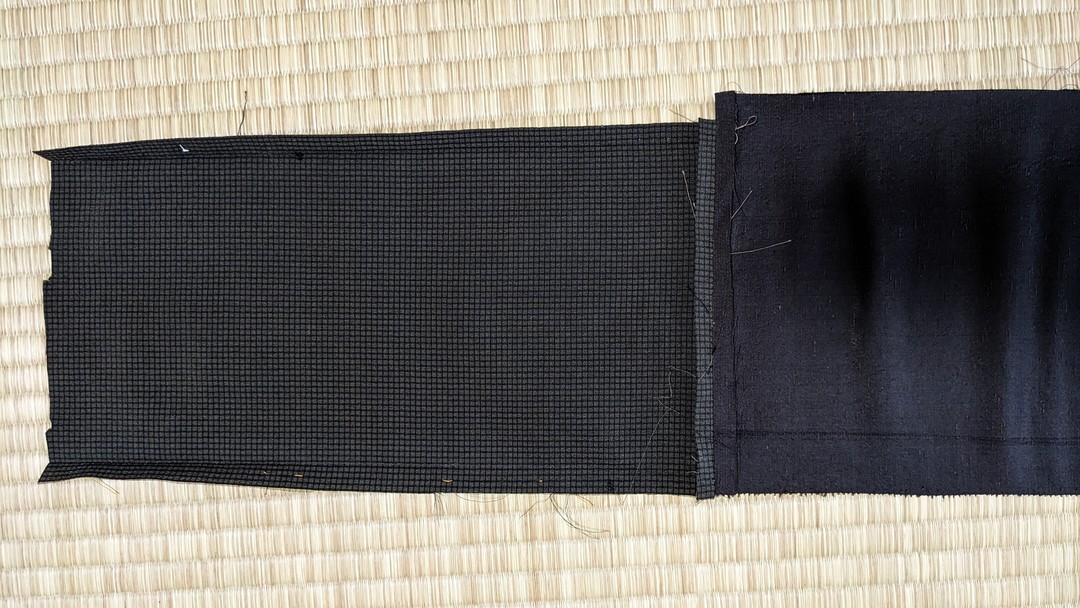
4. Join the separate fabric center and collar tips.
Where the separate fabric center and collar tips are laid out.
Align seam allowances with outer/inner sides together and clip.
Do the same for both sides.
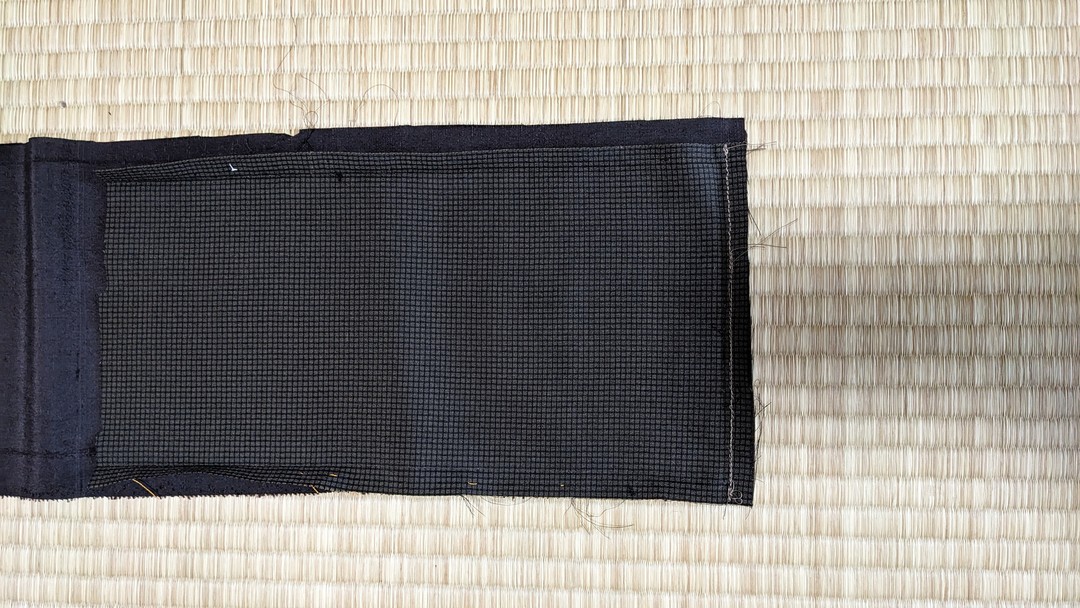
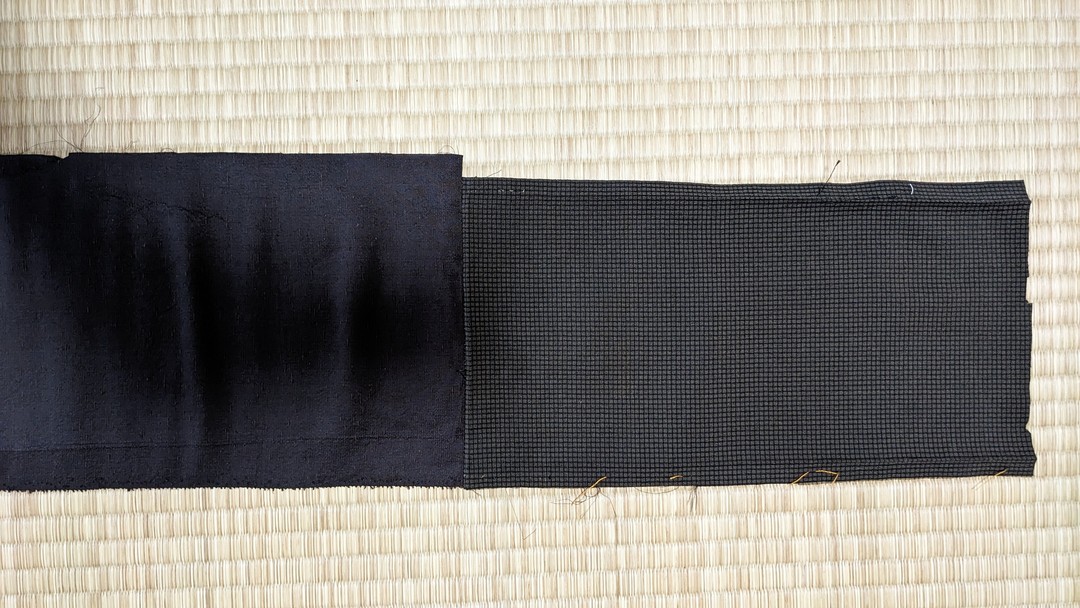
Sew the seam allowances with 1 cm seam.
Easy to measure 1 cm with the sewing machine presser foot.
Do the same for both sides.
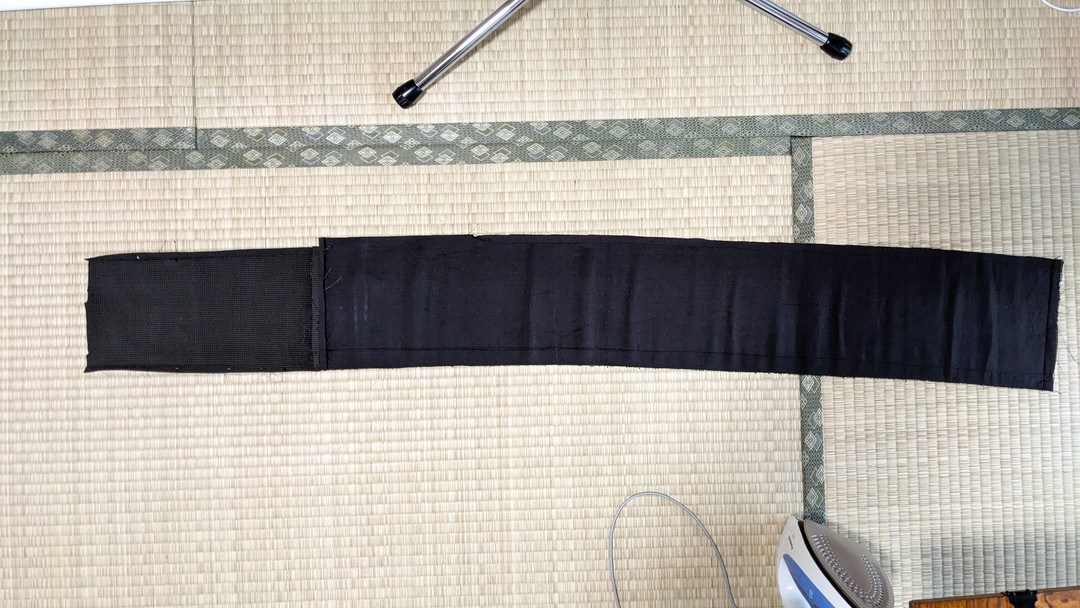
Press open the seam allowances from the wrong side.

Finished
5. From the collar center cut out earlier,
Cut out the body sleeve attachment.
Place the pattern on the wrong side of the fabric and pin with basting pins.
Cut out along the seam allowance line.
Cut out two pieces for left and right.
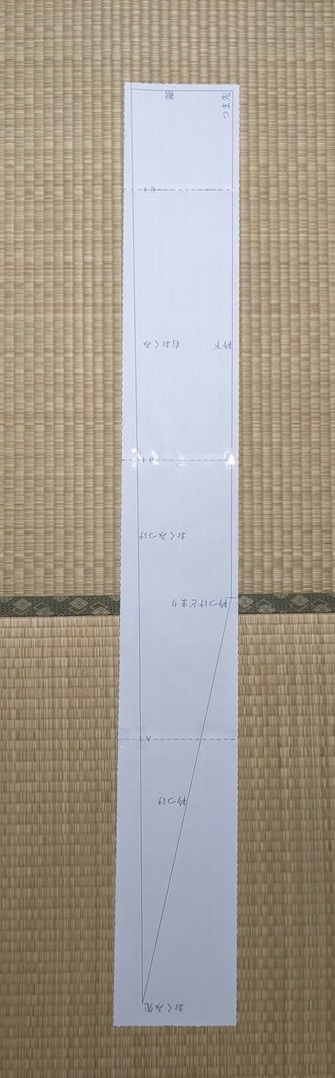
6. From the right okumi, cut out the sleeve attachment of the sleeve.
Cut out the outer/inner and left/right pieces.
Place the pattern on the wrong side of the right okumi and pin with basting pins.
Fold in half along the sleeve crest line with outer/inner sides together.
Pin with basting pins.
Cut out two layers together along the seam allowance line.
Cut out two pieces for left and right.
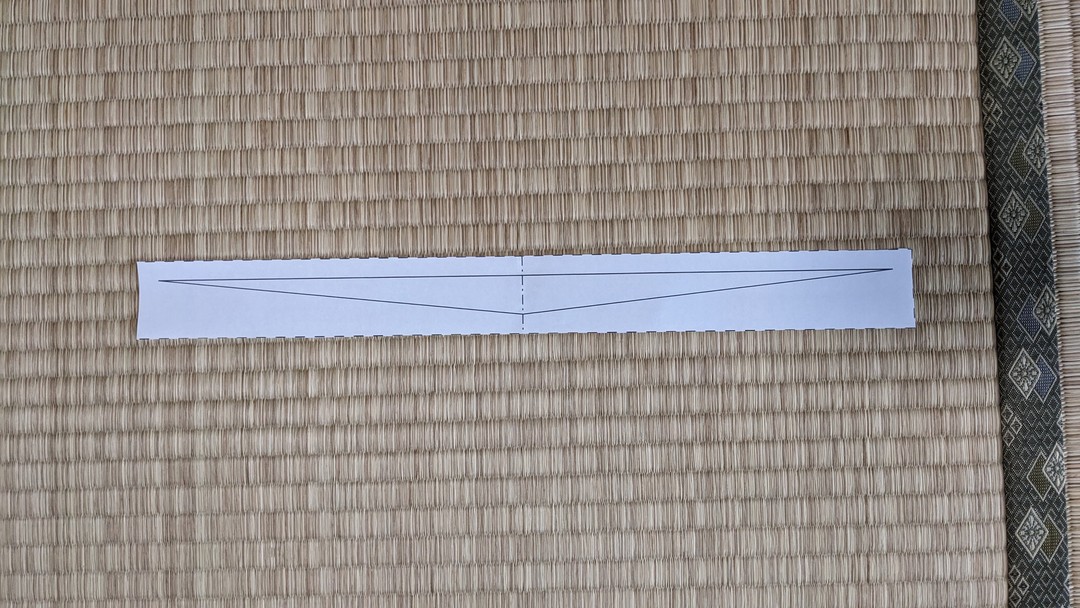
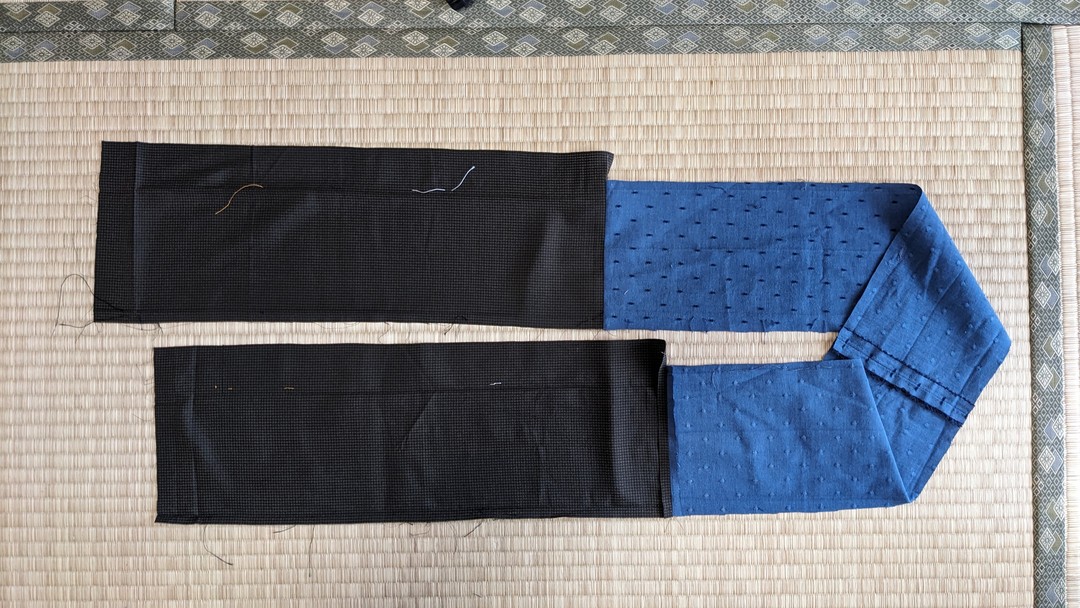
7. Remake the right okumi with the remaining fabric and separate fabric.

The pattern has a separate fabric cut line.
Cut out separate fabric to this size.
Place the pattern on the wrong side of the separate fabric, aligning the hem with the fabric edge.
Place the remaining fabric from the original right okumi and align the fabric edge with the pattern.
Confirm there is 2 cm clearance from the “separate fabric cut line”
Cut off the part extending beyond the remaining fabric.
Remove the remaining fabric and fold the pattern along the “separate fabric cut line”.
Align the collar base of the pattern with the fabric edge and pin with basting pins.
Cut out along the “separate fabric cut line”.
Remove the separate fabric okumi tip and replace with the original remaining fabric okumi tip.
Align the two fabrics at the collar base side,
Overlap the fabric edges with outer/inner sides together and pin with basting pins.
Measure 1 cm seam allowance and sew together.
Press open the seam allowances from the wrong side
Wrong side
Right side
Finished
Next time, we will sew these onto the original kimono.

In the alteration app, enter the measurements of your kimono,
enter the target gender and size after tailoring,
and the differences are calculated automatically.
What needs alteration and what can be altered are diagnosed automatically.
When you choose what you want to alter, the required patch fabric and where it can be taken from
are calculated automatically, and according to that area,
videos on unpicking, making patch fabric, and resewing
are displayed.