目次
1. After alteration,
– Men’s: sleeve attachment length
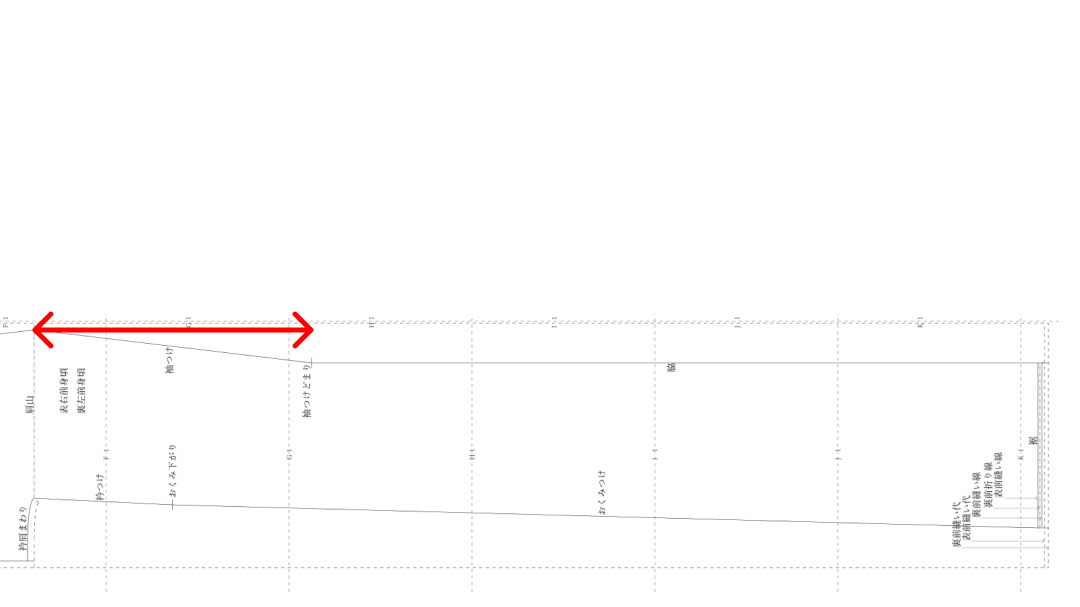
– Women’s: sleeve attachment + Miyatsu-Guchi length
Check whether they are sufficient.
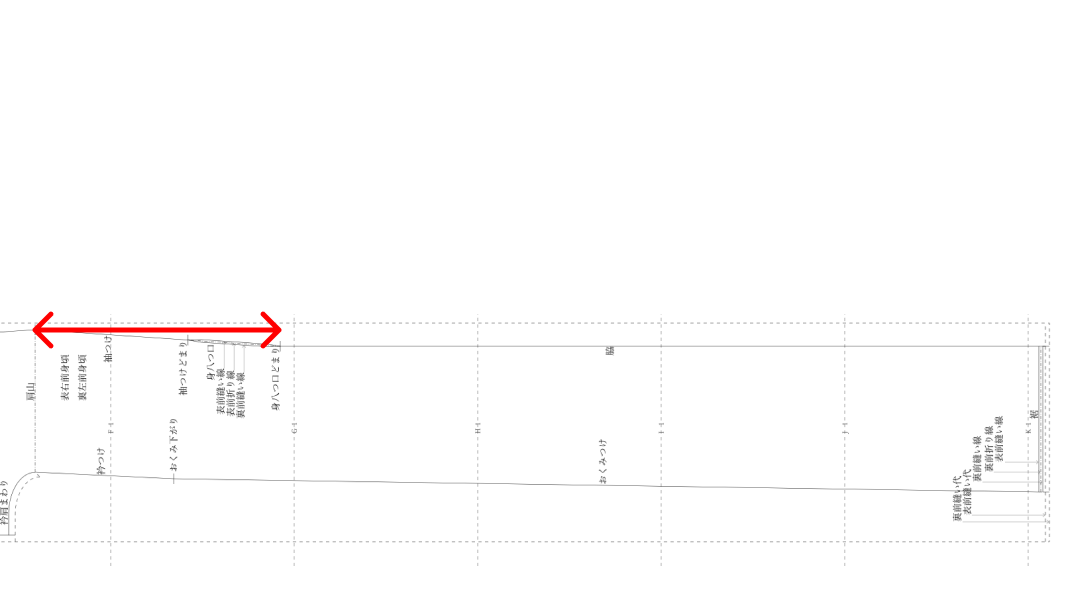
This time the current length is 37 cm; after alteration men’s is 42 cm.
If insufficient, at the post-alteration
– Men’s: sleeve attachment stop
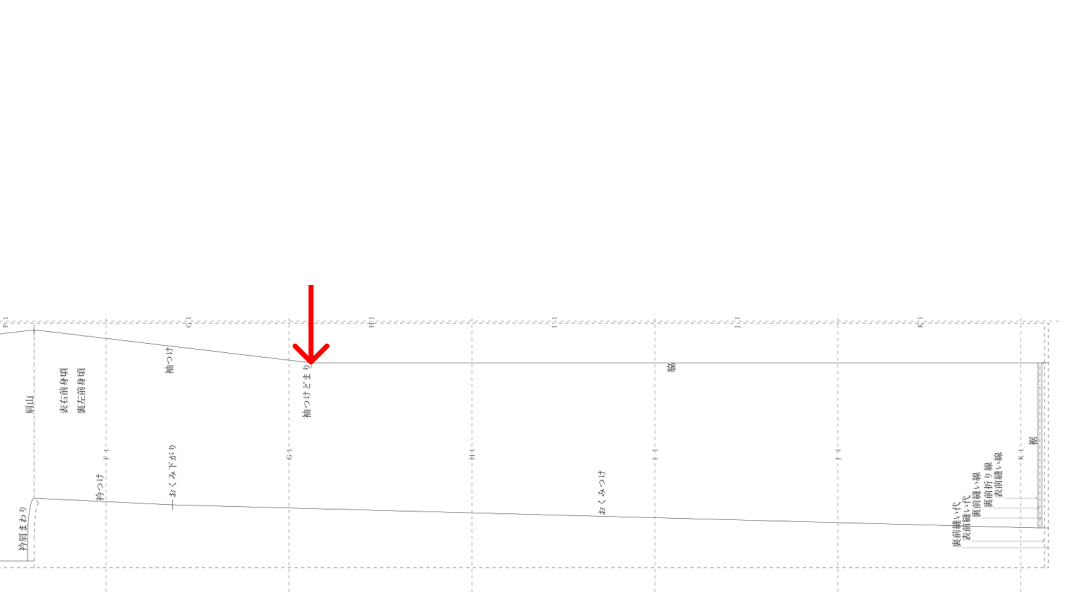
– Women’s: Miyatsu-Guchi stop
mark with basting pins,
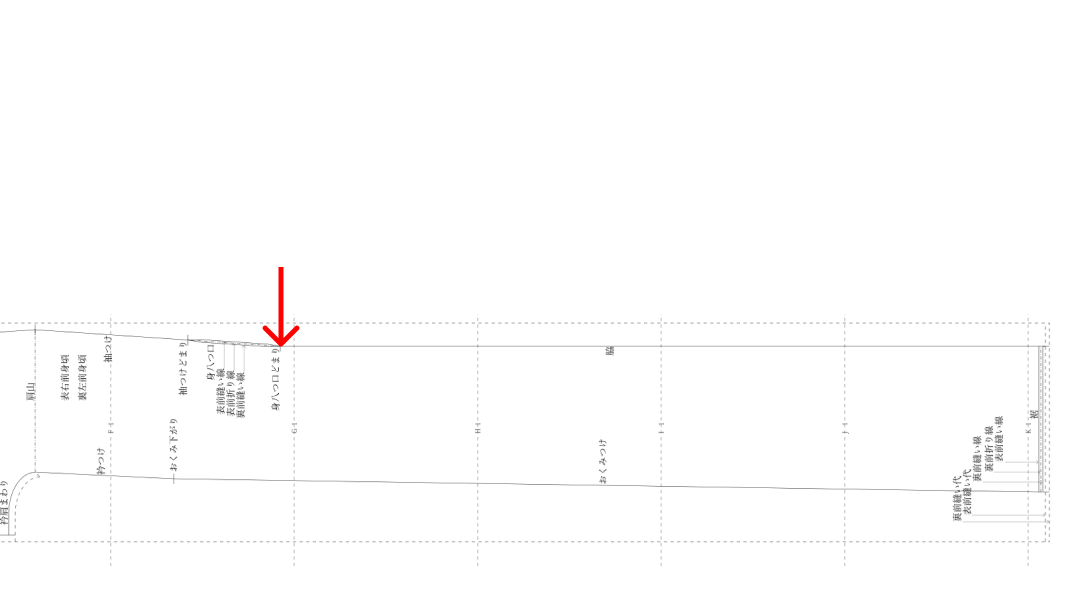
and unpick up to there.
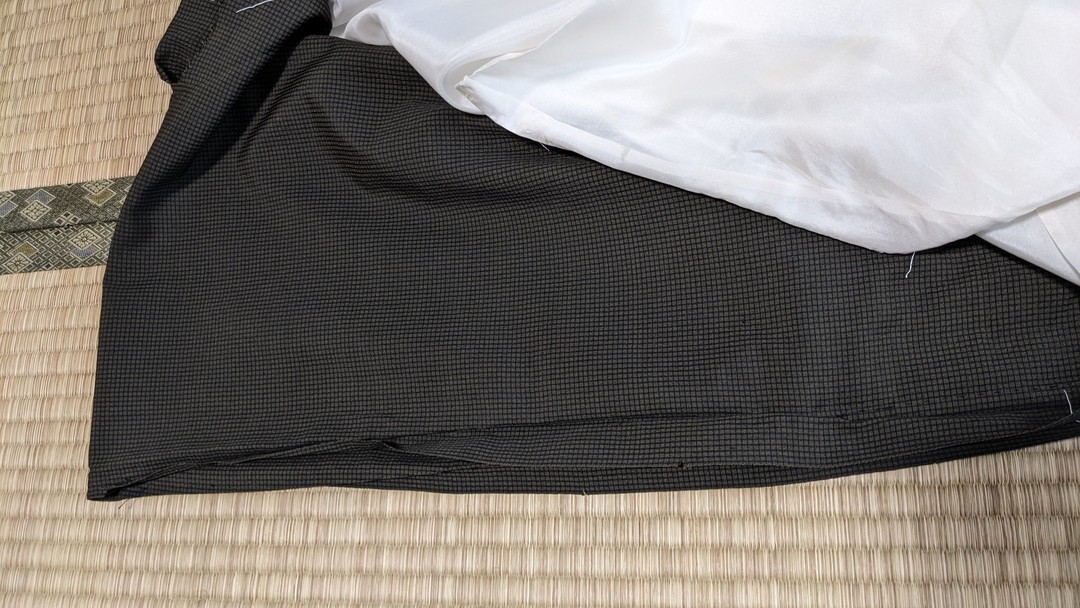
Turn to outer sides together, re-pin from the wrong side,
overlap the side seam onto the existing stitch line
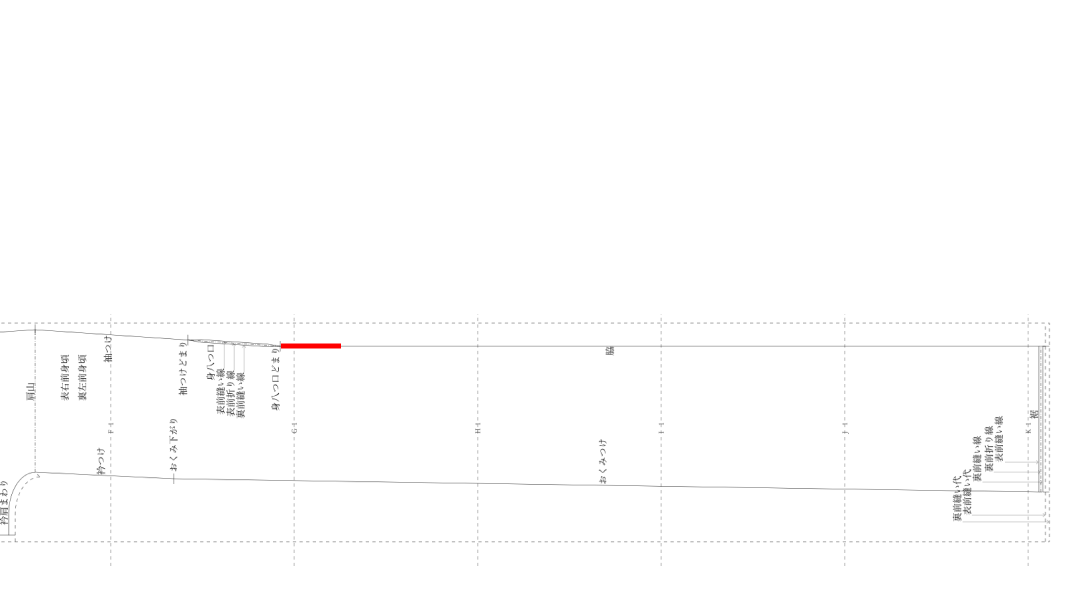
– Men’s: sleeve attachment stop
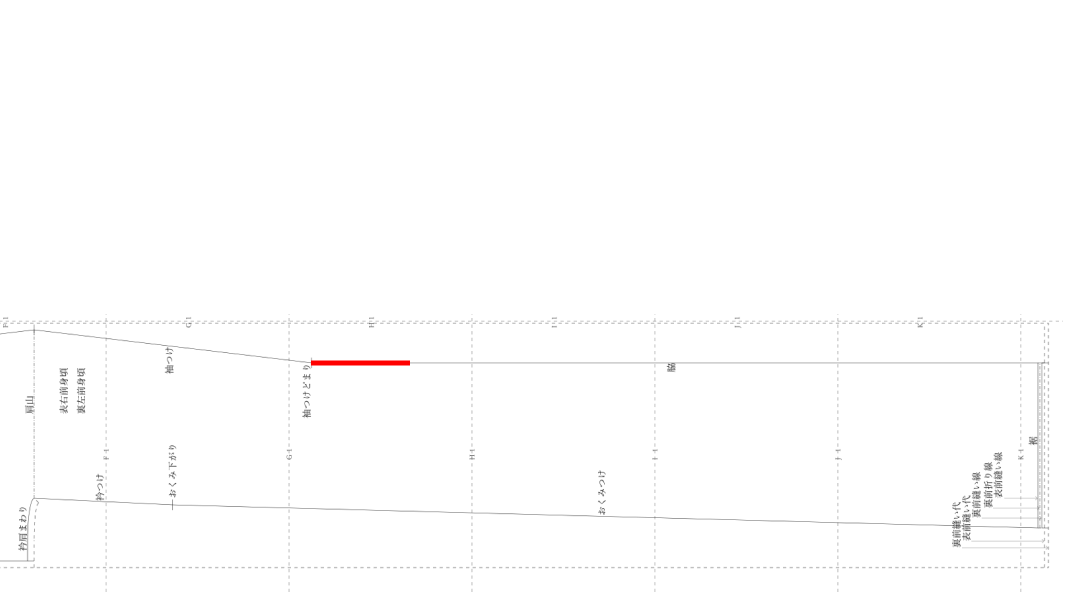
– Women’s: Miyatsu-Guchi stop
and sew with a straight machine stitch.
2. On the body
– Men’s: sleeve attachment
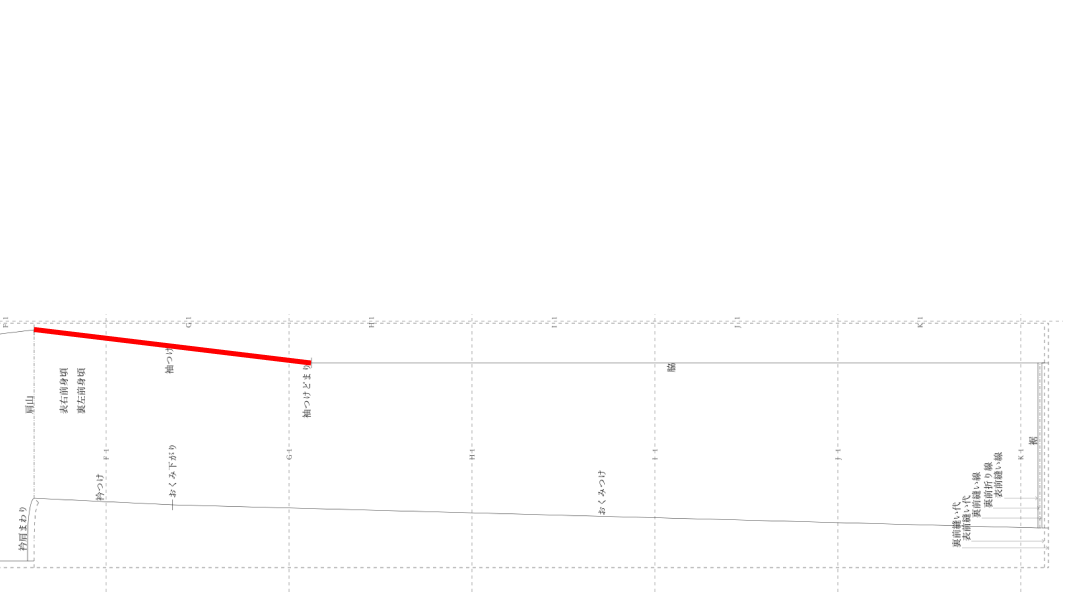
– Women’s: sleeve attachment, Miyatsu-Guchi
press from the wrong side to remove creases.
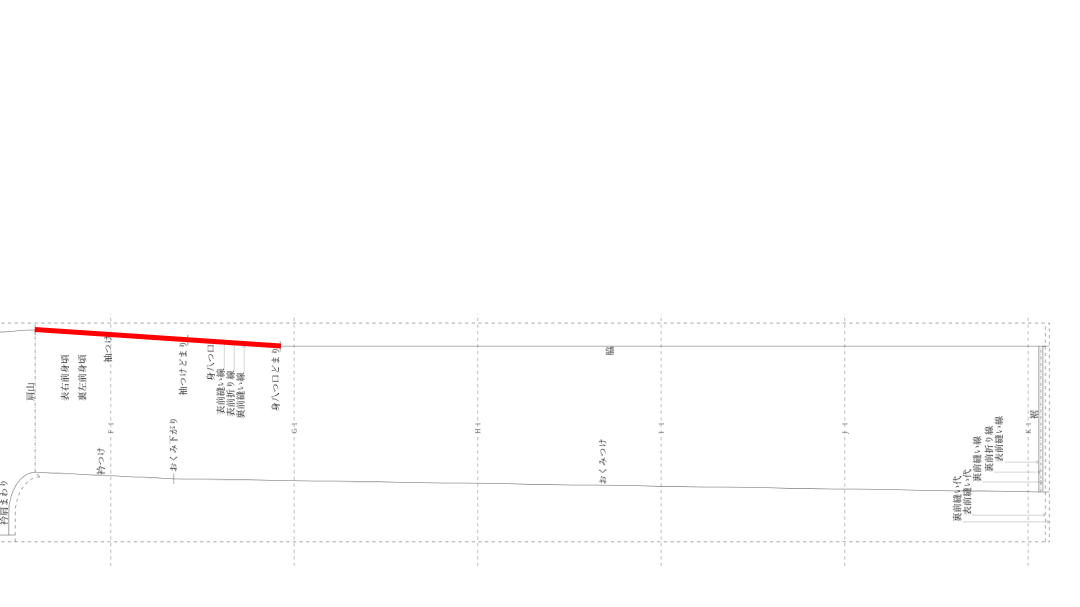
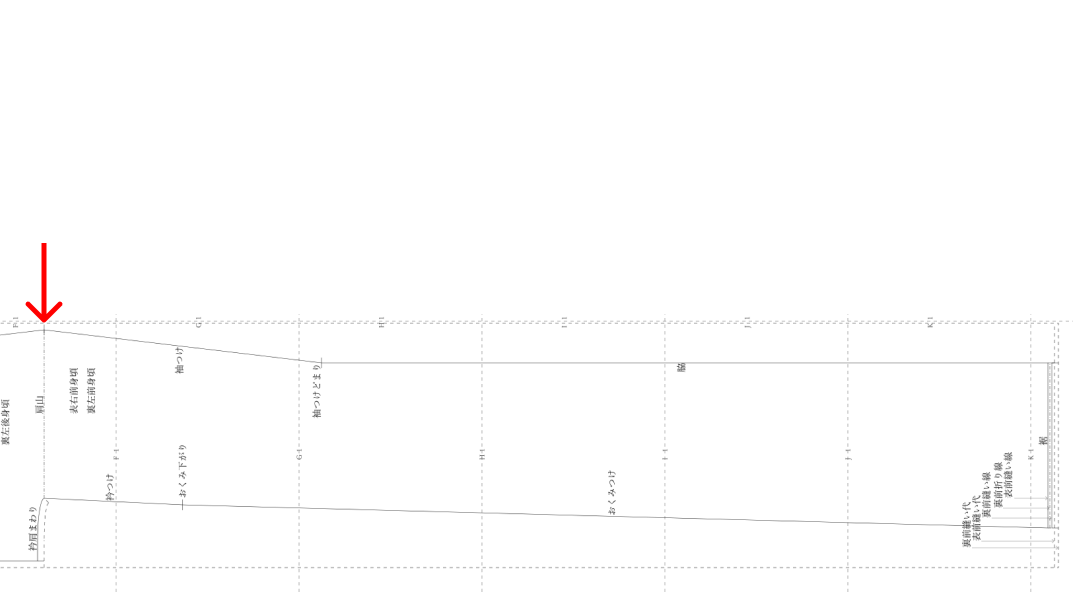
Press only at 1 cm seam allowance on the shoulder line as a mark.
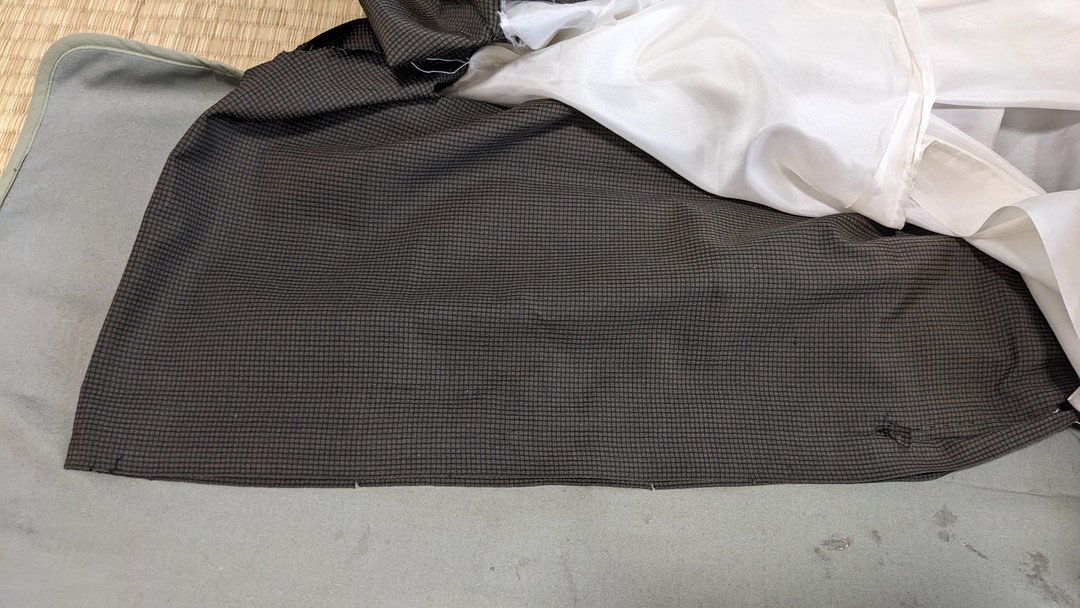
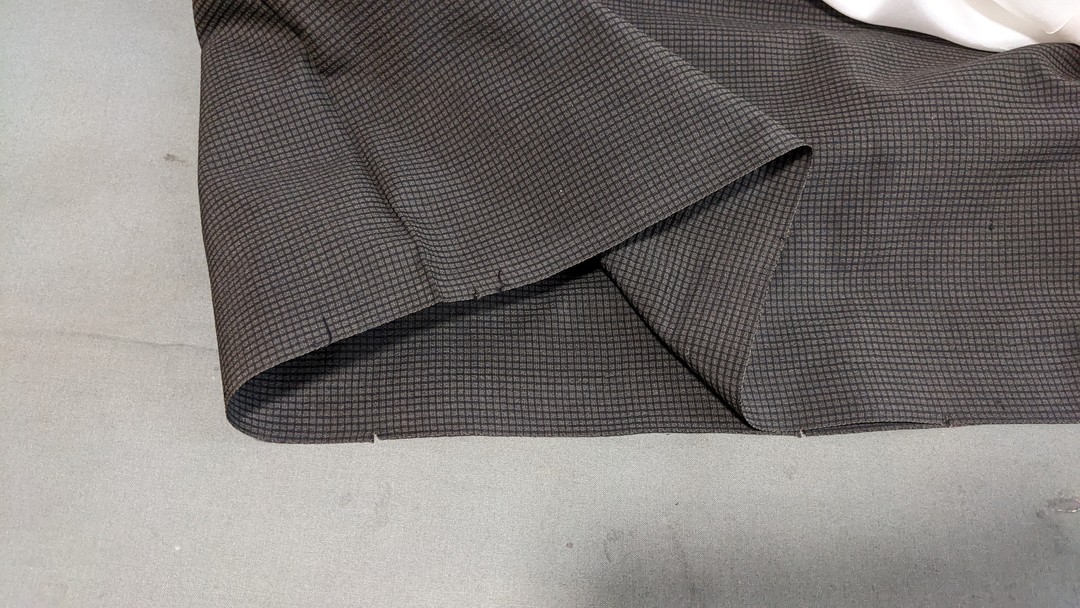
3. Fold the patch fabric with the outer side out,
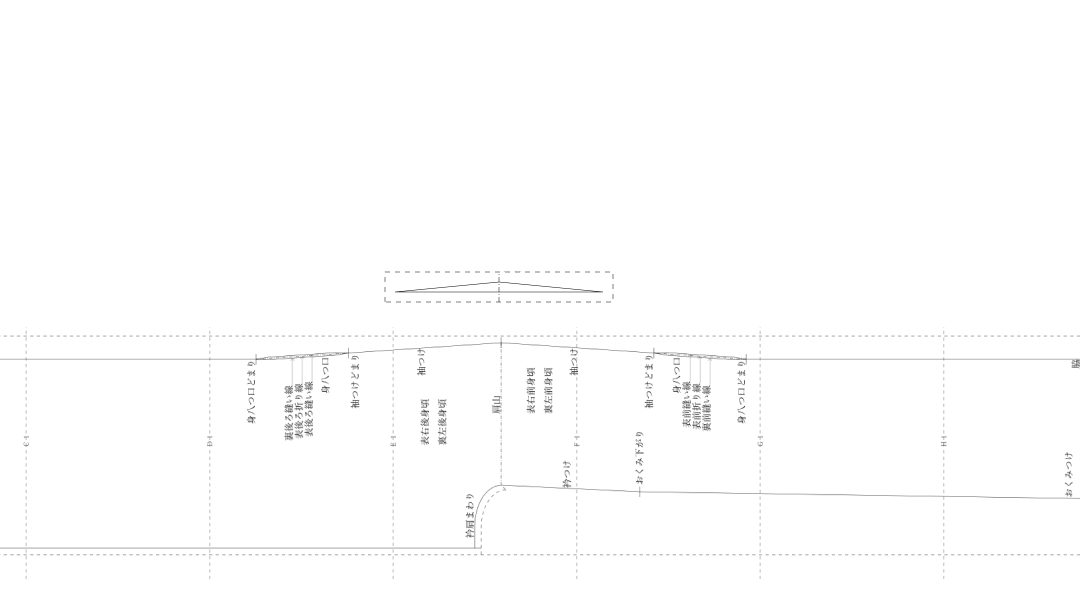
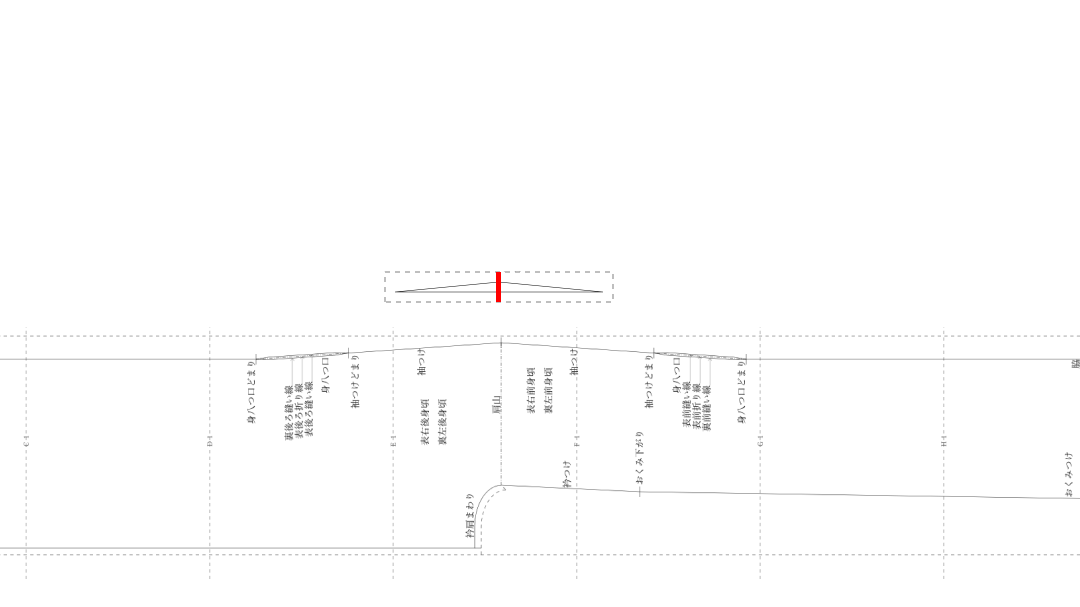
and align the fabric edges.
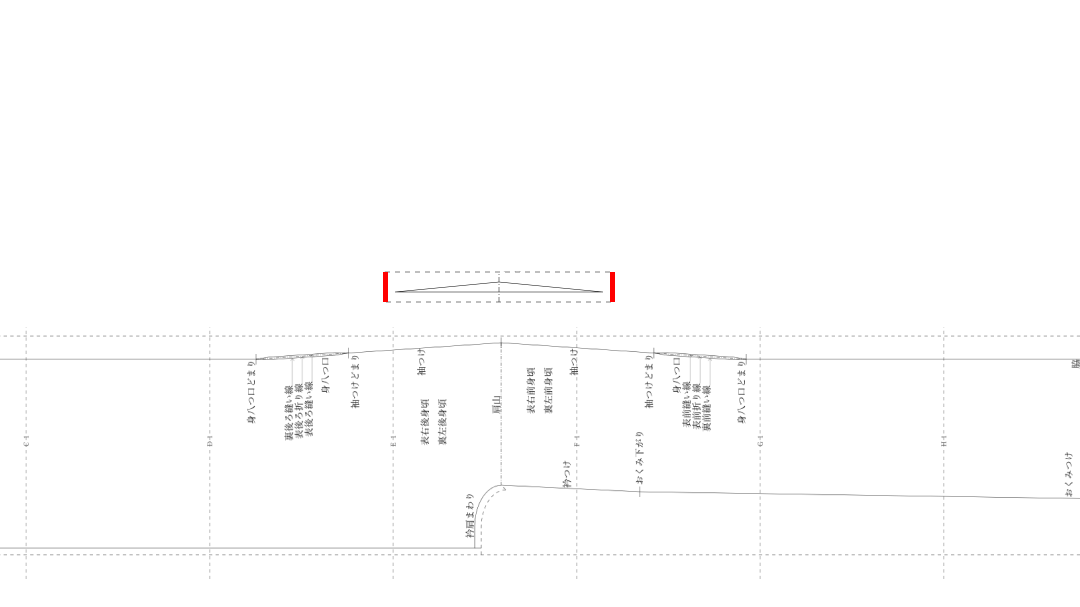
Align the patch fabric with the body at the shoulder line,
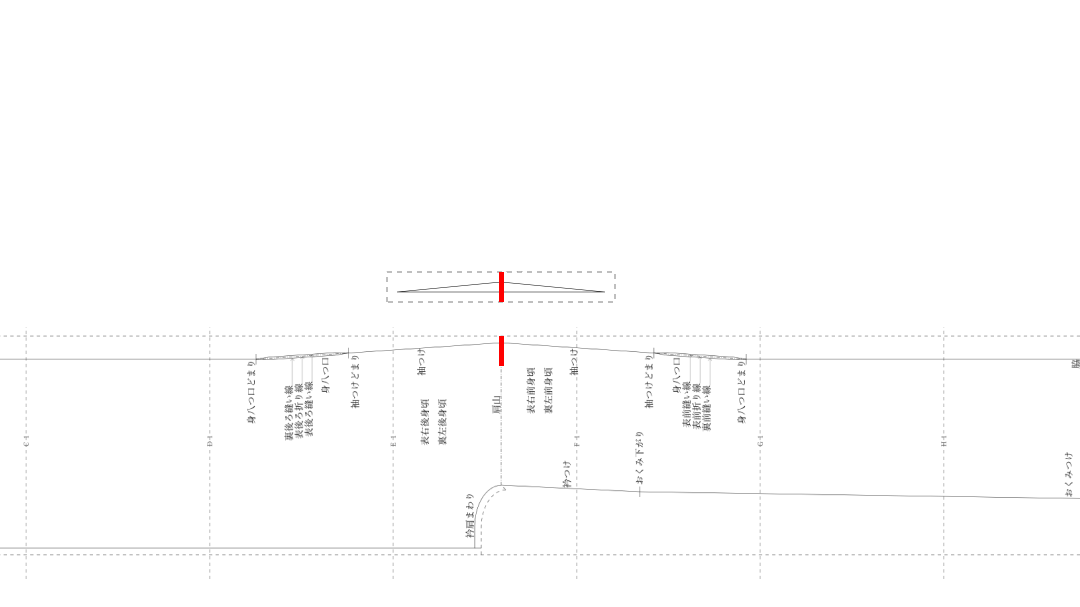
match fabric edges, and baste.
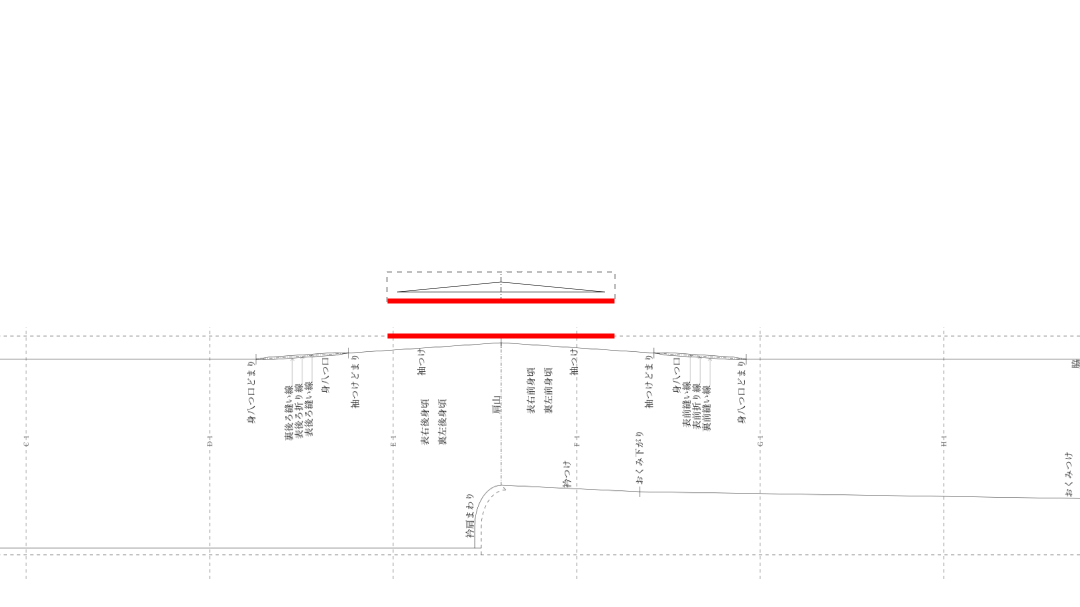
4. Sew the body and patch fabric together with a straight machine stitch
1 cm from the fabric edge.
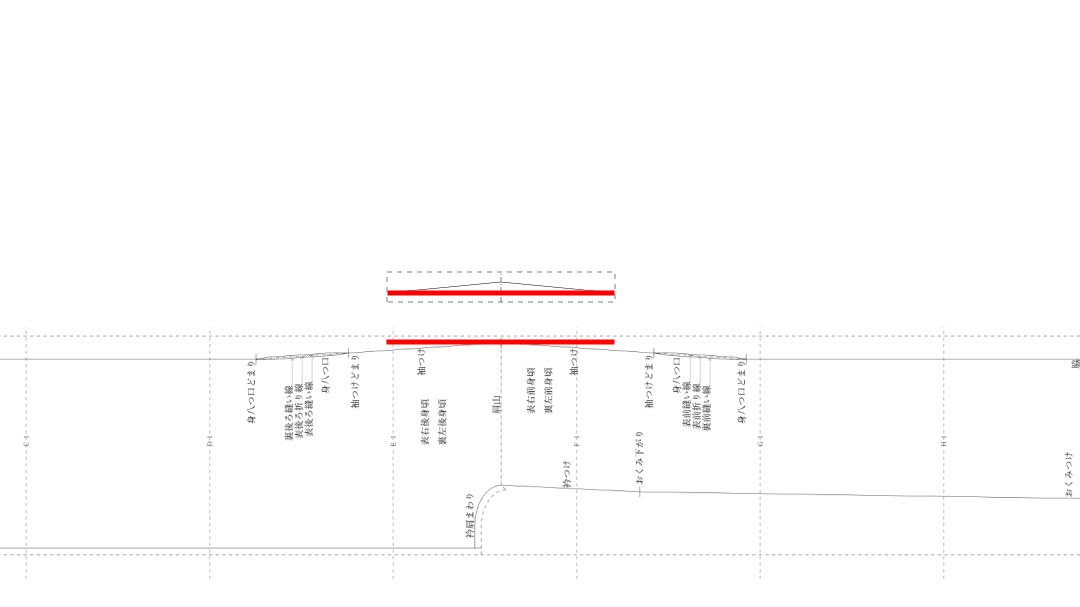
Stitch length is 5 mm. The presser foot makes it easy to measure 1 cm
from the fabric edge.
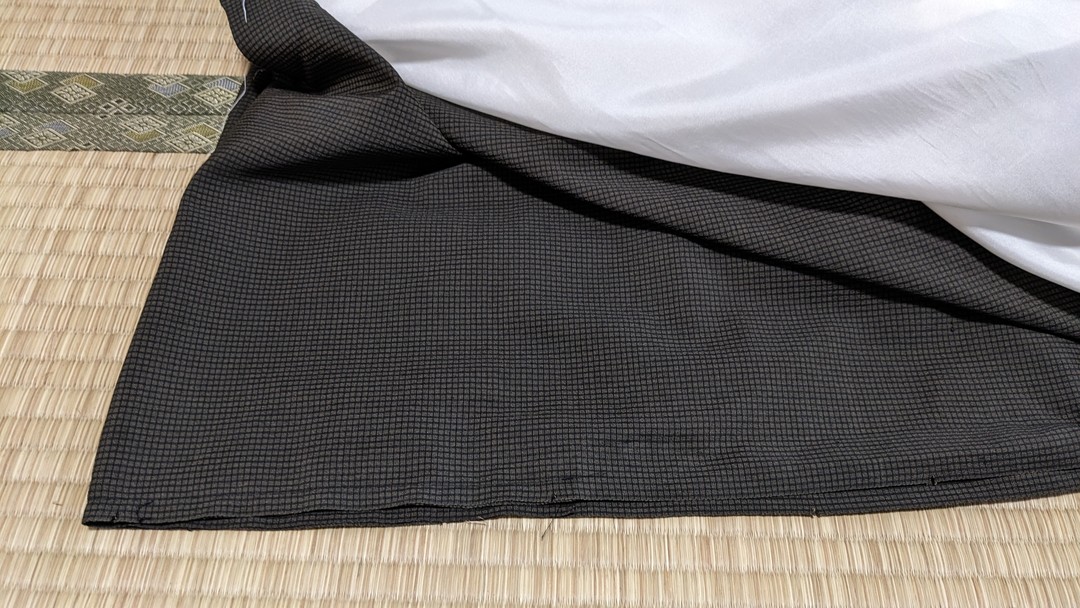
When finished sewing, pull the threads to secure.
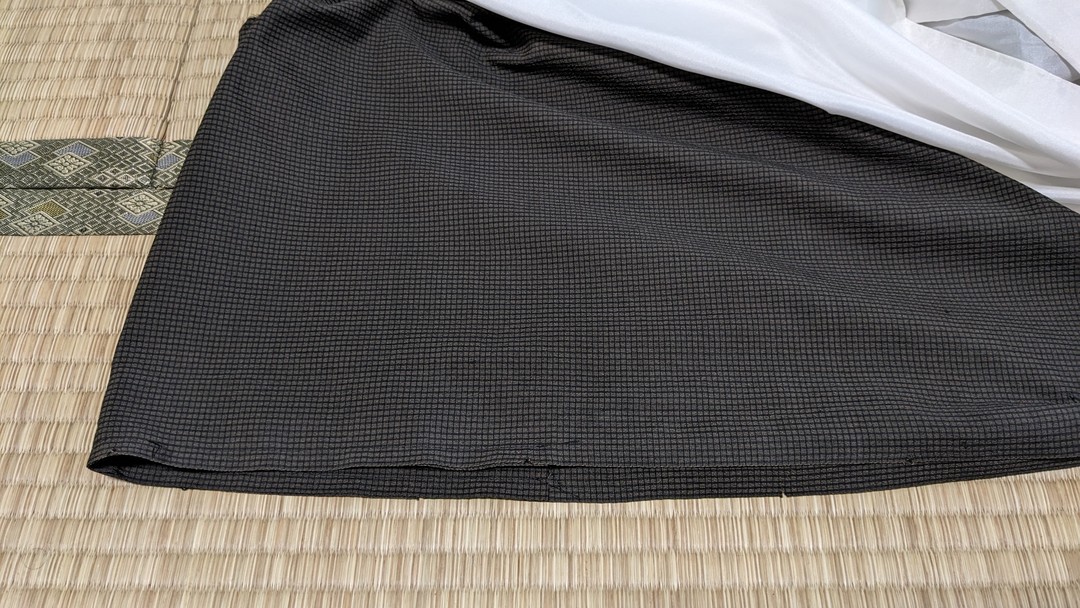
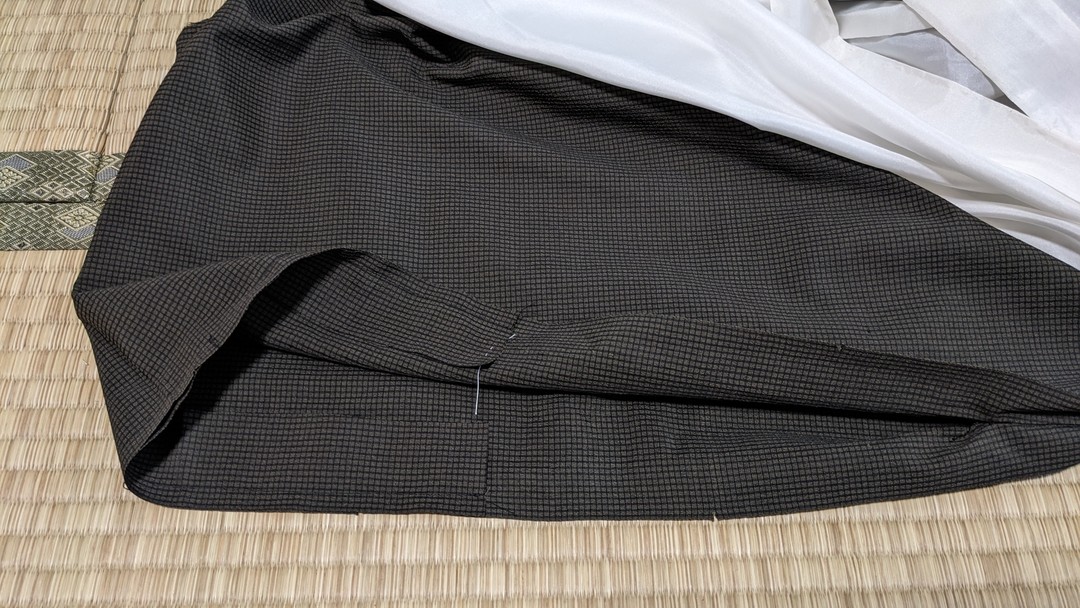
5. Press open the seam allowances at the sewn area.
Wrong side
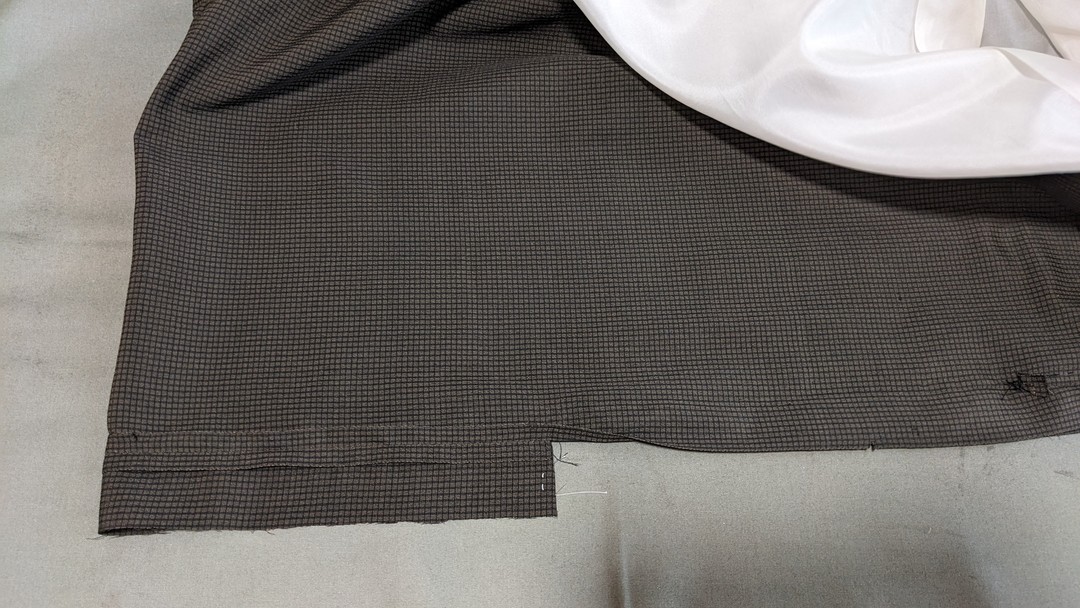
Right side
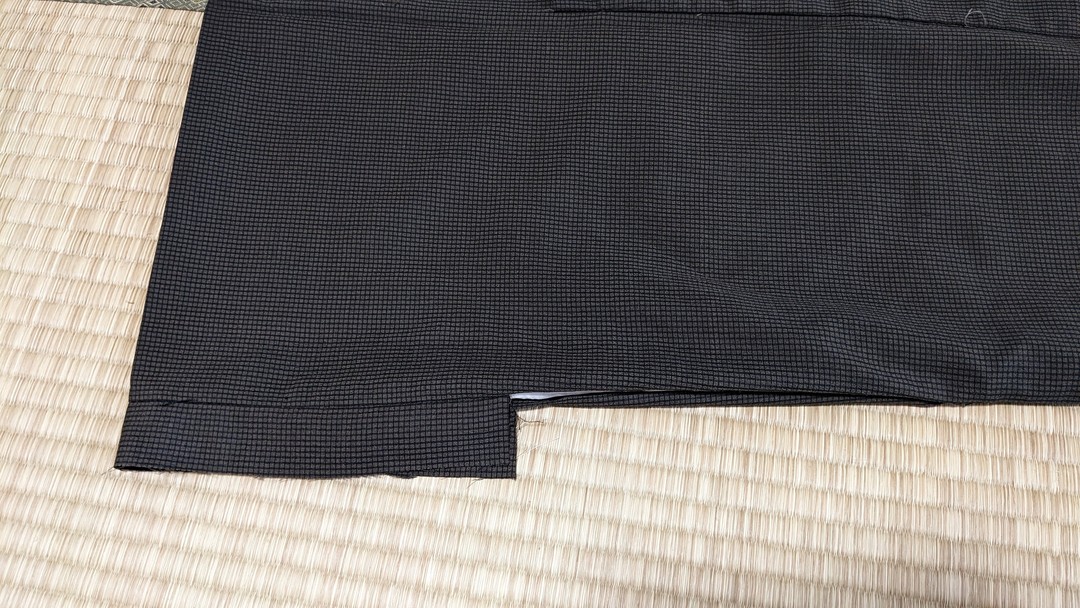
6. Do the above on both left and right sleeve attachments.
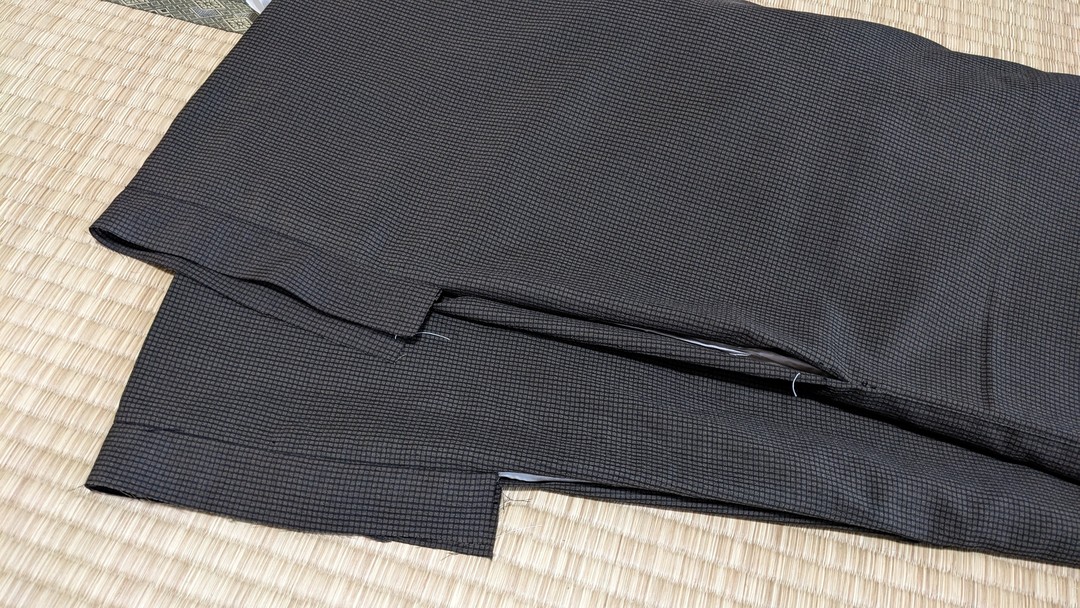
7. For a lined kimono, process the lining sleeves similarly.
Pull out the lining from the body.
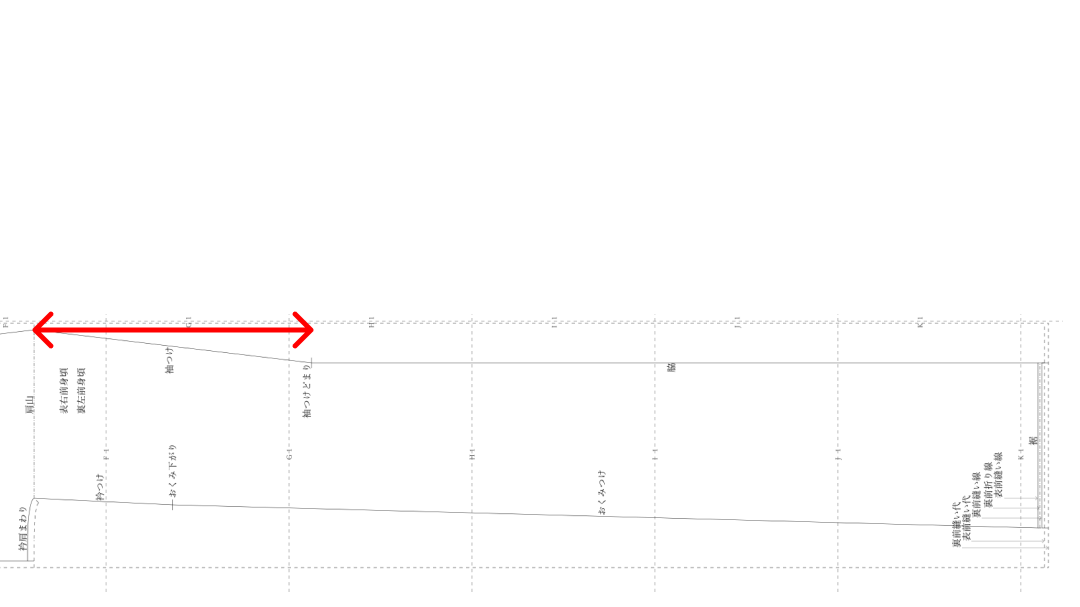
After alteration,
– Men’s: sleeve attachment length
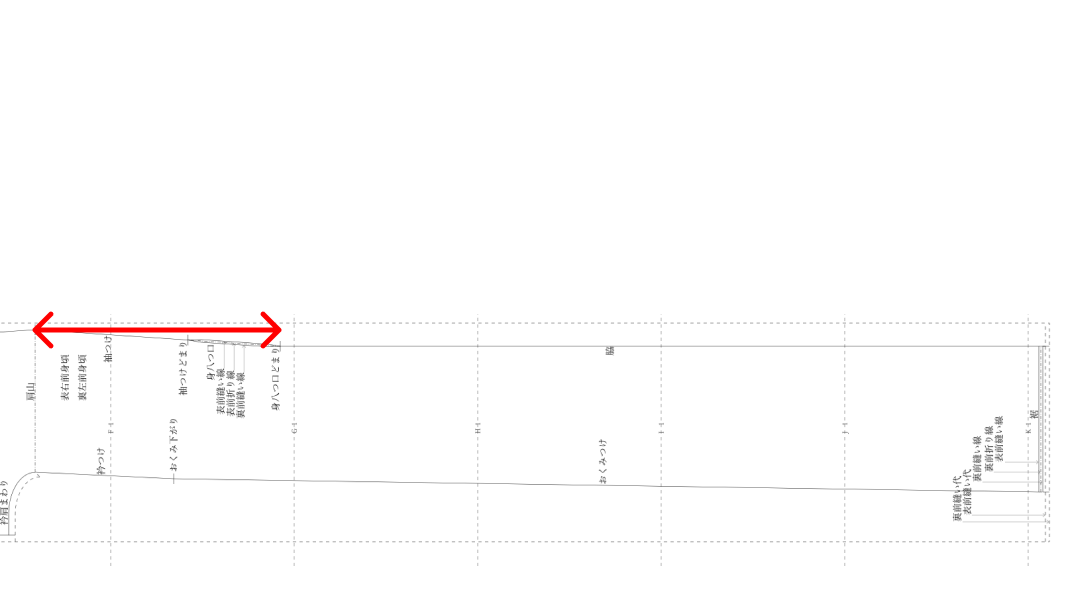
– Women’s: sleeve attachment + Miyatsu-Guchi length
Check whether they are sufficient.
Same as the outer fabric: current 37 cm; after alteration men’s 42 cm.
If insufficient, at the post-alteration
– Men’s: sleeve attachment stop
– Women’s: Miyatsu-Guchi stop
mark with basting pins,
and unpick up to there.
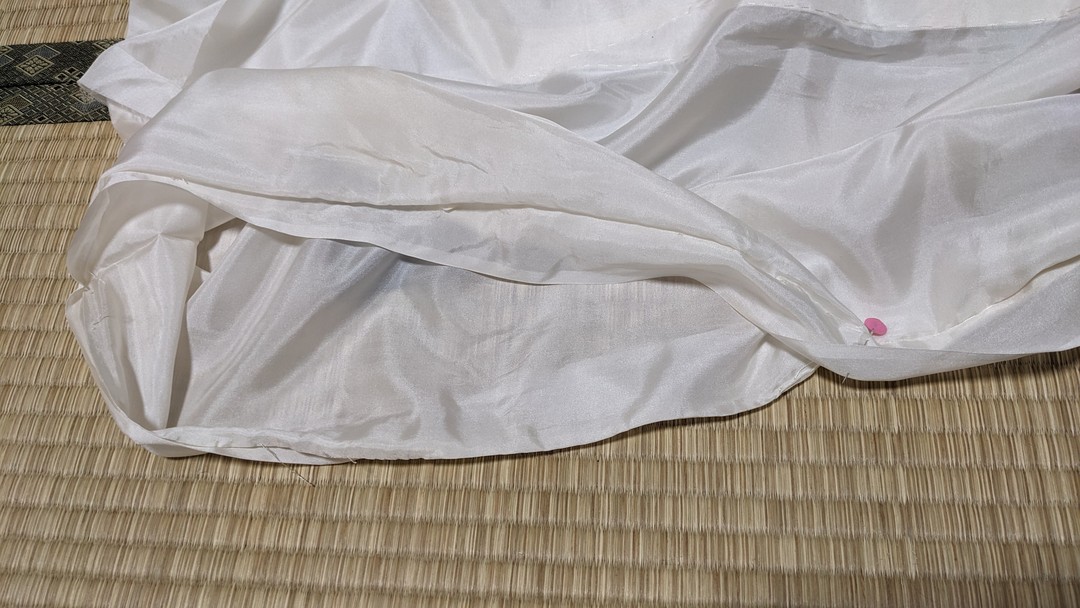
Re-pin from the wrong side, and at the side
– Men’s: sleeve attachment stop
– Women’s: Miyatsu-Guchi stop
sew with a straight machine stitch.
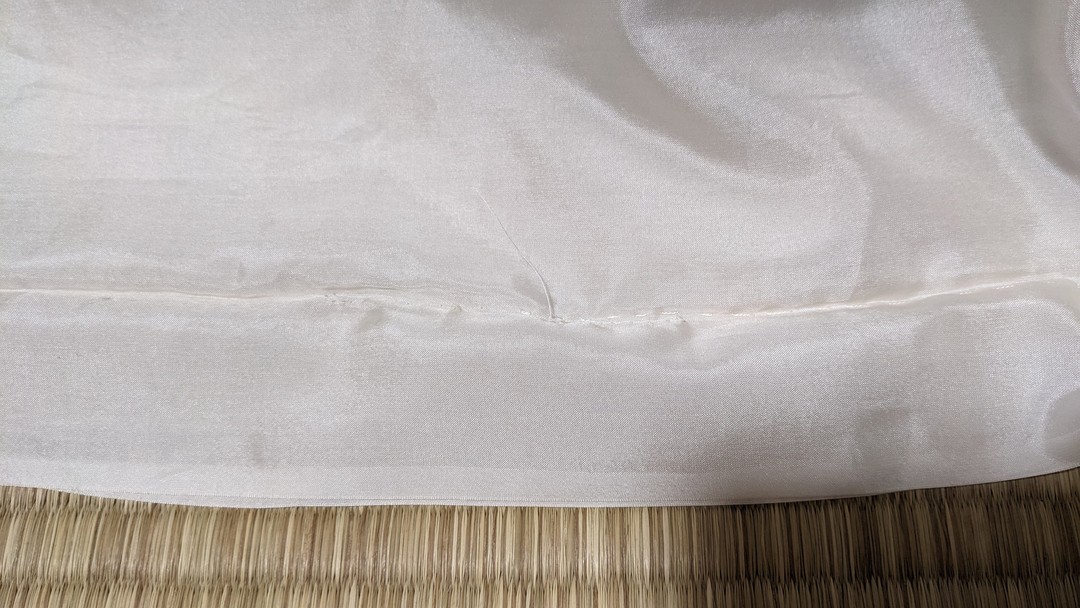
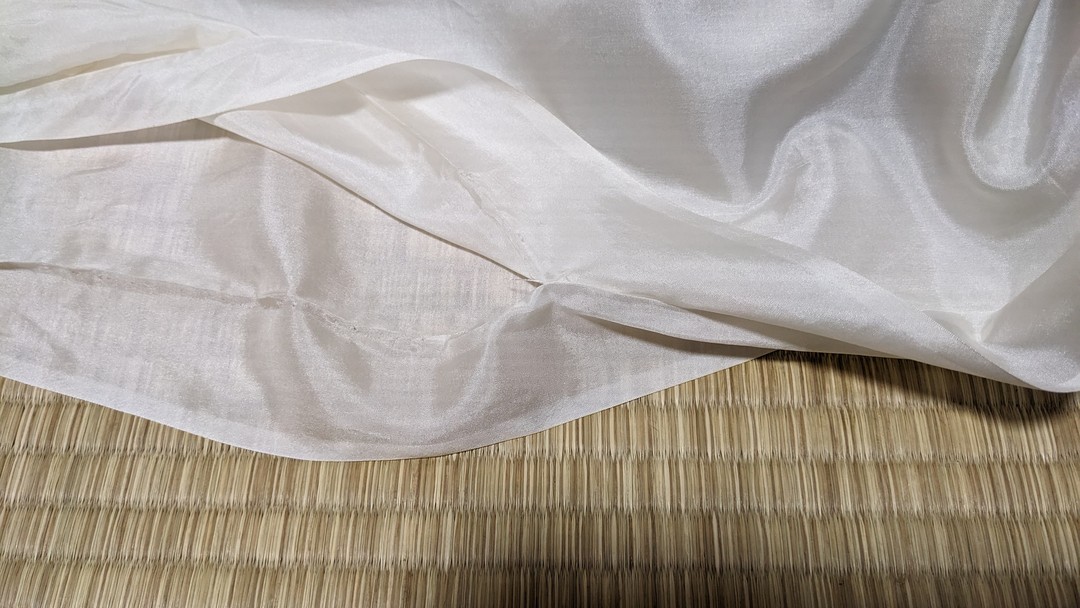
8. Place the pattern on the wrong side of the lining, baste, and cut off
along the seam allowance line.
9. Press from the wrong side of the body sleeve attachment to remove
creases.
Press only at 1 cm seam allowance on the shoulder line as a mark.
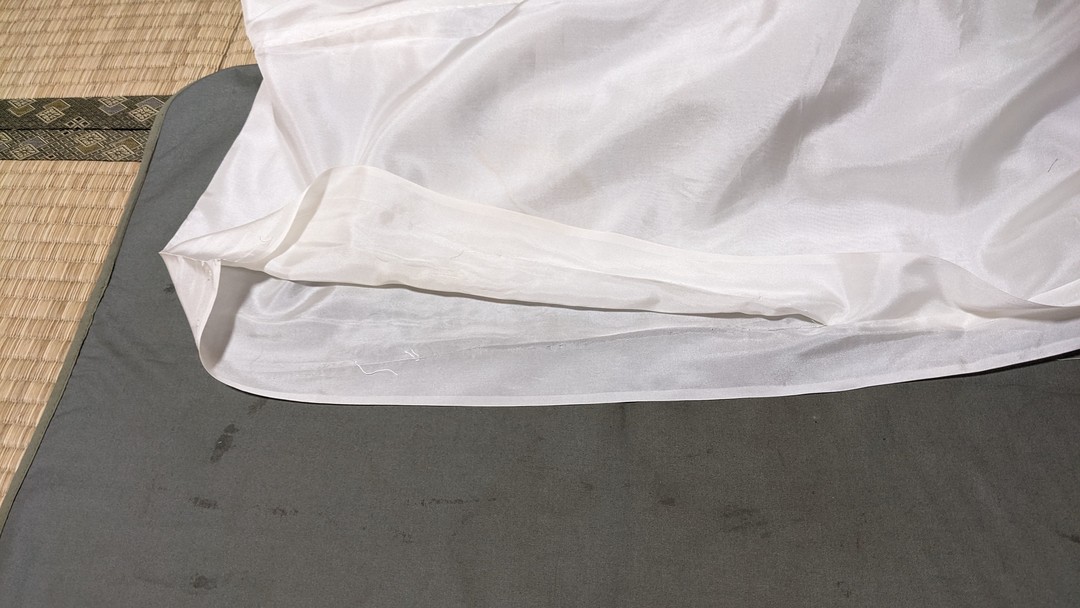
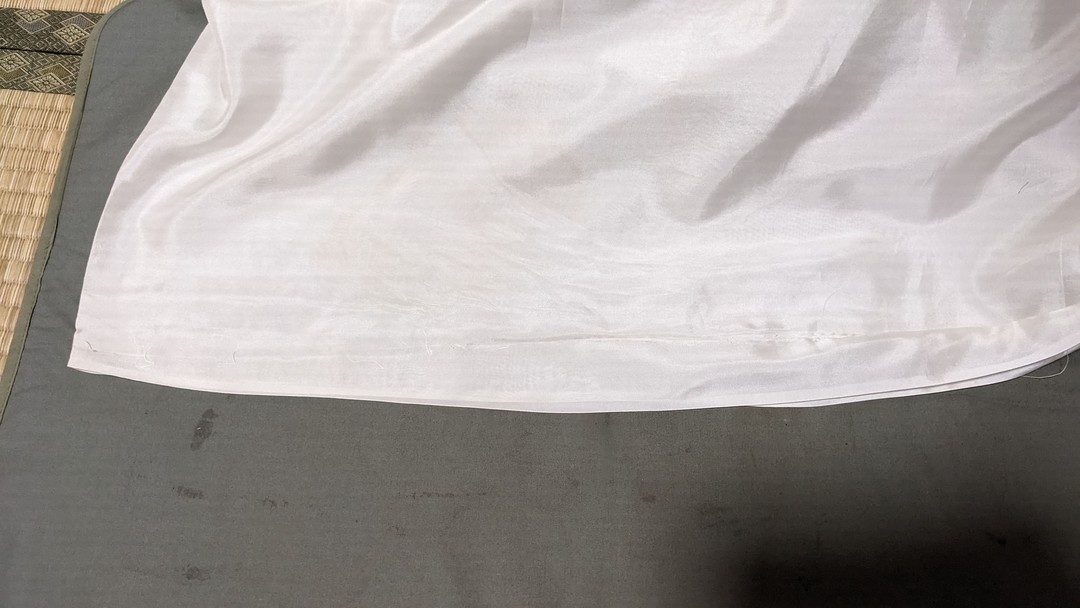
10. Fold the patch fabric with the outer side out, and align the fabric
edges.
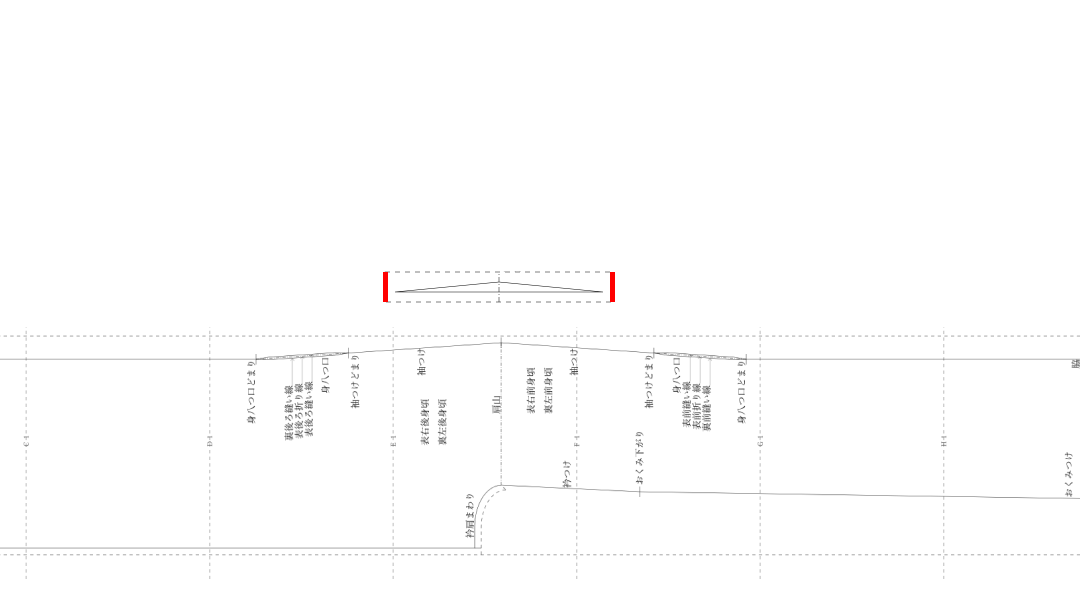
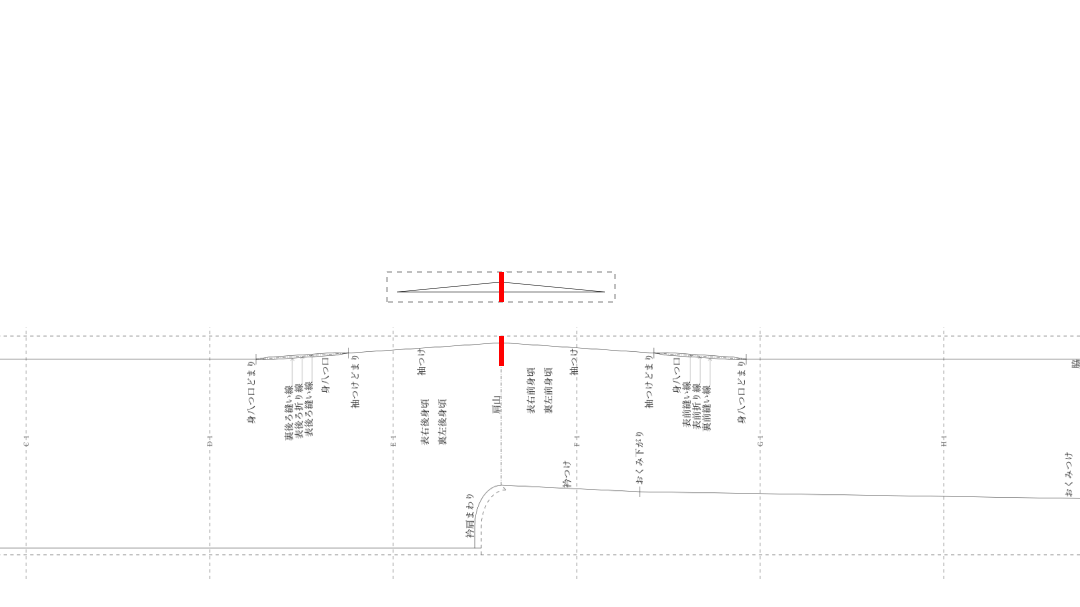
Align the patch fabric with the body at the shoulder line, match fabric
edges, and baste.
11. Sew the body and patch fabric together with a straight machine
stitch 1 cm from the fabric edge.
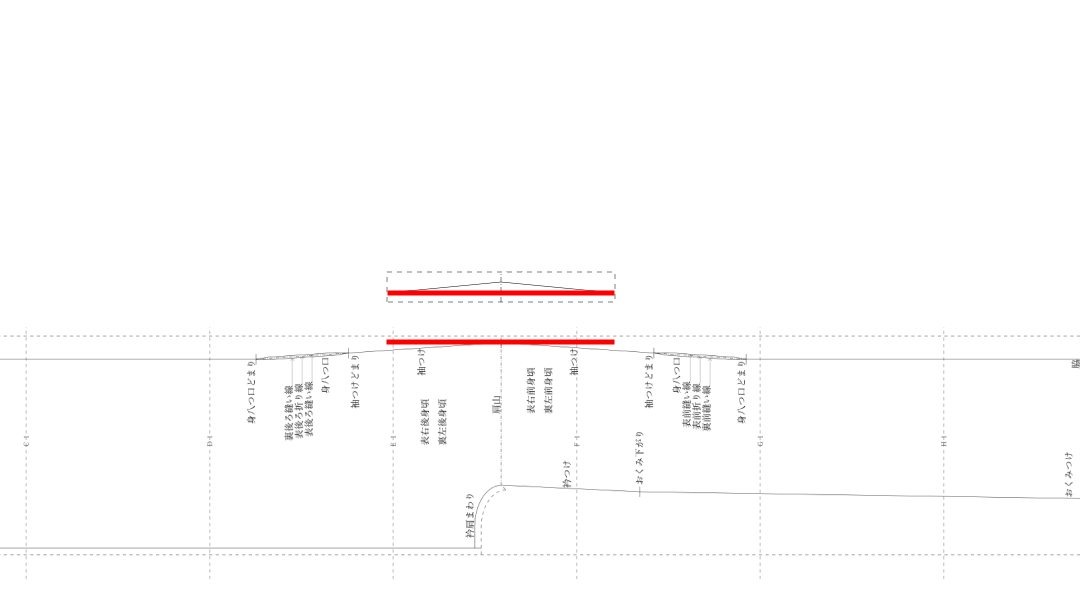
When finished sewing, pull the threads to secure.
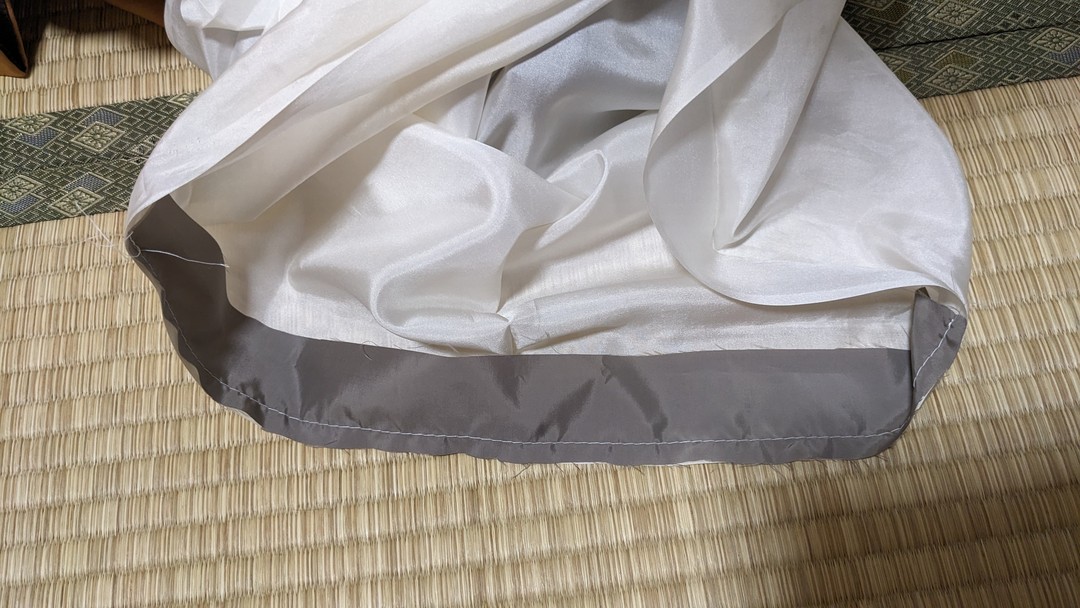
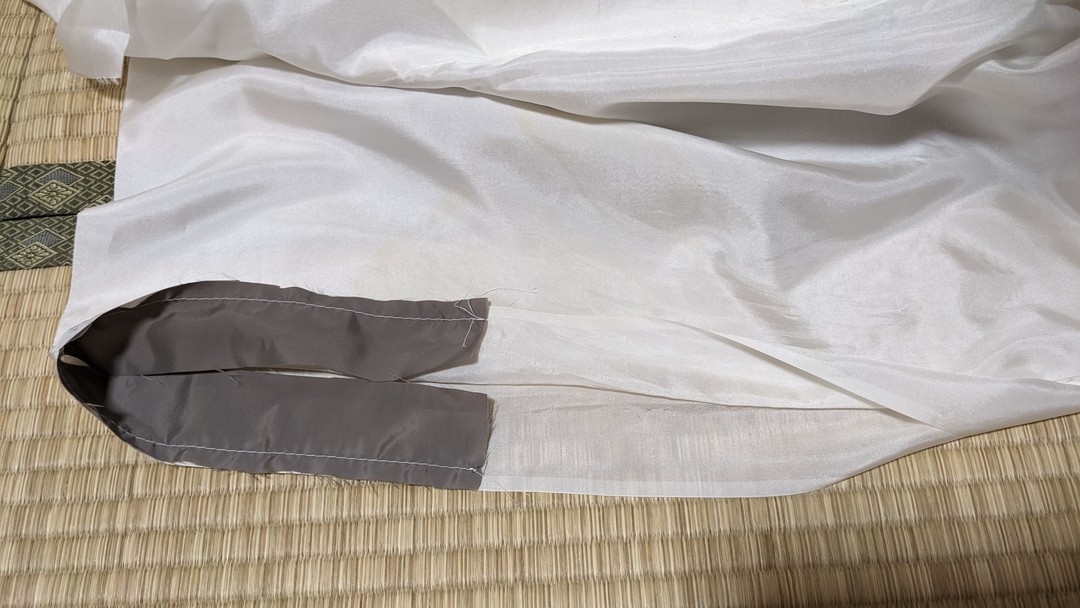
12. Press open the seam allowances at the sewn area.
13. Check where the center seam (outer and lining seam allowances sewn
together) has come undone.
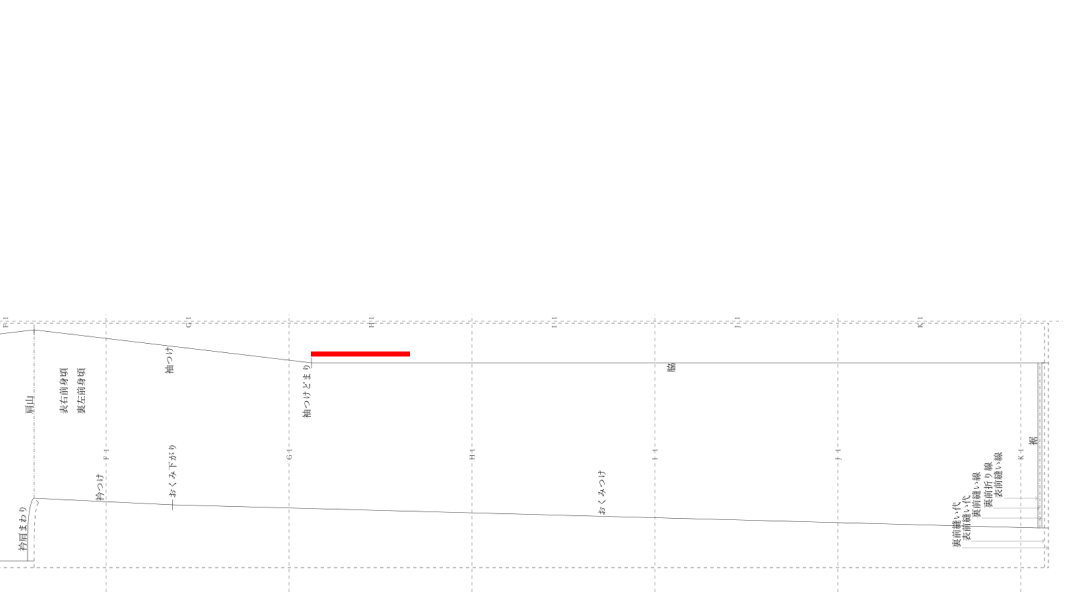
Fold the outer and lining side seam allowances along the original
creases,
and place the side seams face to face,
baste,
and sew the seam allowances only, parallel and 2 mm from the side seam.
Use a straight machine stitch; stitch length is 5 mm.
– Men’s: sew to 5 cm below the sleeve attachment stop.
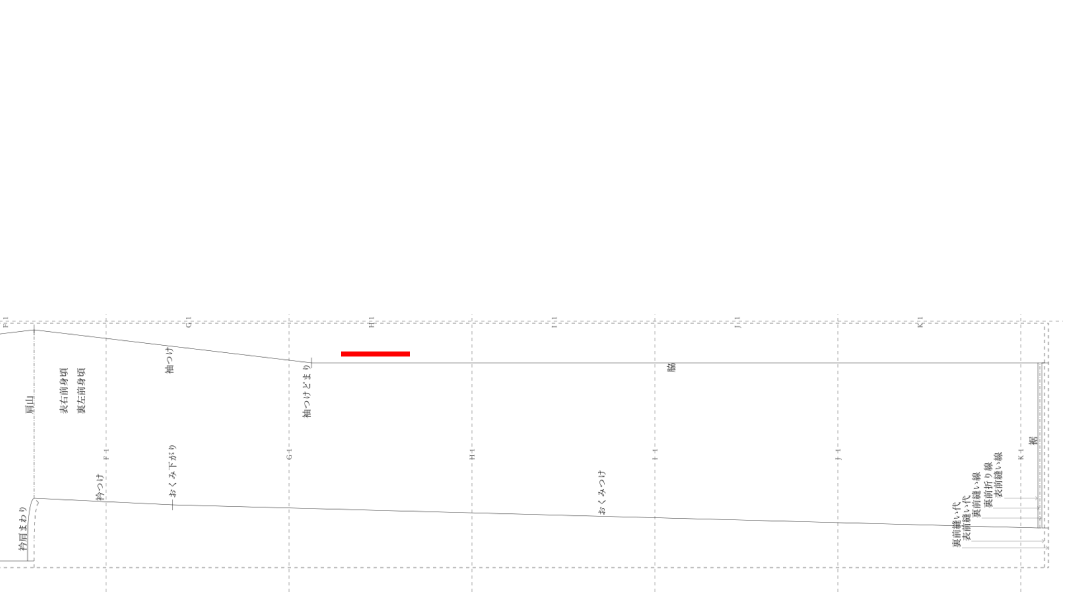
– Women’s: sew to 5 cm below the Miyatsu-Guchi stop.
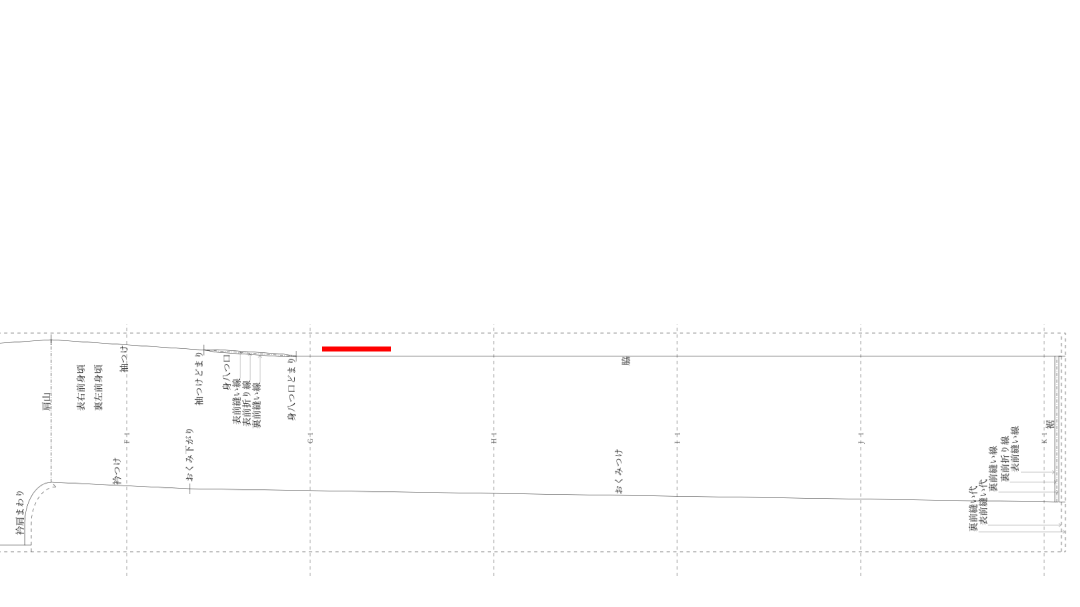
– Men’s: sew to 5 cm below the sleeve attachment stop.
– Women’s: sew to 5 cm below the Miyatsu-Guchi stop.
When finished sewing, pull the threads to secure.
Return the outer fabric to the outer side out.
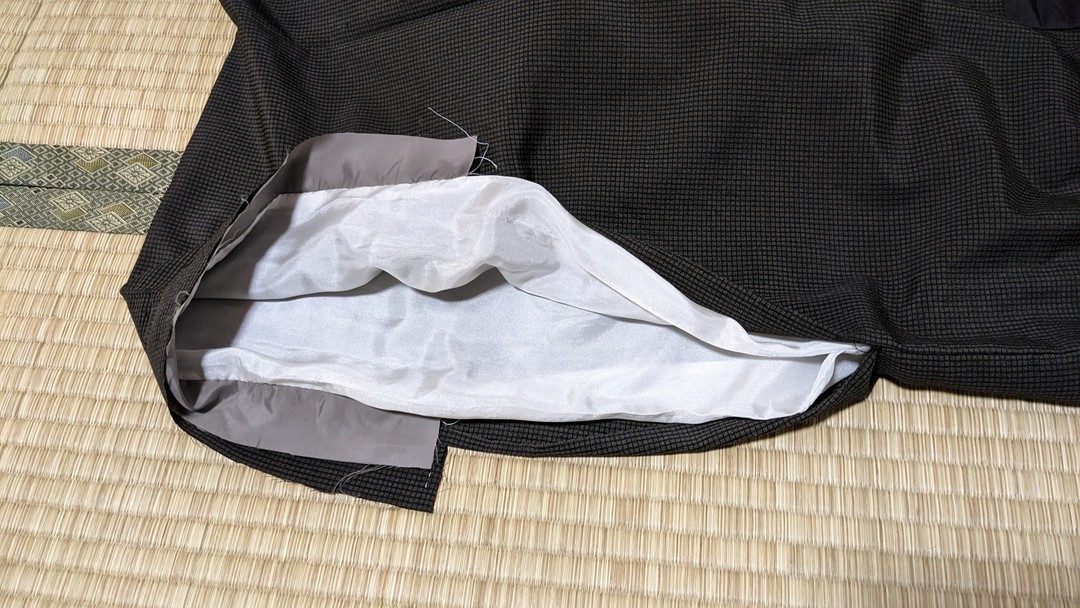
14. Do the above on both left and right sleeve attachments.
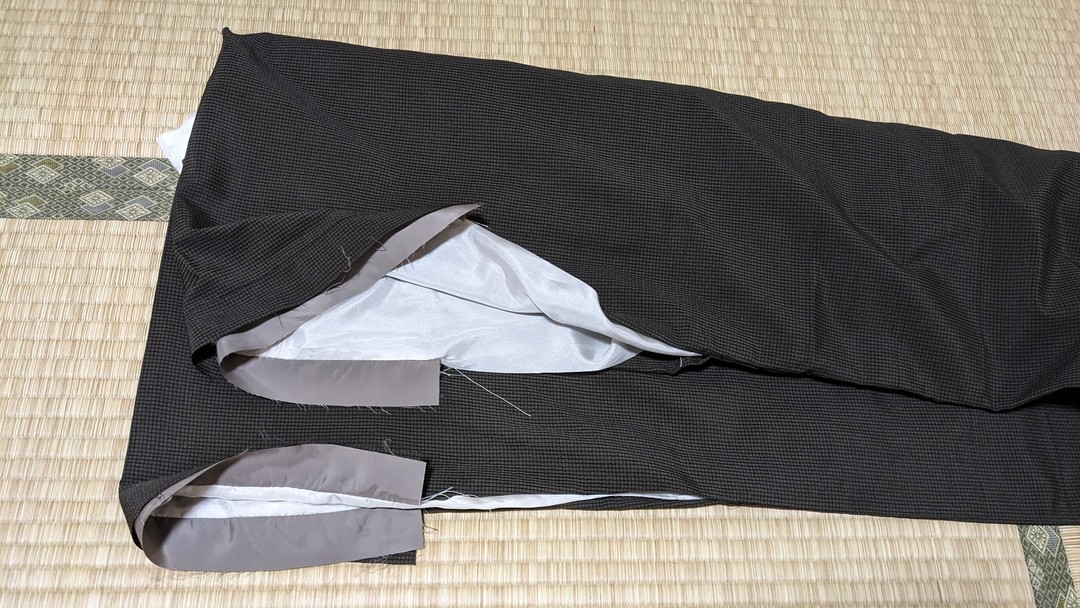
Finished
On the Alteration Guide, enter the measurements of the kimono you have,
enter the target gender and size after tailoring,
and the differences are calculated automatically.
What needs alteration and what can be altered are diagnosed
automatically.
When you choose what you want to alter, the required patch fabric and
where it can be taken from
are calculated automatically, and according to that area,
videos on unpicking, making patch fabric, and resewing
are displayed.