目次
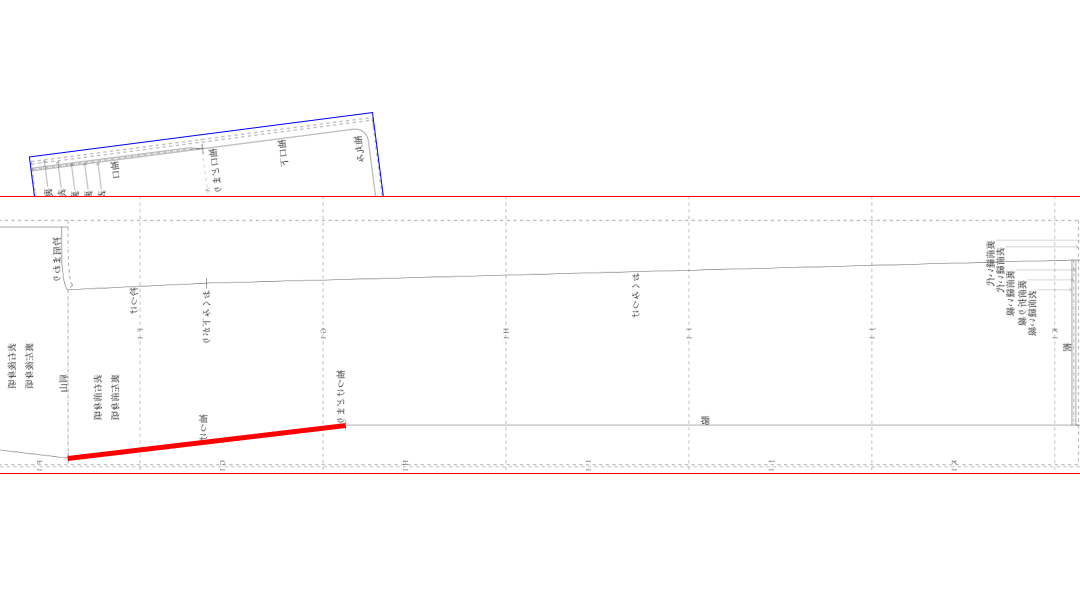
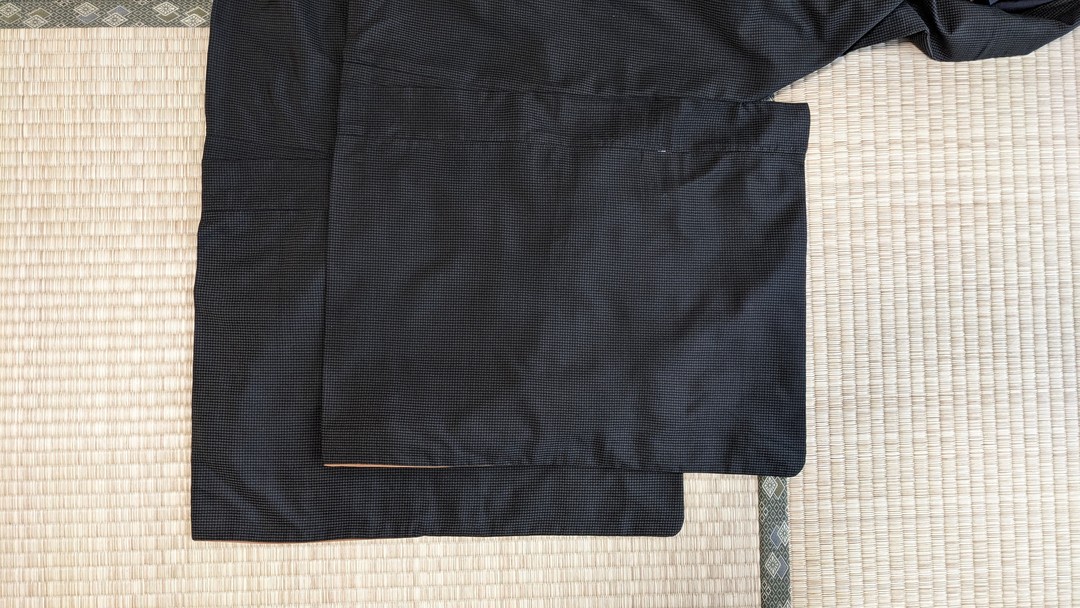
1. Turn the body outer fabric sleeve attachment to outer sides together.
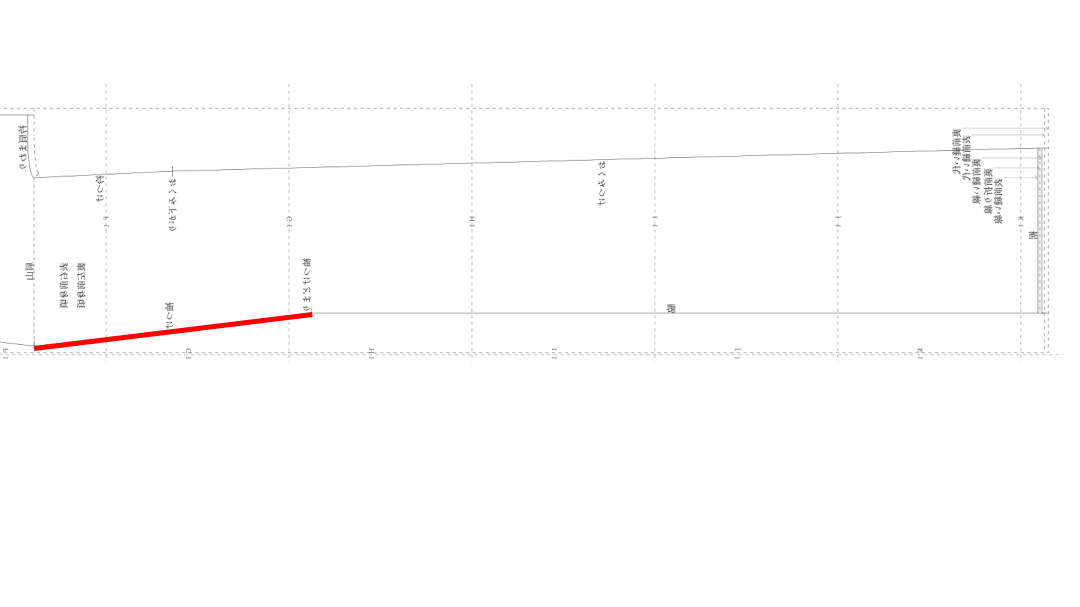
Insert the sleeve into it.
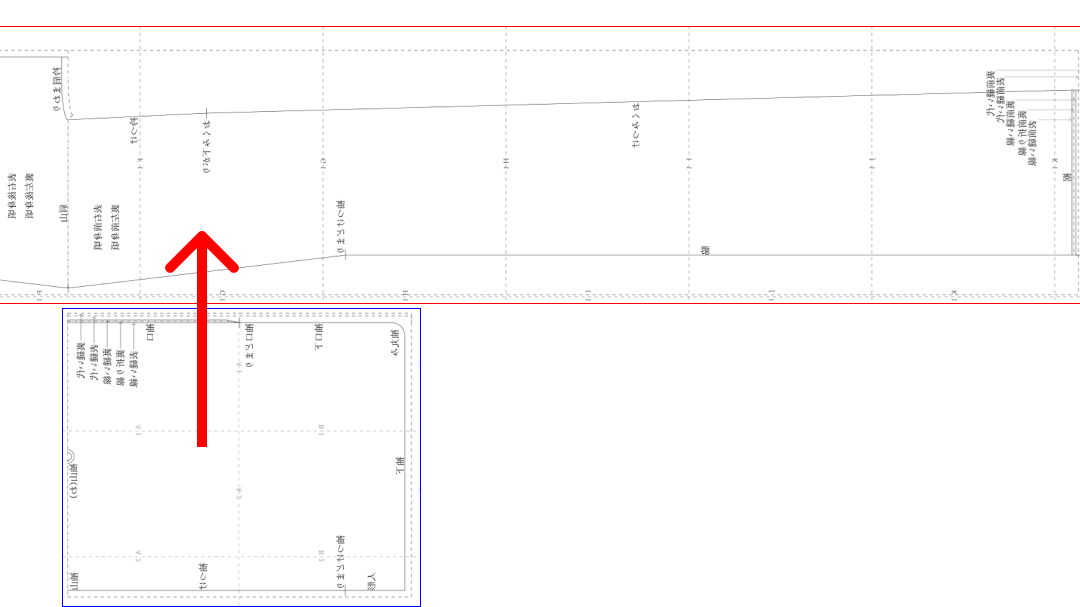
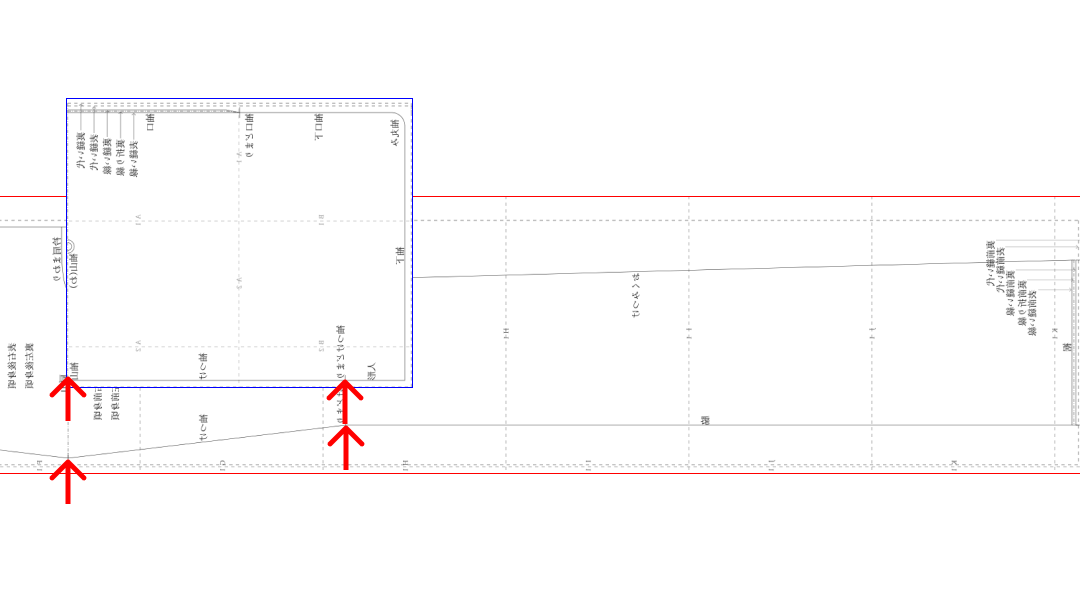
Align the body and sleeve at the sleeve attachment stop and sleeve line,
and secure with clips.
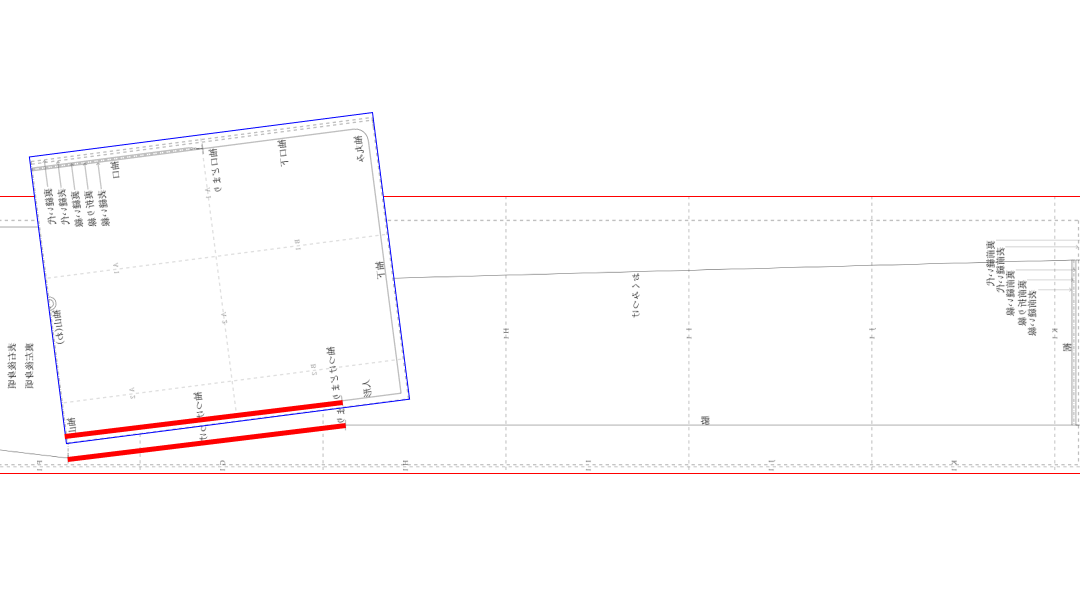
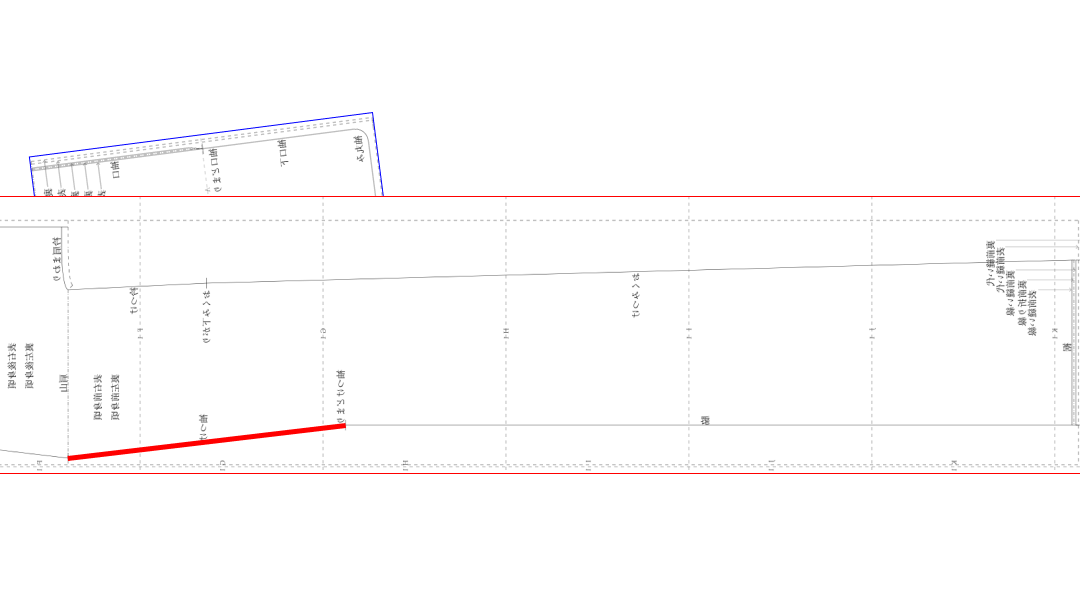
2. Pull the sleeve line and sleeve attachment; that becomes the straight
line of the sleeve attachment.
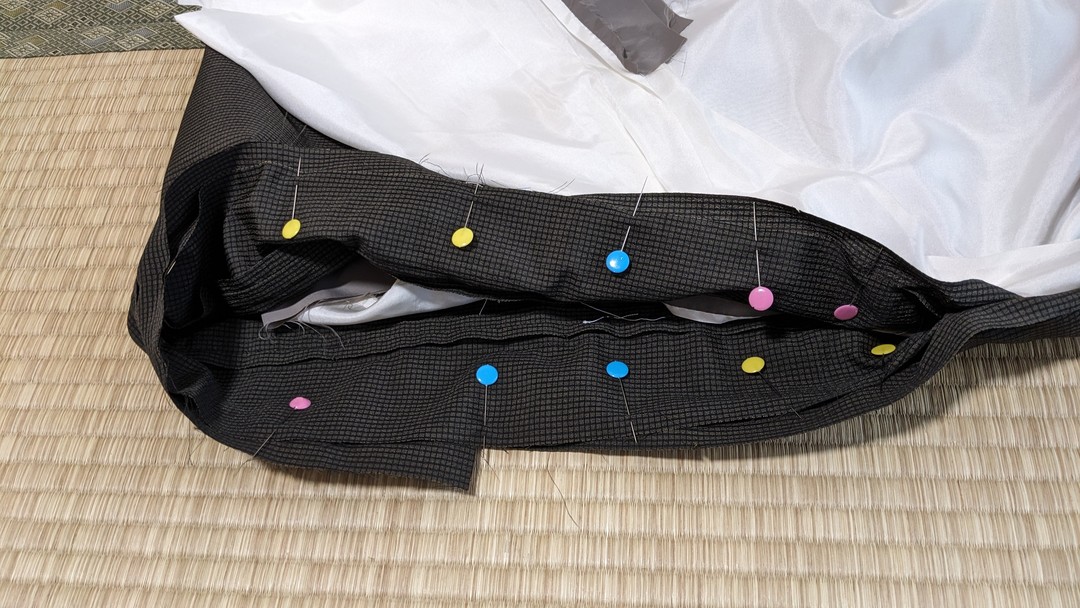
Measuring so the sleeve seam allowance is 1 cm, secure the body and
sleeve with basting pins.
3. With the body on top, from the sleeve line side toward the sleeve
attachment stop,
sew the body and sleeve together with a straight machine stitch.
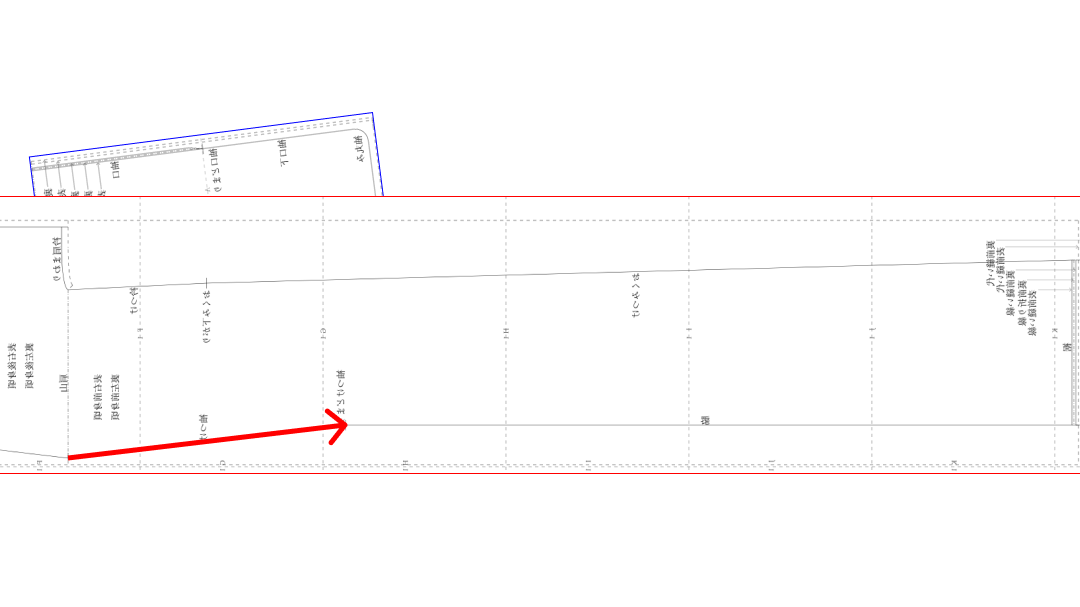
Use the basting pins as marks.
If the body has a patch join,
sew with the seam allowances open up to the stitch line that was pressed
open with the iron.
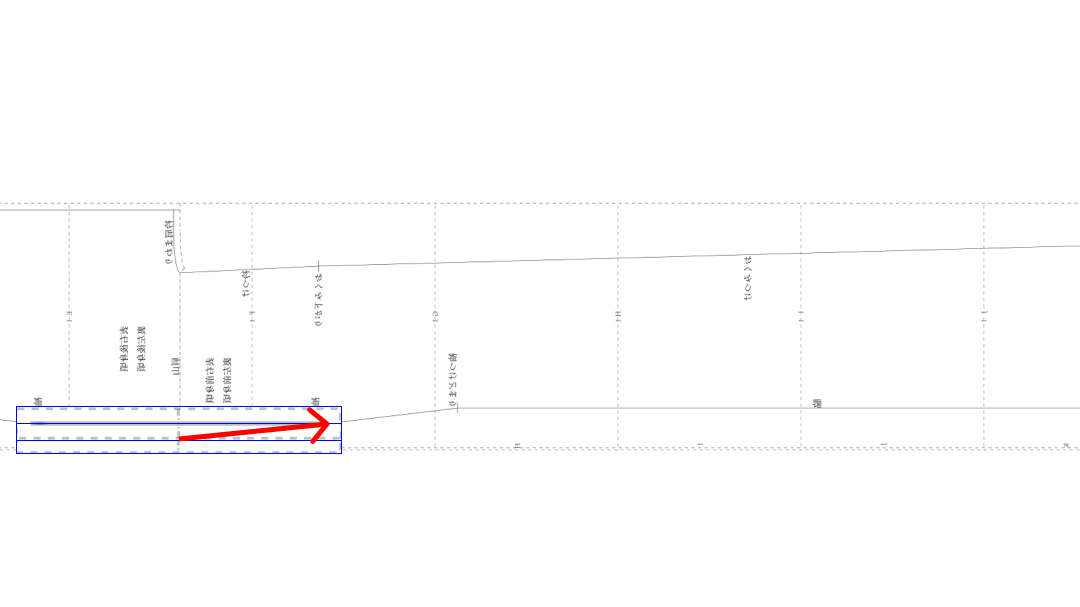
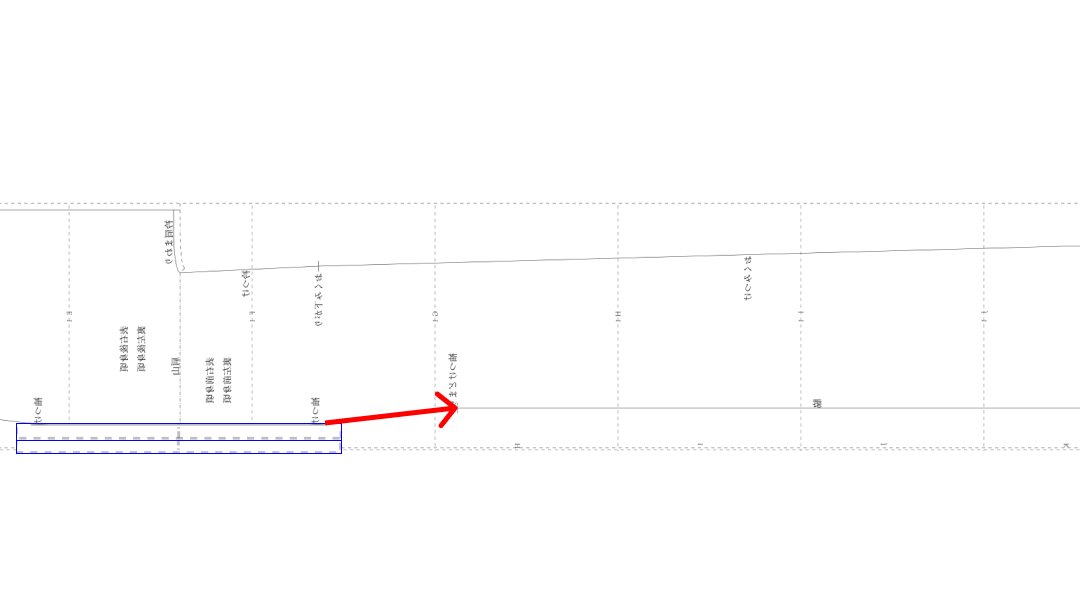
From there to the sleeve attachment stop, sew with the seam allowances
folded toward the sleeve attachment side.
Men’s sleeve attachment stops are hard to sew, so for that part only,
sew again with the sleeve on top.
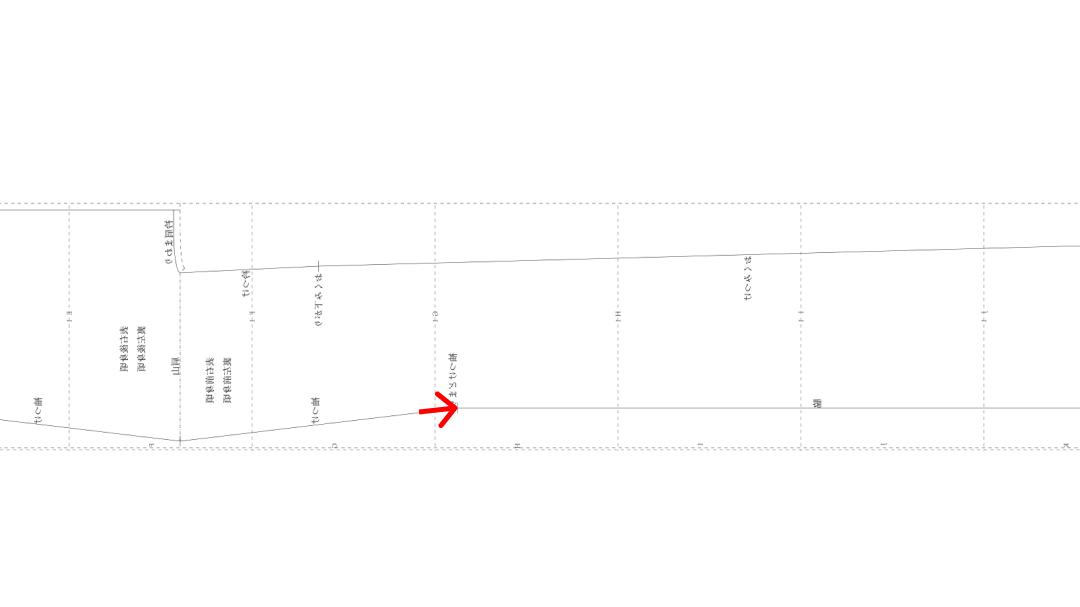
When finished sewing, pull the threads to secure.
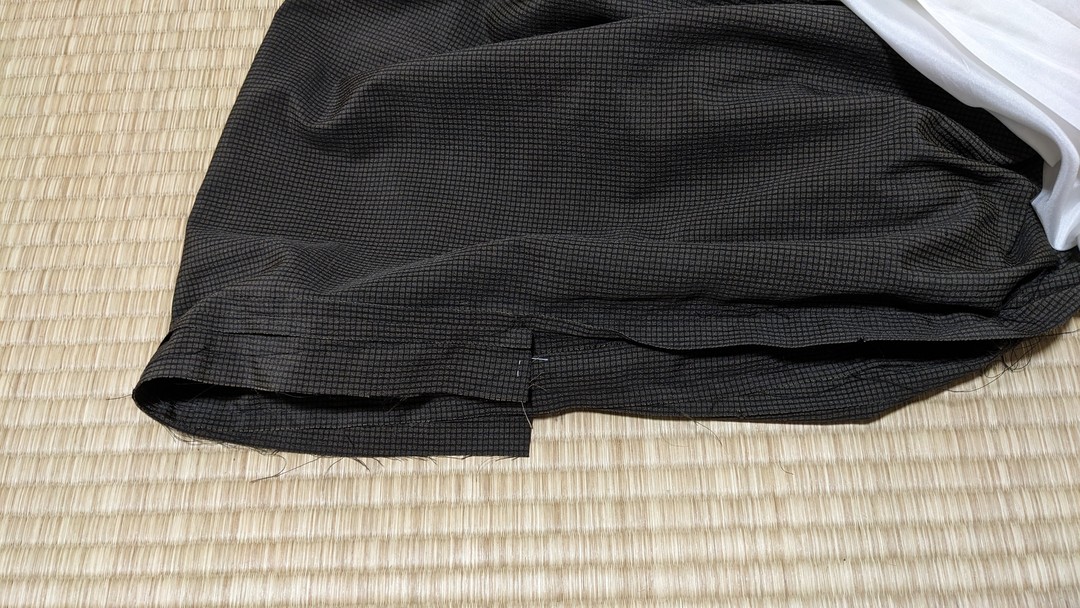
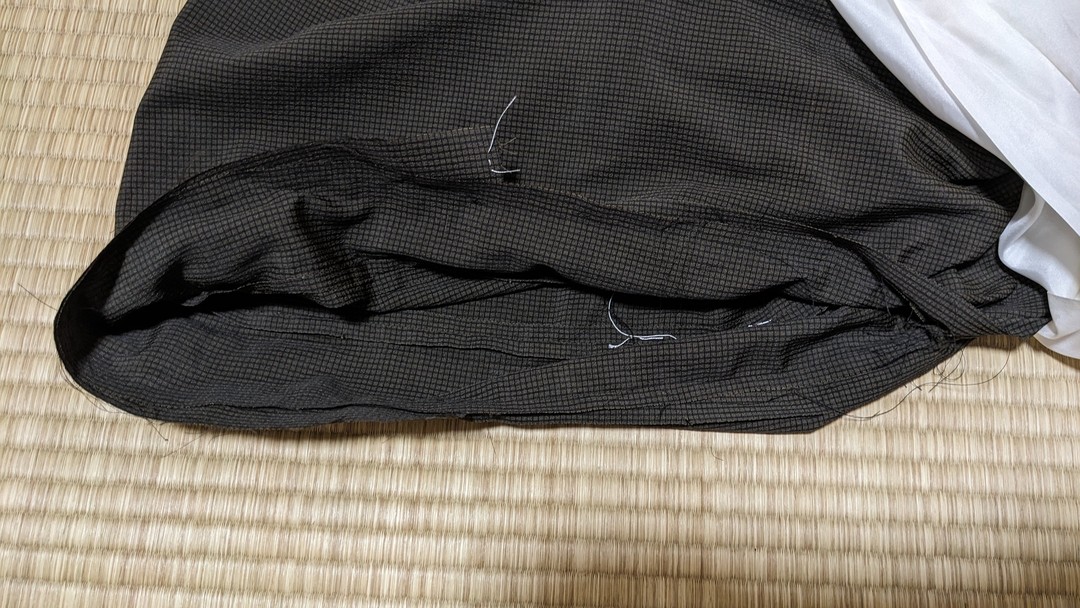
4. Press the sleeve attachment seam allowances of the body and sleeve
together from the wrong side. (Flat press)
Parallel and 2 mm away from the sleeve attachment stitch line,
fold both layers together with the sleeve on top so the sleeve forms a
valley,
and press a crease with the iron. (Fold press)
While still outer sides together, pull out the sleeve and press the
sleeve attachment from the wrong side. (Return press)
Turn it over and press the inside of the sleeve as well.
Turn to the right side.
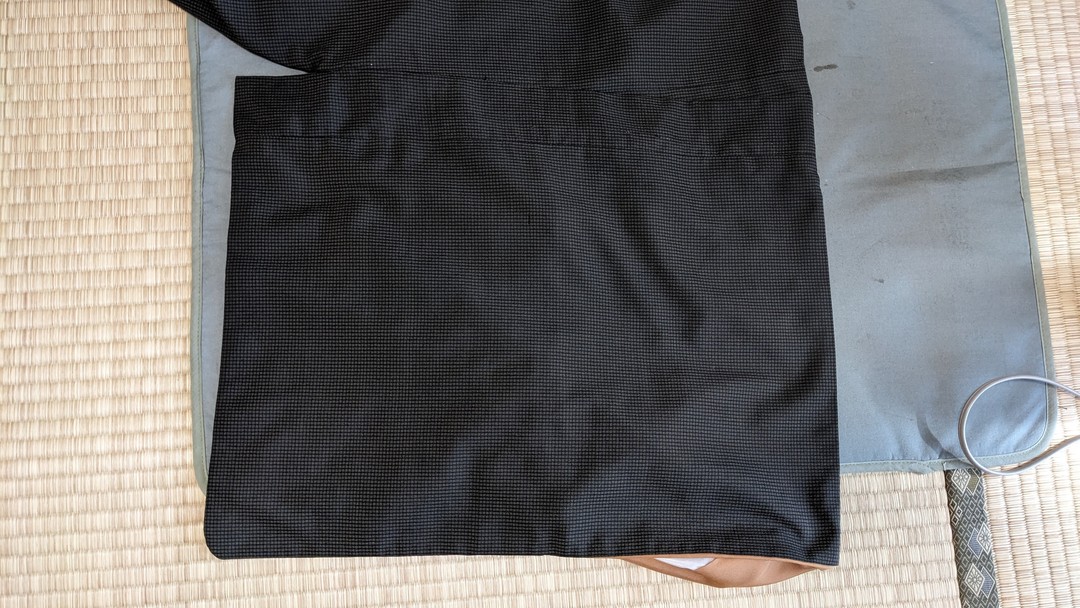
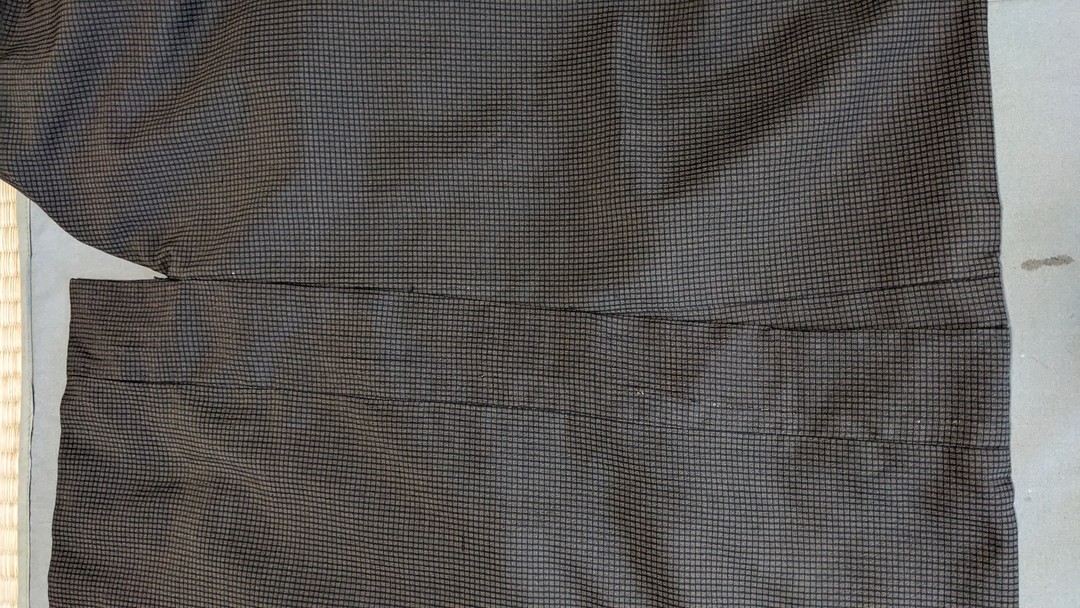
5. Do the above on both left and right sleeve attachments.
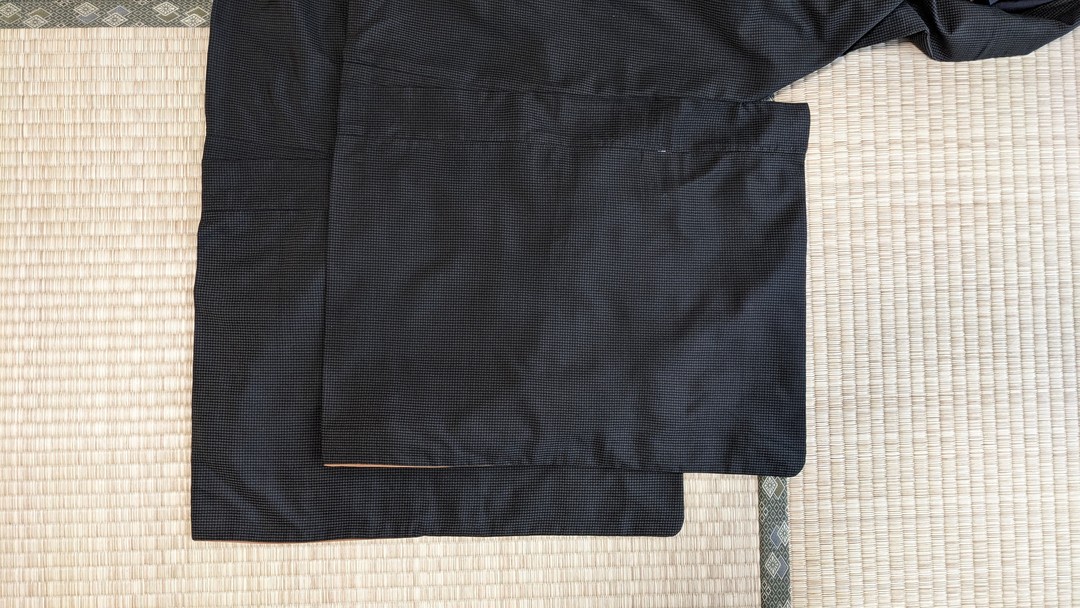
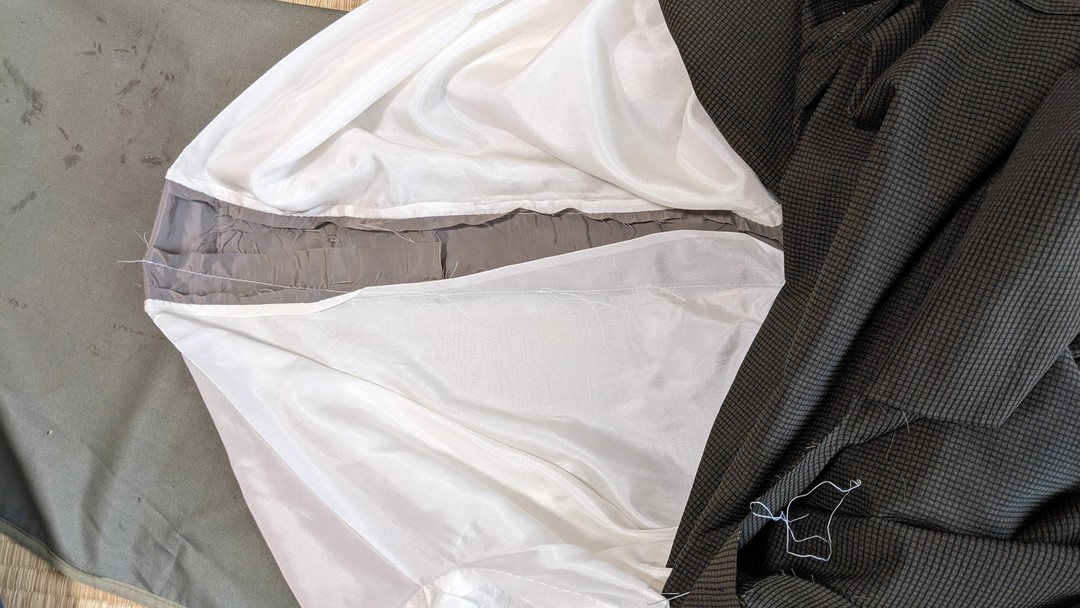
6. For a lined kimono, process the lining sleeves similarly.
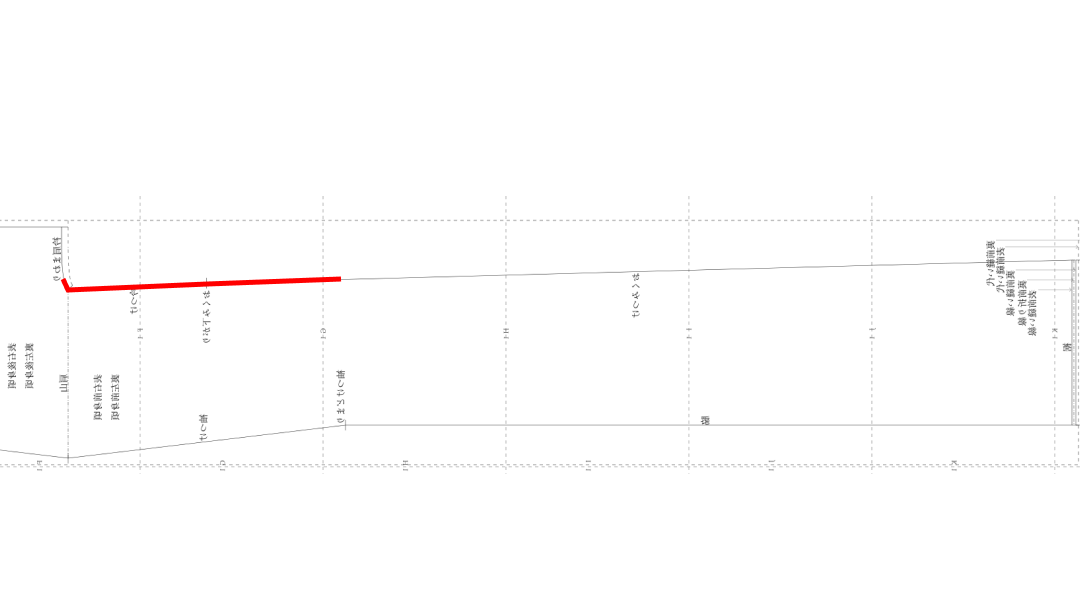
Fold back the outer fabric on the collar attachment side, pull out the
lining, and turn the lining body to the outer side.
Align the sleeve attachment and sleeve line positions, take a 1 cm seam
allowance at the sleeve line, and secure with basting pins.
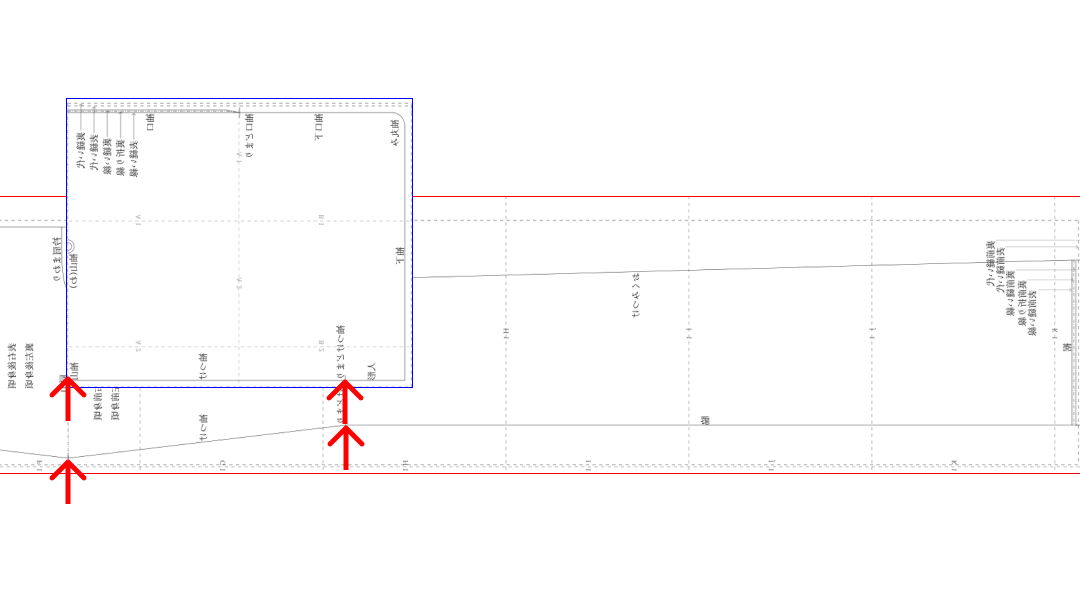
Layer the sleeve and body sleeve attachments with outer sides together.
7. Pull the sleeve line and sleeve attachment, take a 1 cm sleeve
attachment seam allowance, and secure with basting pins.
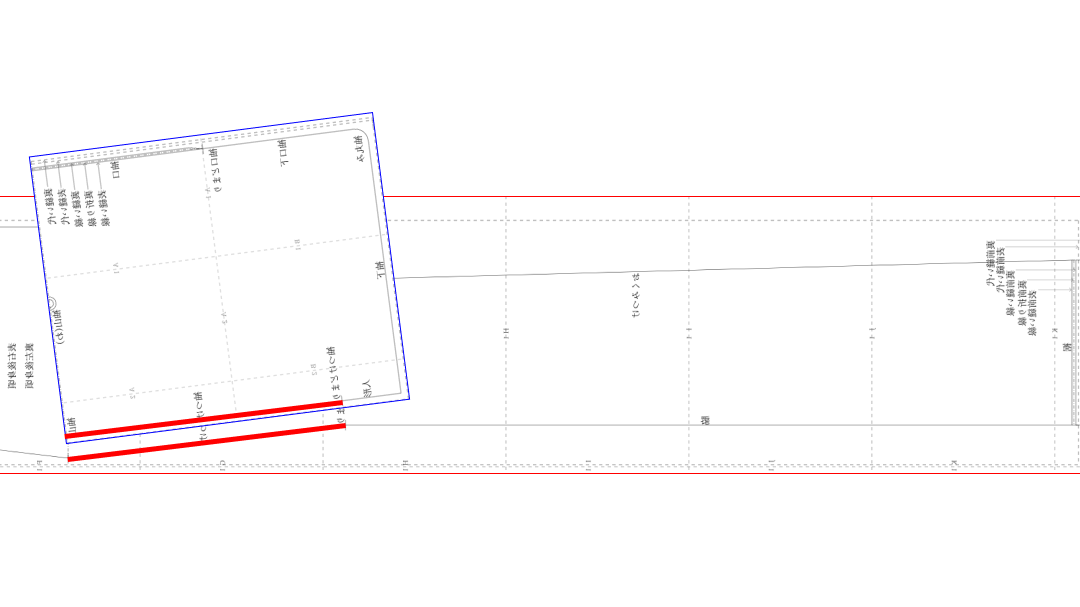
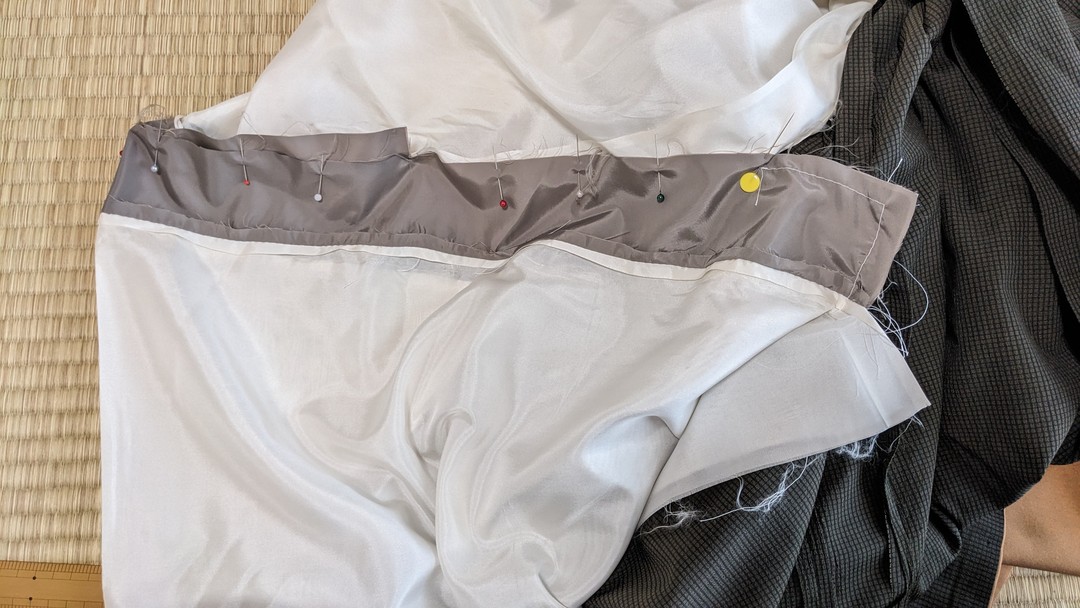
8. Sew the sleeve and body together along the basting pin points.
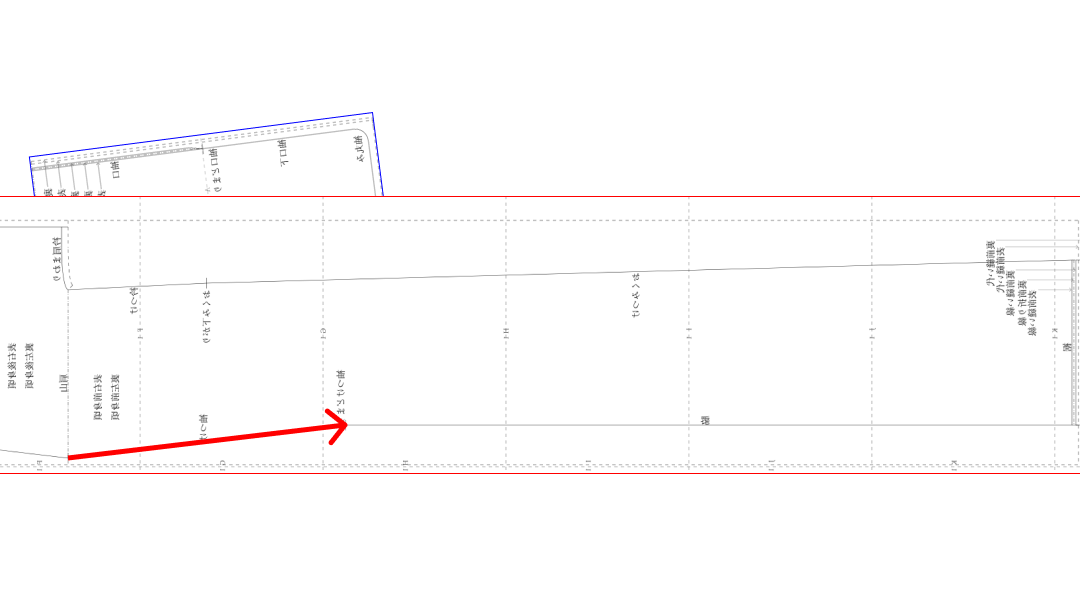
When finished sewing, pull the threads to secure.
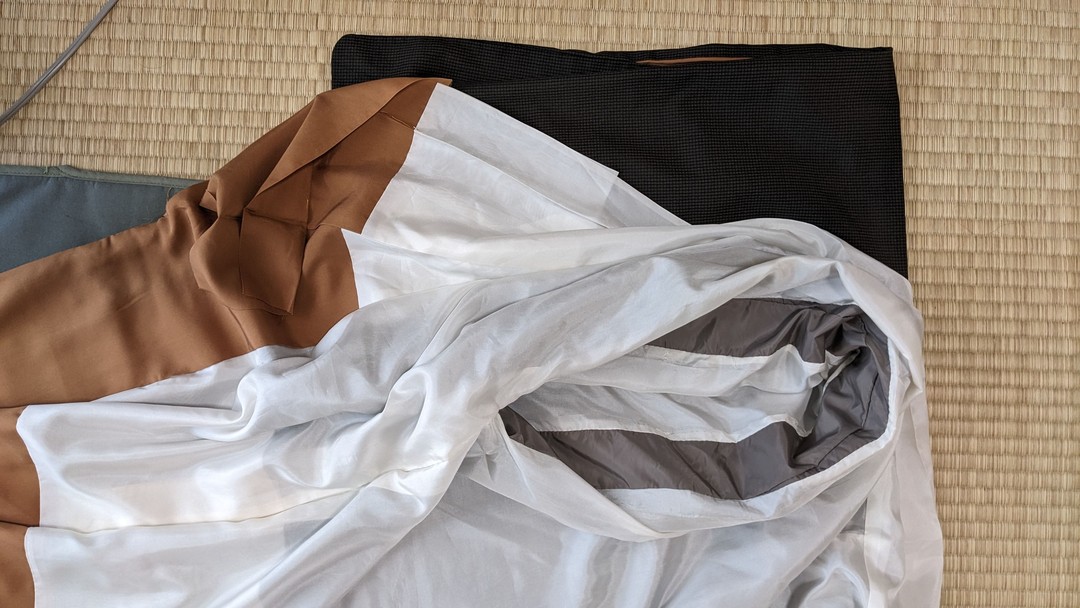
9. Press the sleeve attachment seam allowances of the body and sleeve
together from the wrong side. (Flat press)
Parallel and 2 mm away from the sleeve attachment stitch line, fold both
layers together with the sleeve on top so the sleeve forms a valley, and
press a crease with the iron. (Fold press)
While still outer sides together, pull out the sleeve and press the
sleeve attachment from the wrong side. (Return press)
Leave the lining outer sides together and the outer fabric right side
out.
10. Do the above on both left and right sleeve attachments.
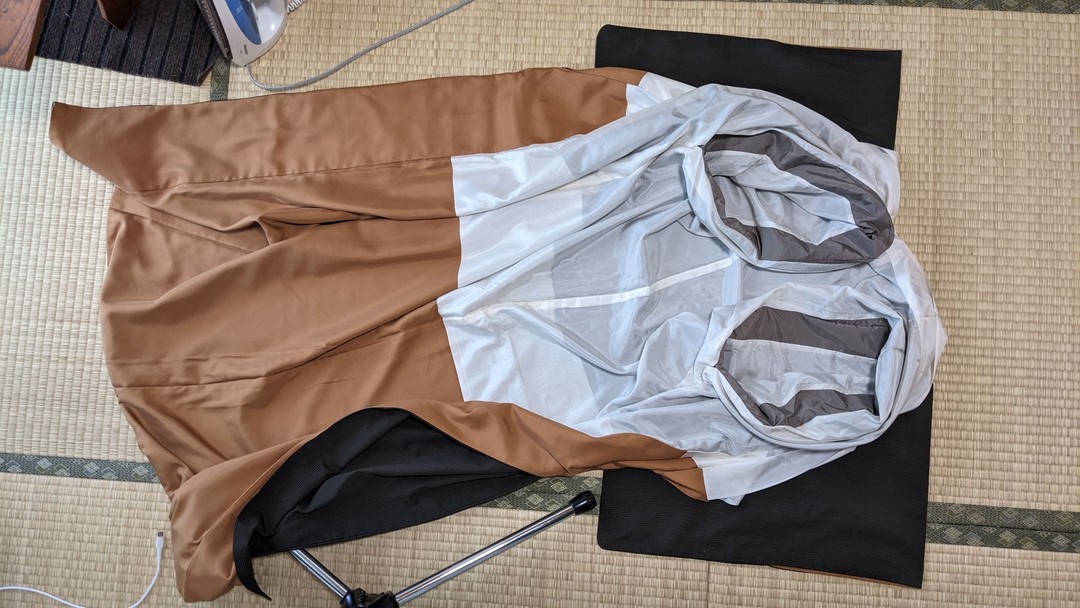
Finished
In the alteration guide, enter the measurements of your kimono,
and enter the gender and size after tailoring,
and the differences are calculated automatically.
Places that should be altered and places that may be altered are
diagnosed automatically.
When I choose what I want to alter, the necessary patches and areas that
can be removed
are calculated automatically, and according to that area
videos on how to undo, how to make patches, and how to resew
are displayed.