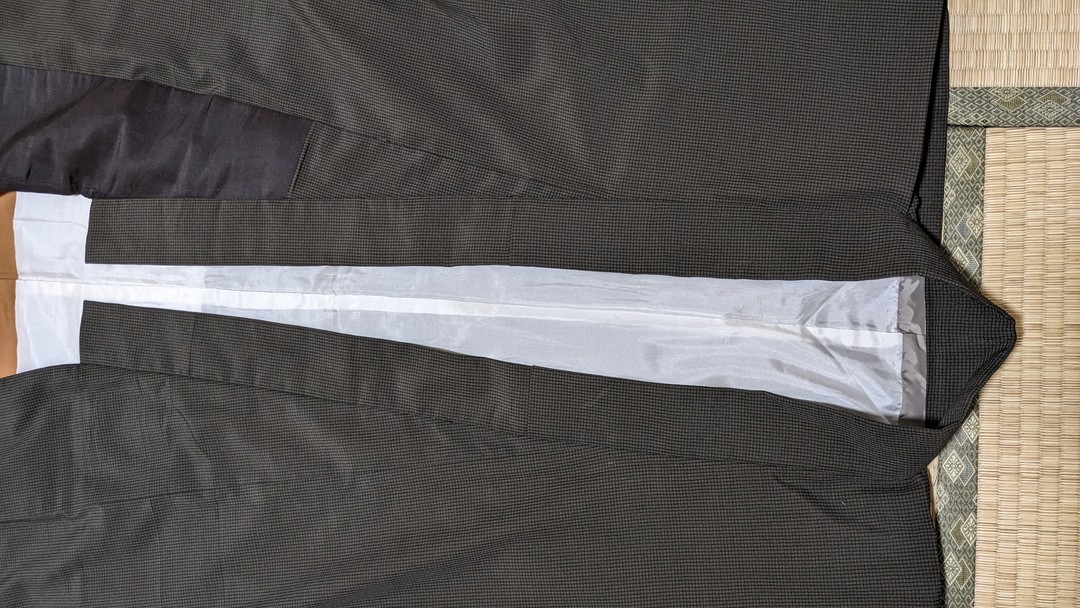
目次
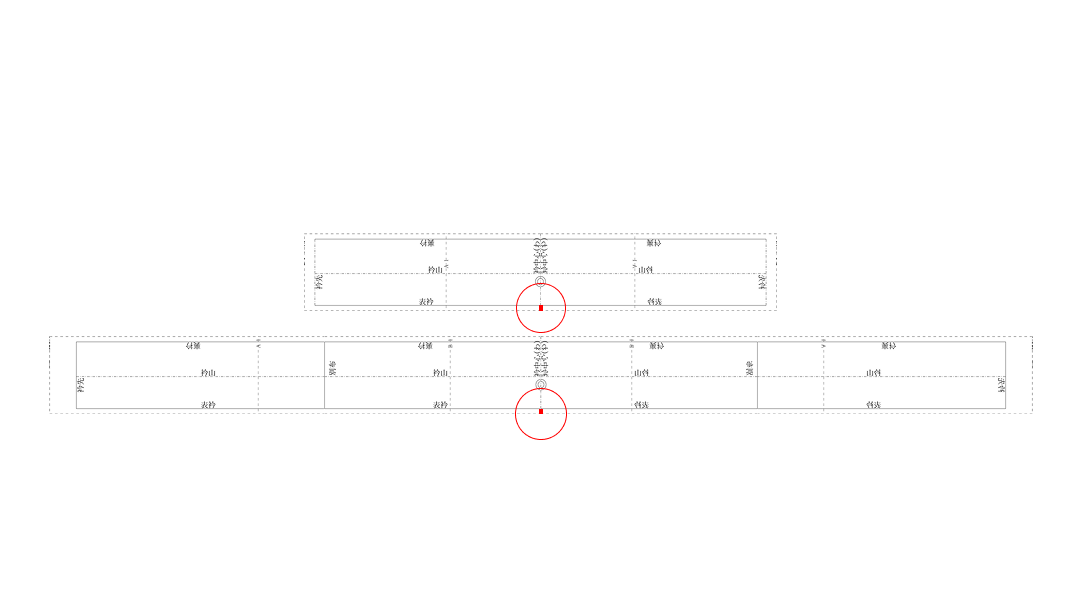
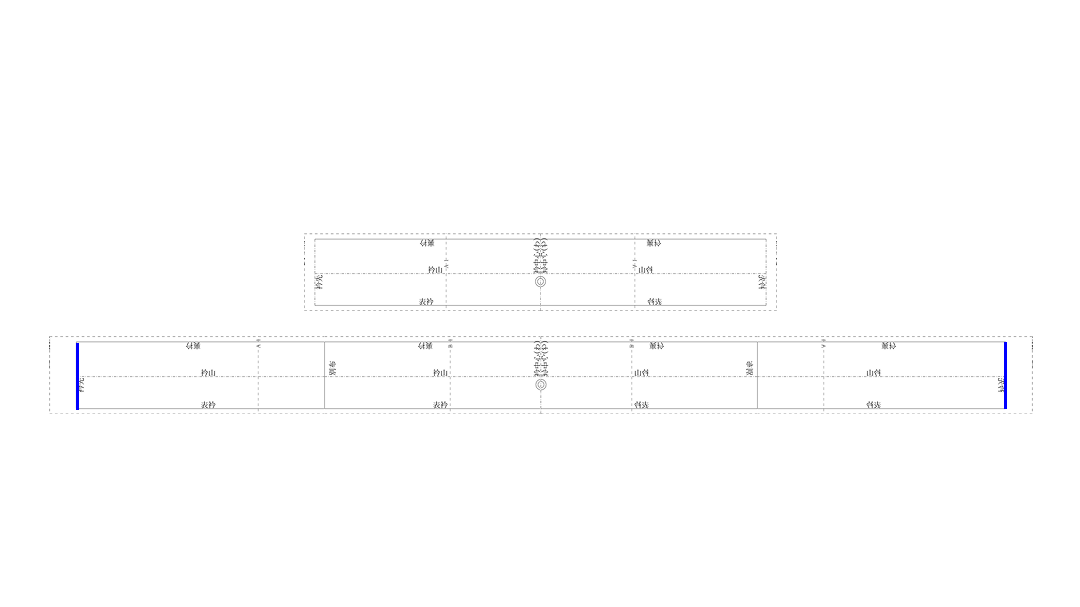
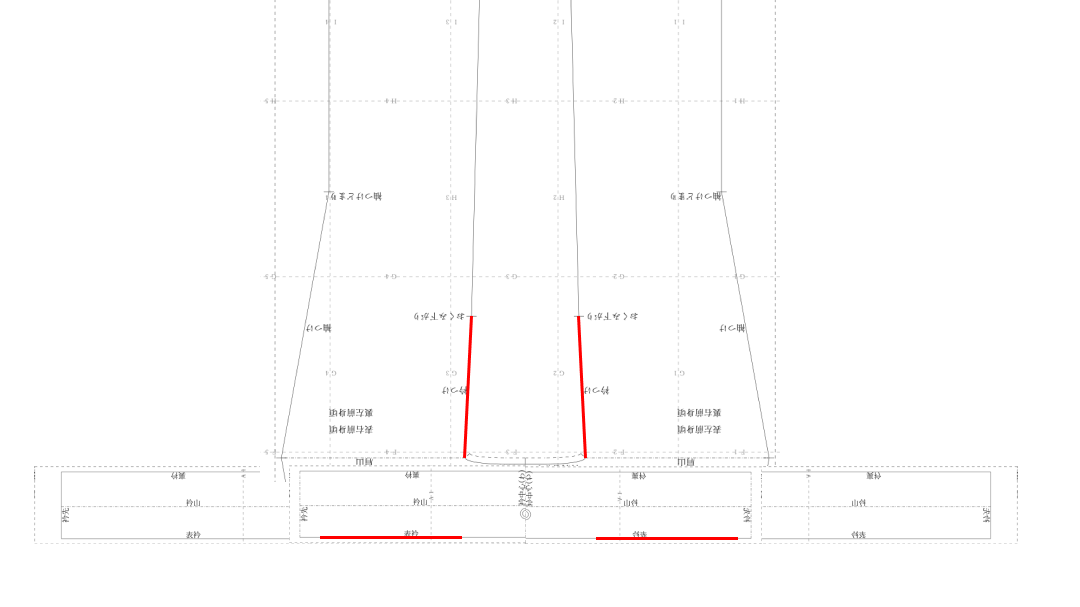
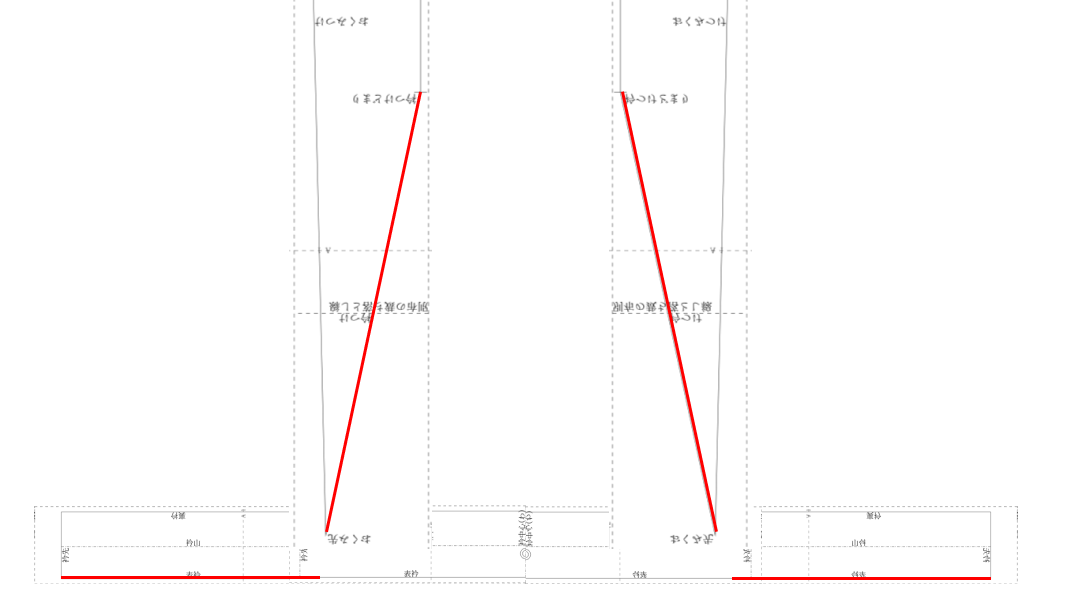
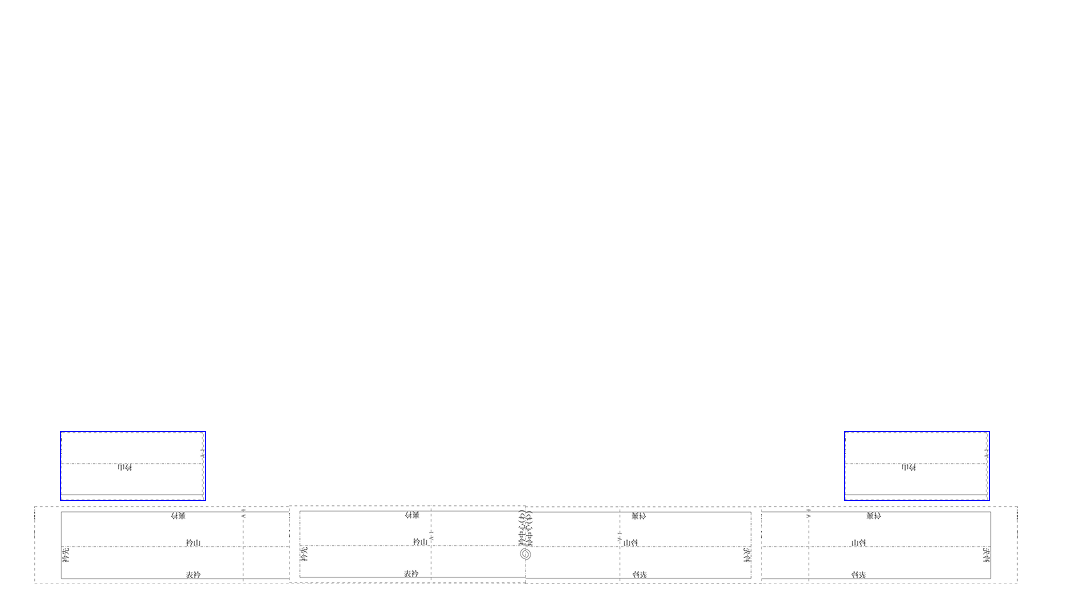
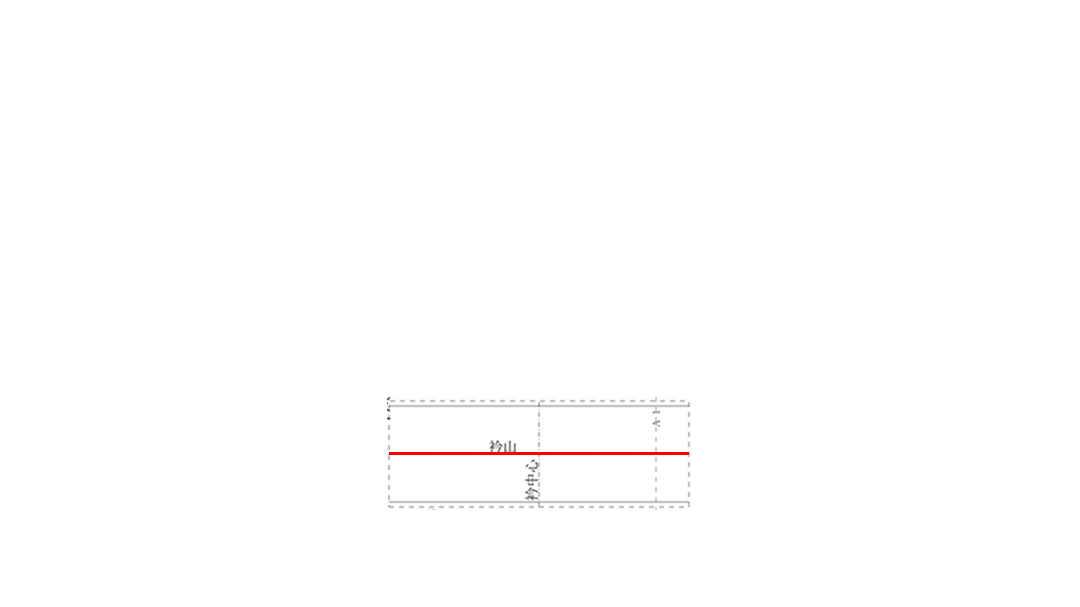
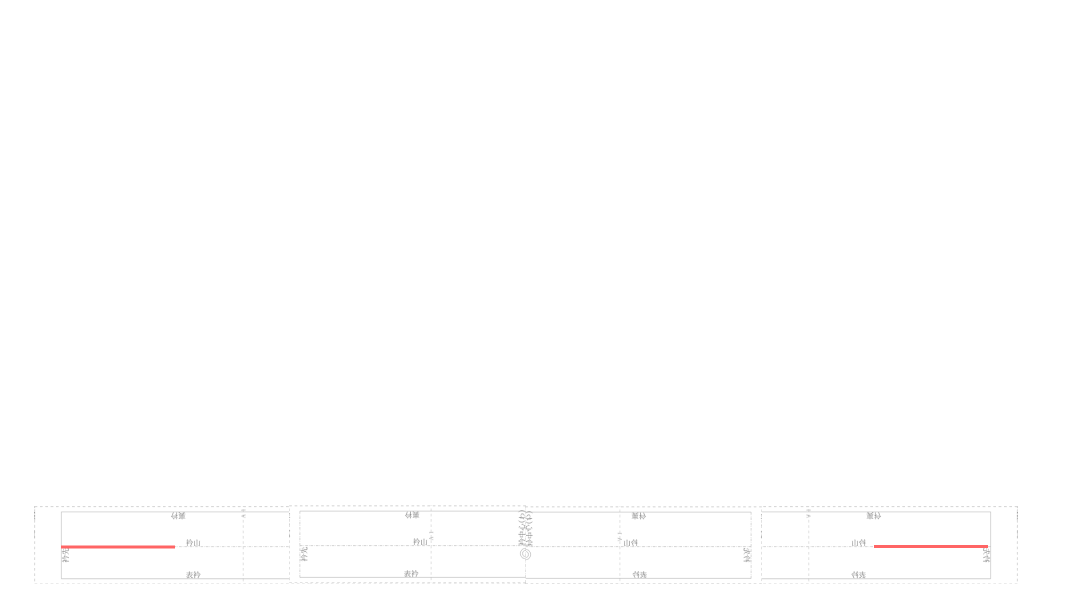
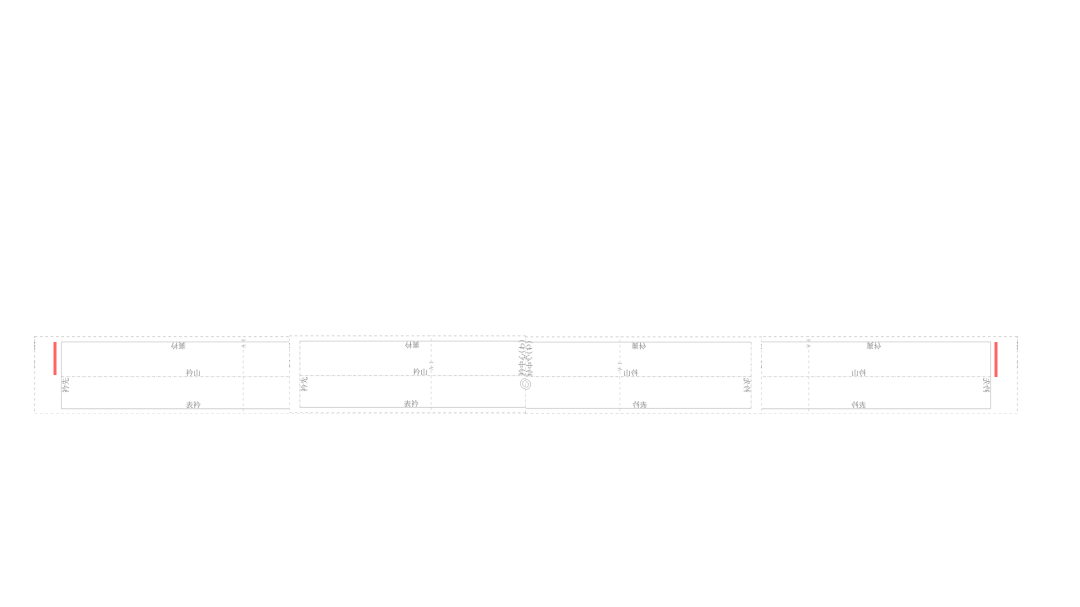
1. Cut off the printed pattern along the seam allowance line.
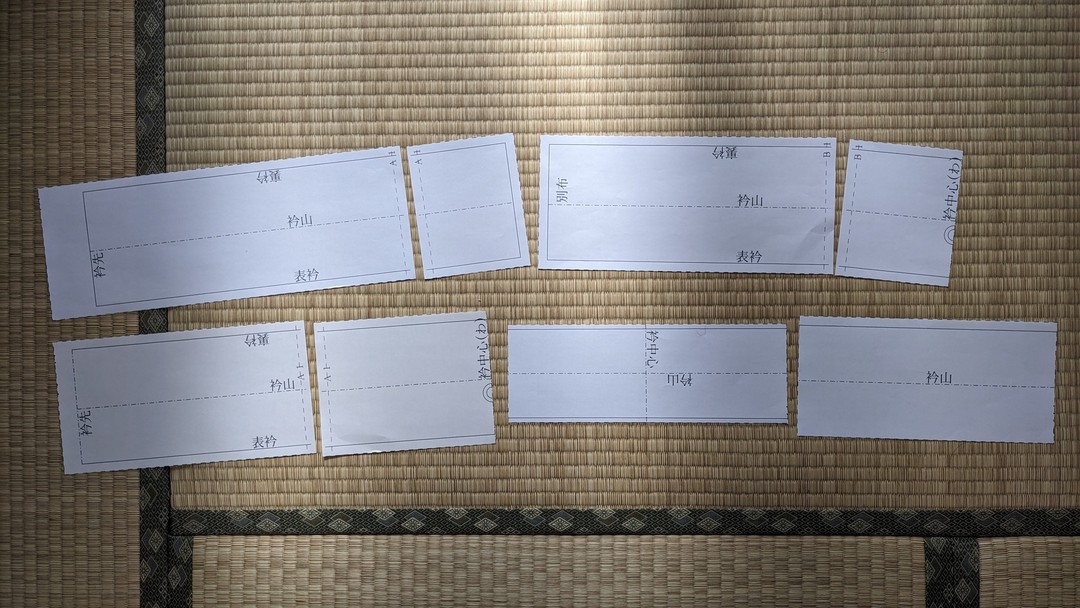
Cut off one side of the paper boundary line and tape them together.
· Collar (or three-piece collar) · Cover collar
· Triple collar interfacing · Collar-end fabric (men’s kimono only) — I
make these patterns.
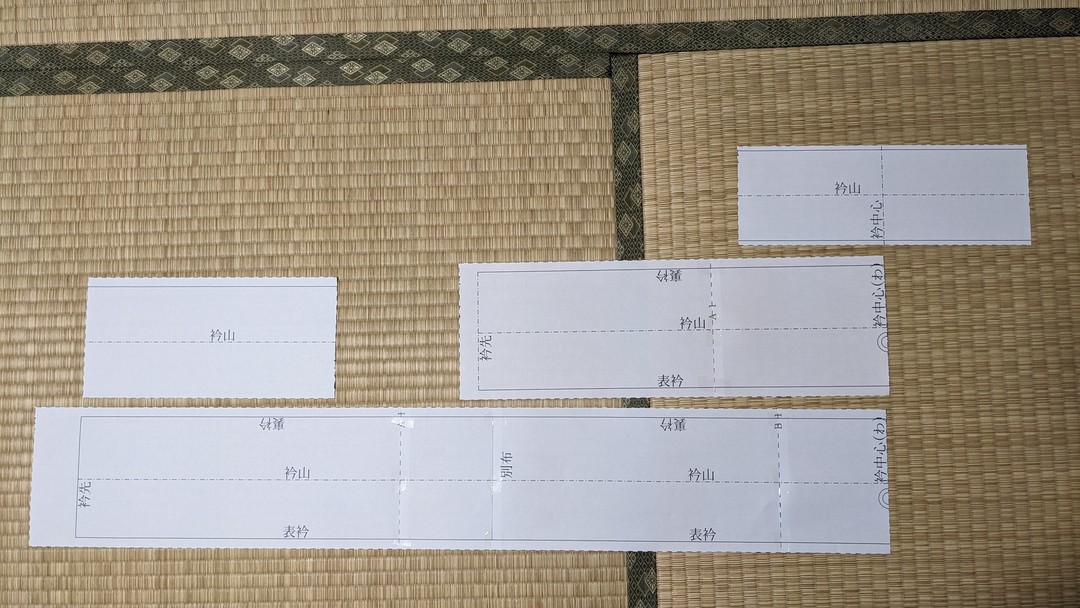
2. If the collar is a three-piece collar, I tape the different fabric
and the collar end together on the stitch line.
3. I fold in half at the collar center:
· the already-unpicked collar (or the sewn-together three-piece collar)
· the cover collar
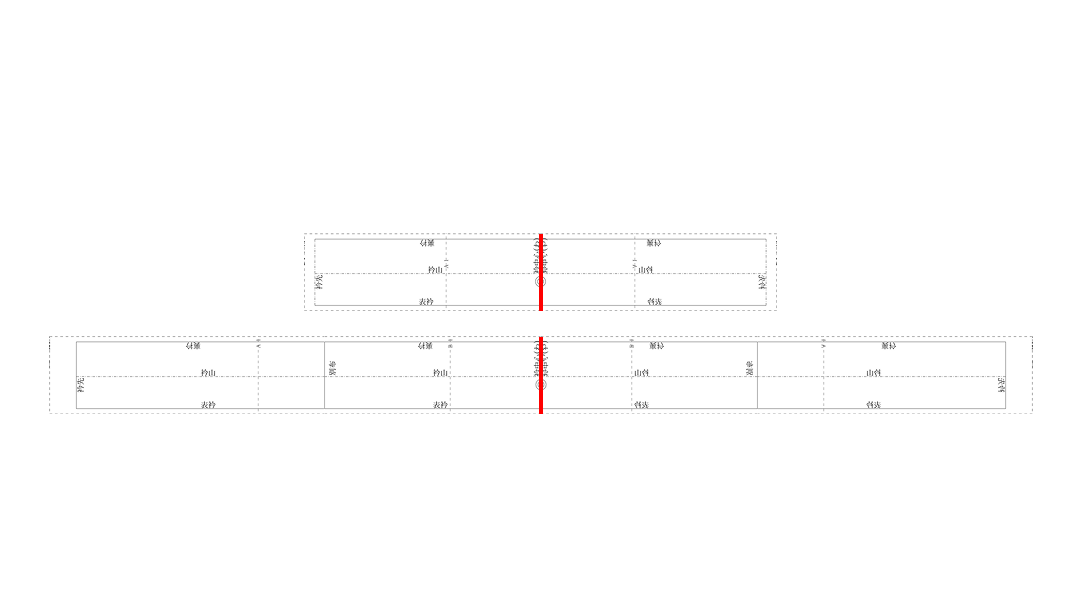
On the folded line, I press a mark with the iron on the seam allowance
of the outer collar.
I open the fabric, and from the collar-center mark as the base, I place
the pattern on the wrong side of the fabric.
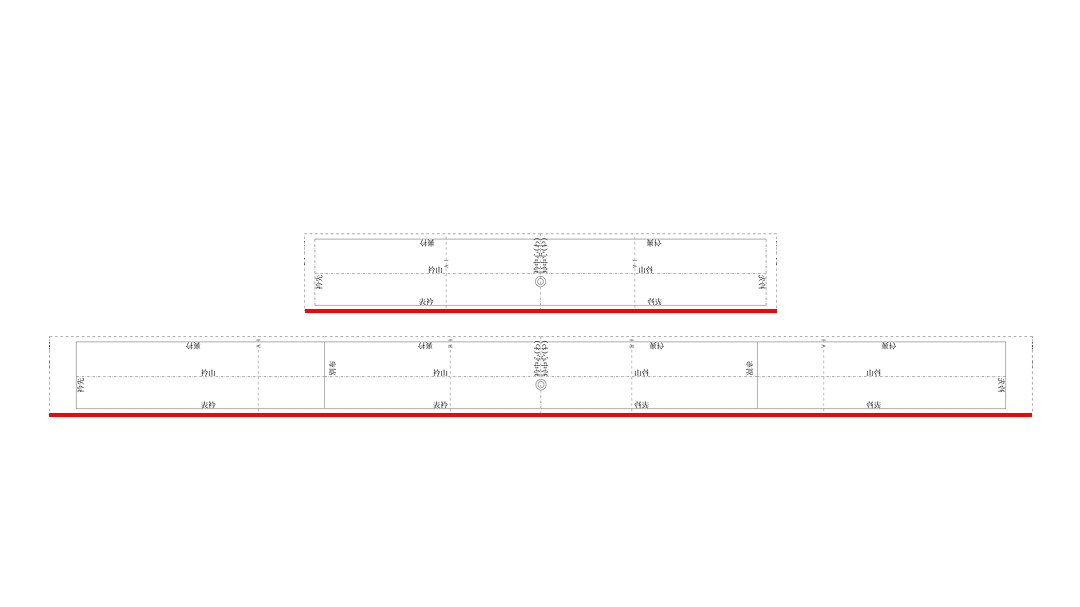
If there is extra fabric width, I shift the pattern toward the
outer-collar side.
I secure with clips and pins,
and valley-fold the fabric together along
· the stitch line · the collar-mountain fold line
and press a crease with the iron.
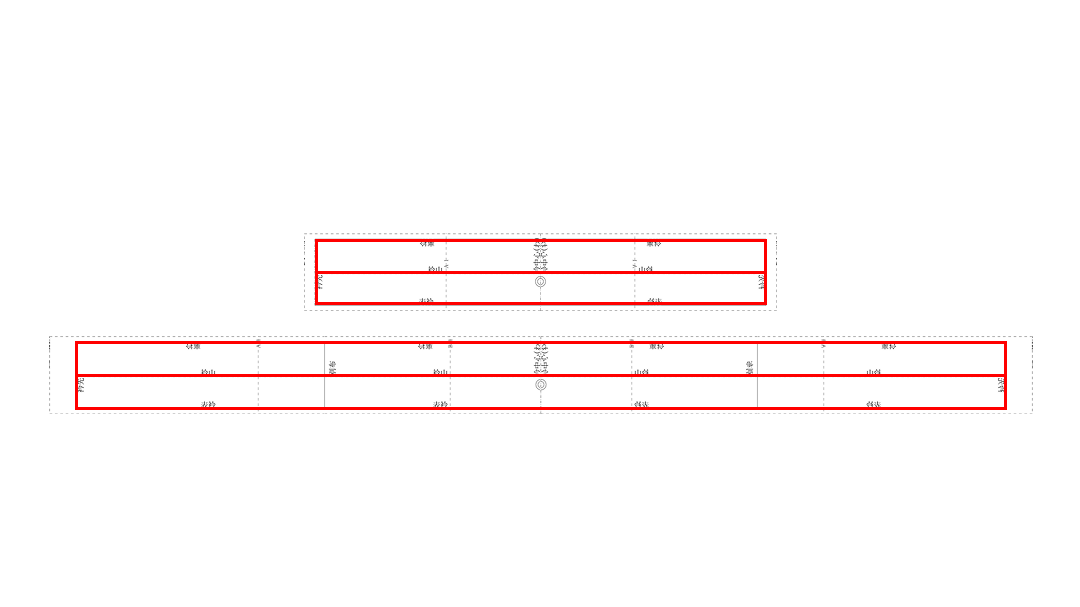
On the collar mountain, I cover with an extra scrap of fabric and press.
From the collar center as the base, I flip the pattern over, valley-fold
the other side too, and press a crease with the iron.
Cover collar ironing is done.
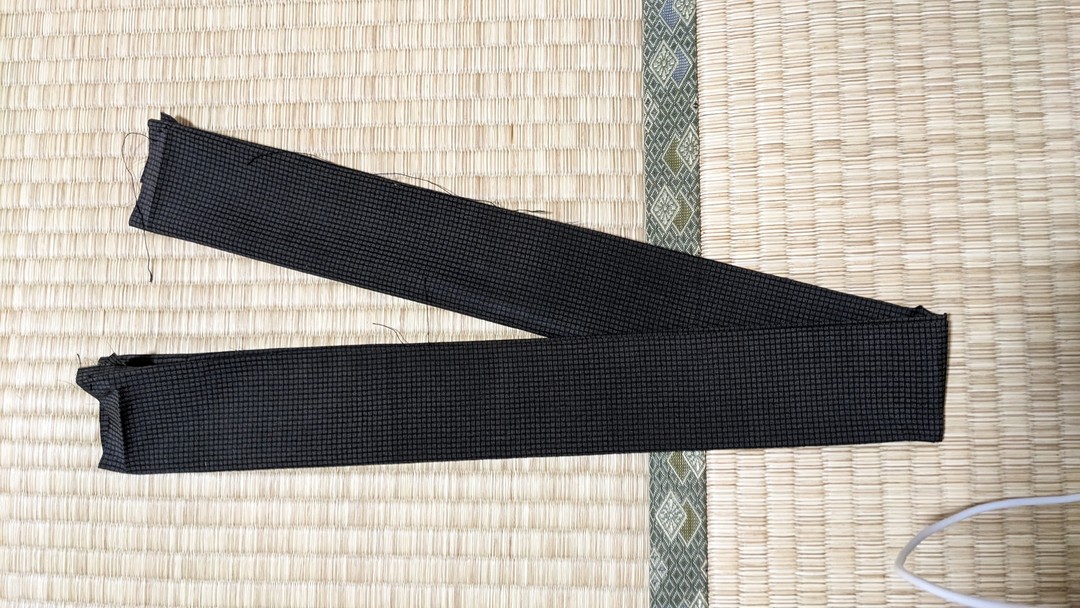
I press a crease with the iron on the collar in the same way.
I place the pattern, align it with the fabric edge of the outer collar,
and pin.
I press the stitch line and the collar mountain with the iron.
I do not iron the collar end of the collar (or three-piece collar),
because I fine-tune it at the end.
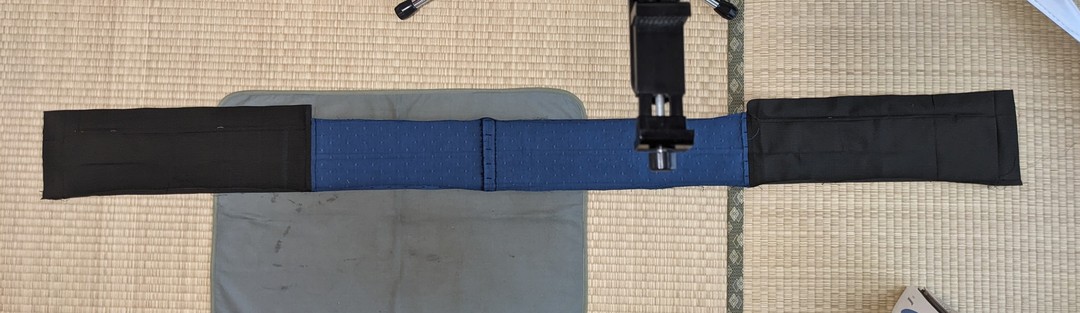
From the collar center as the base, I flip the pattern over,
I secure with clips and pins,
and press a crease with the iron.
Collar ironing is done.
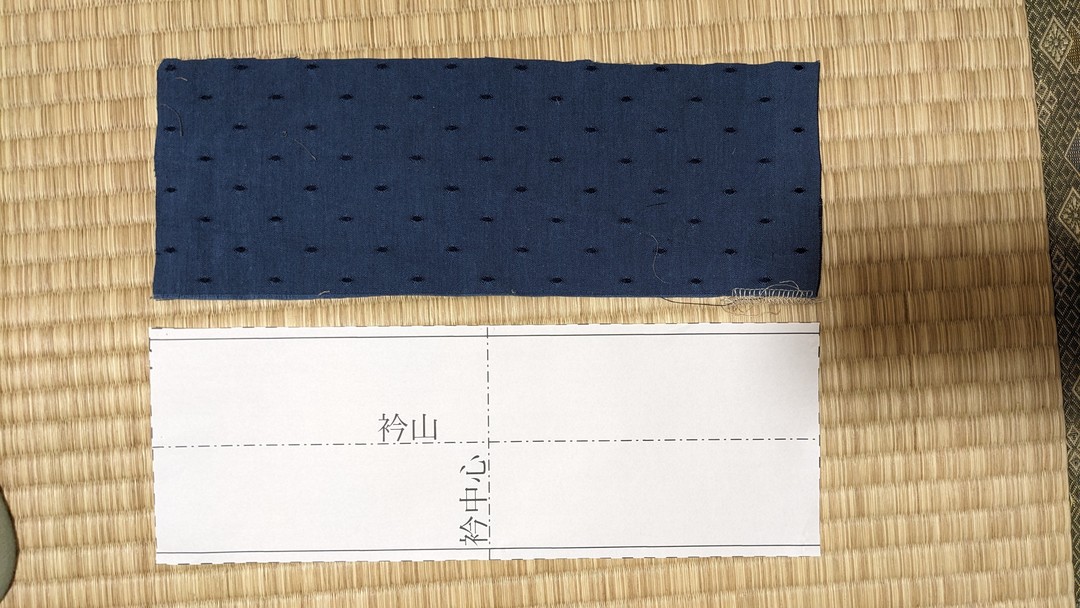
4. I place the pattern on the different fabric for the triple collar
interfacing,
I secure with clips and pins,
and cut the fabric along the pattern.
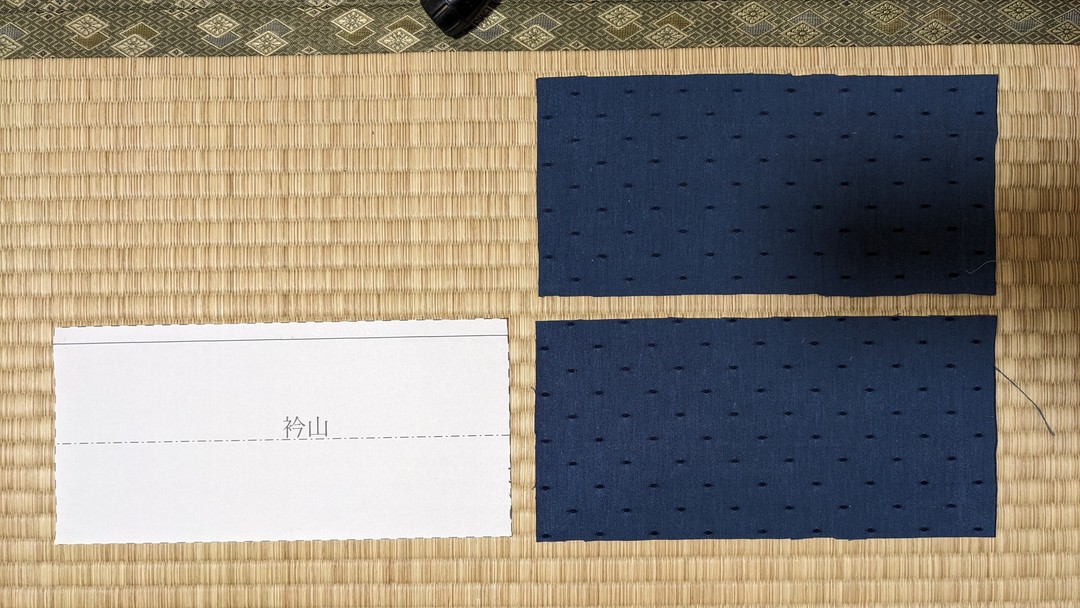
(Men’s kimono only) I place the pattern on the different fabric for the
collar-end fabric,
I secure with clips and pins,
and cut the fabric along the pattern.
I make two pieces of collar-end fabric.
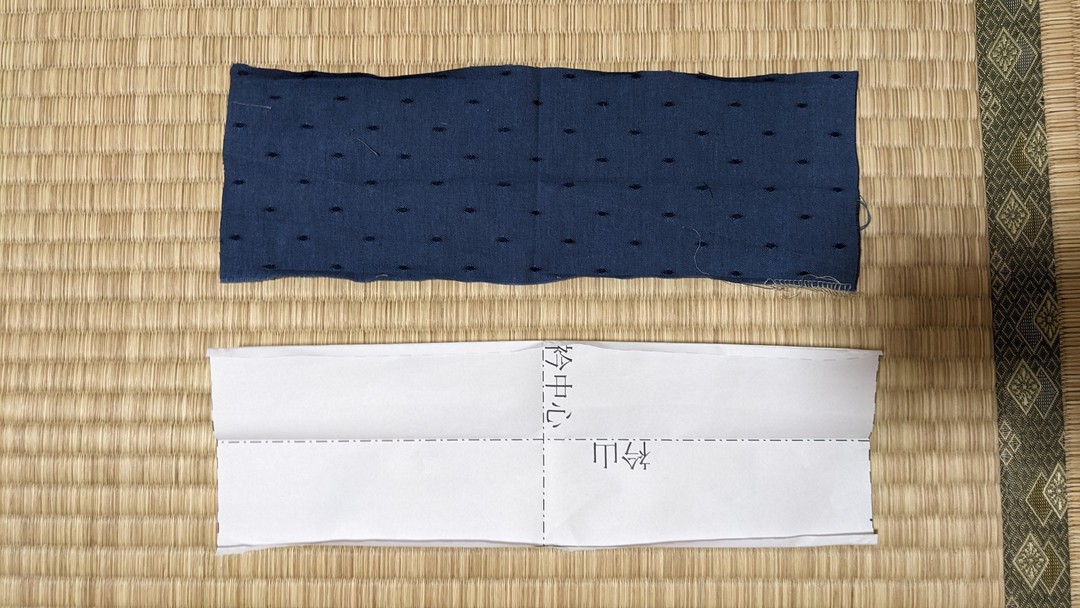
5. I re-secure the pattern to the triple collar interfacing with clips
and pins,
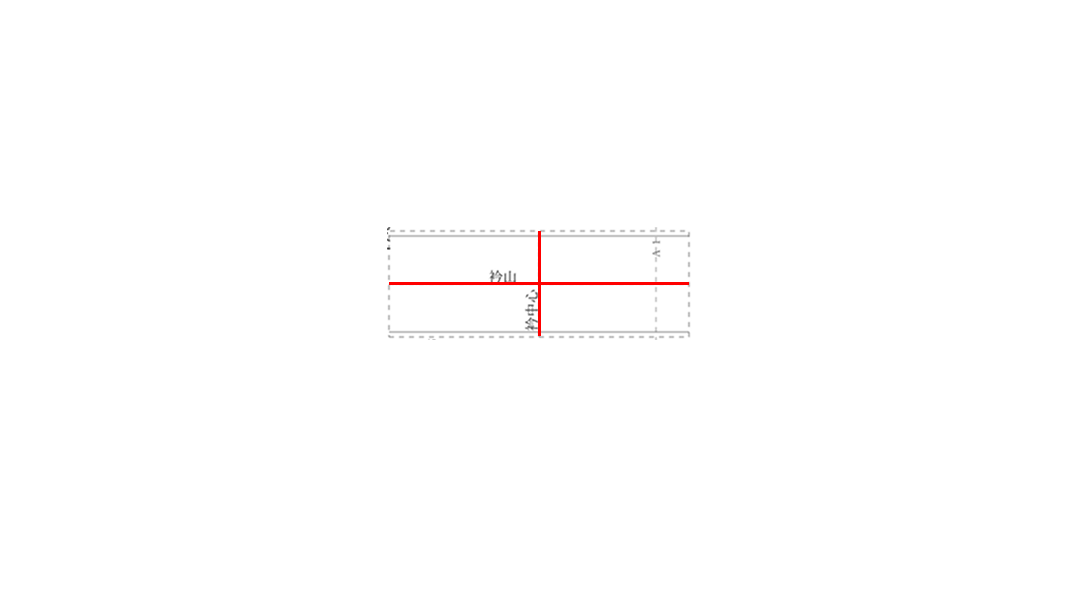
valley-fold the fabric together along the fold line, and press a crease
with the iron.
(Men’s kimono only) I re-secure the pattern to the collar-end fabric
with clips and pins,
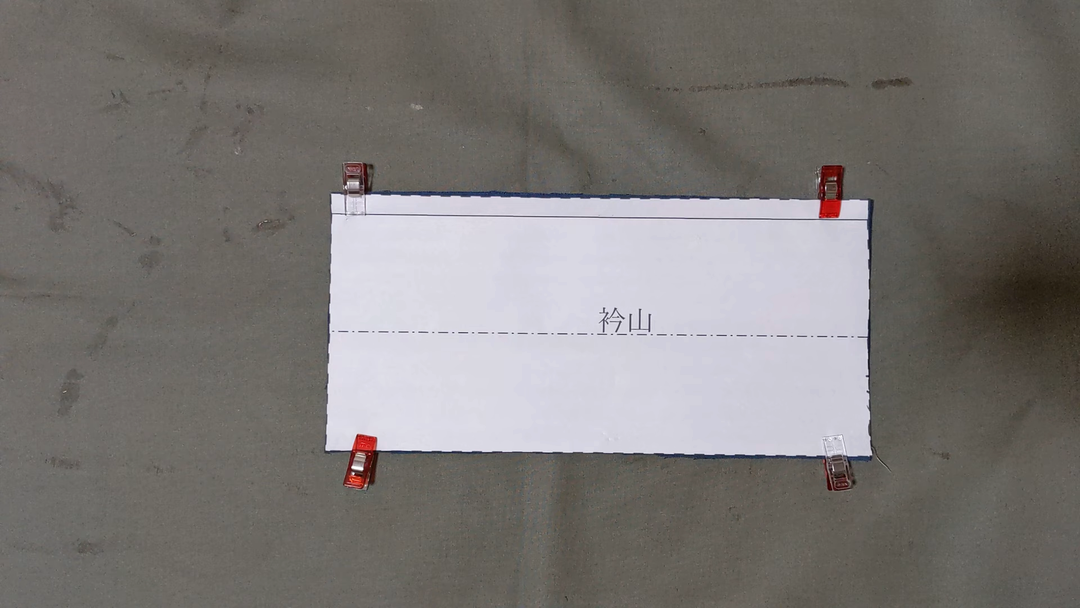
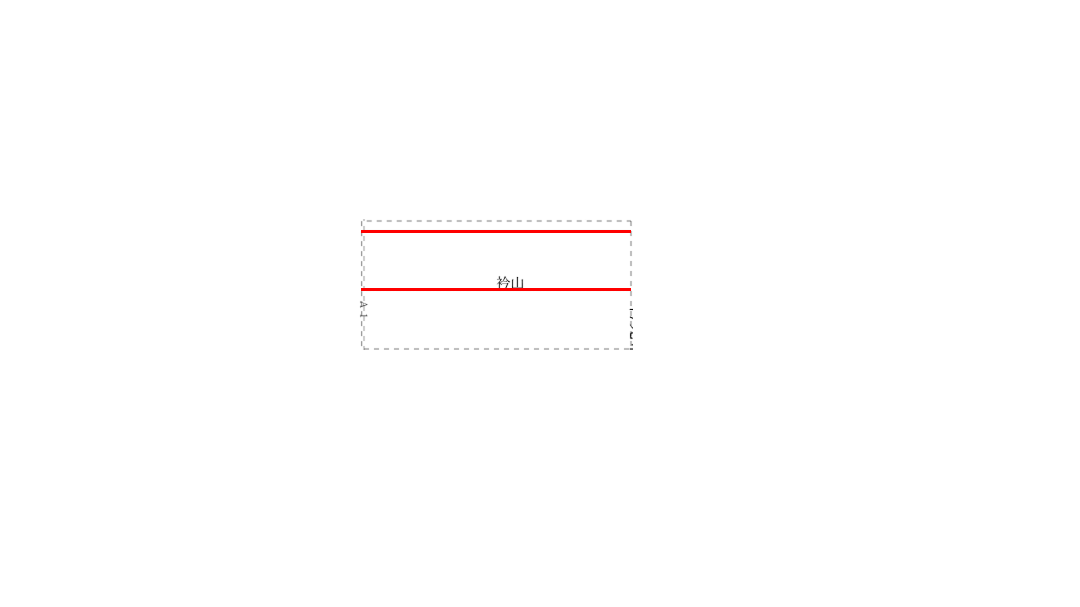
and valley-fold the fabric together along
· the fold line · the stitch line
and press a crease with the iron.
I do this on both pieces of collar-end fabric.
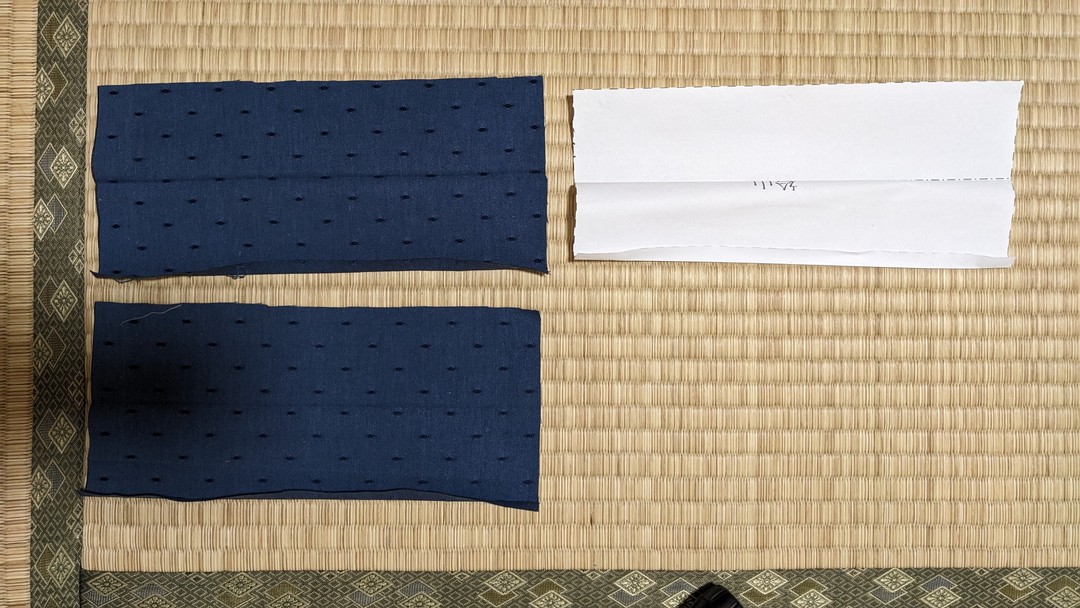
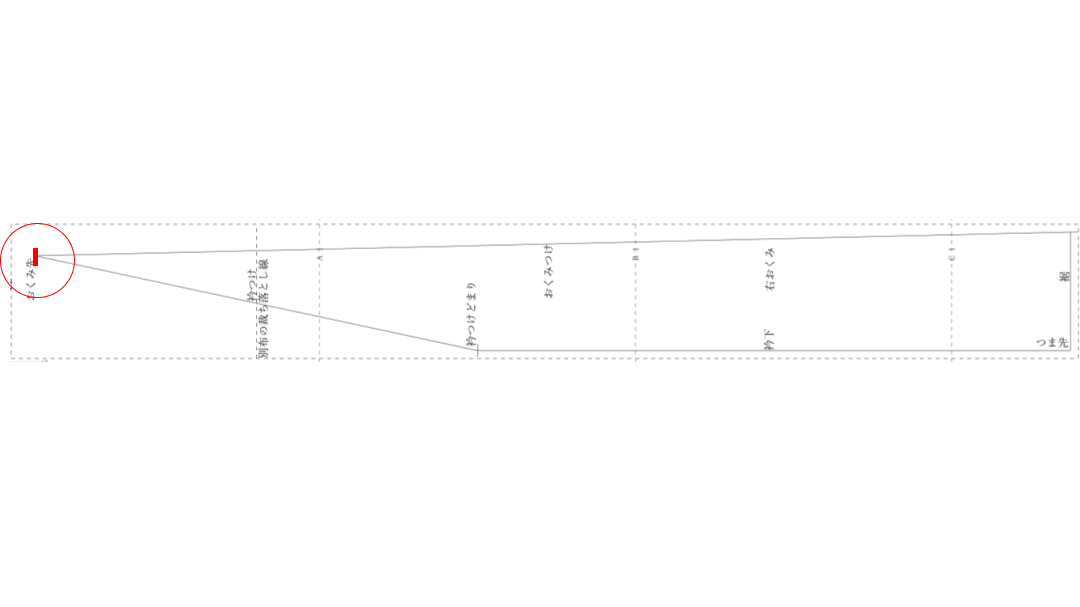
6. I check the position of the okumi tip, and pin it as a mark.
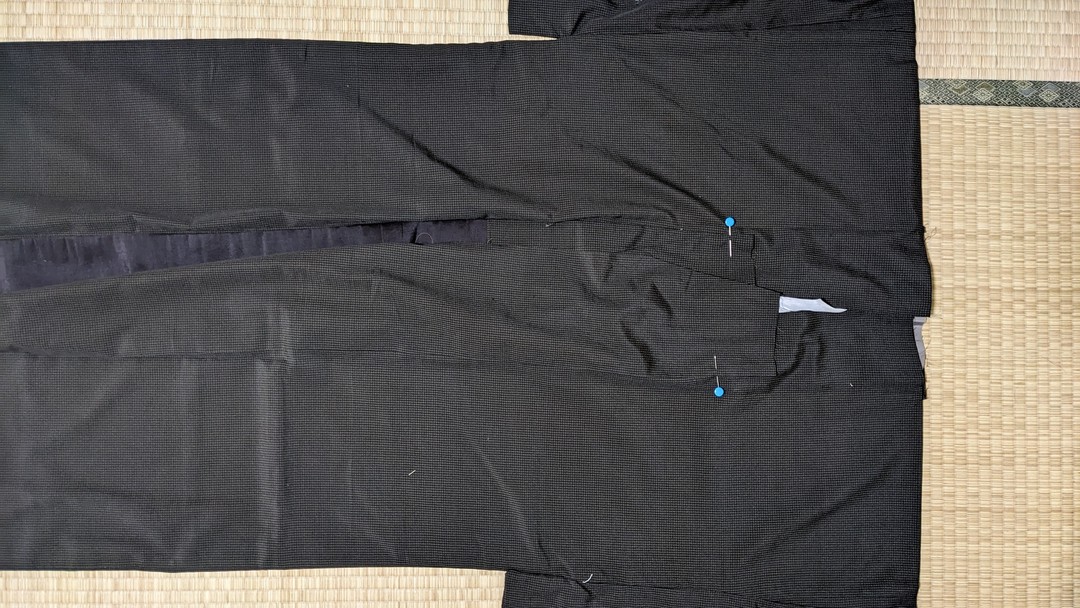
(Lined kimono only) I straighten the fabric,
and at the same position as the outer fabric’s okumi tip, I pin the
outer fabric and lining together.
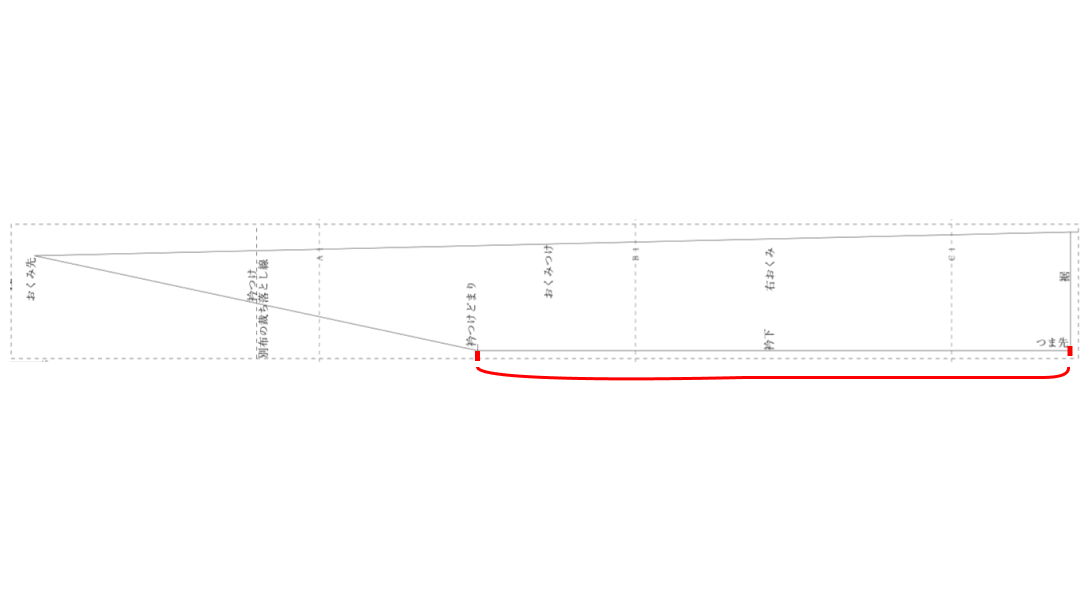
I measure the under collar of the okumi, check the collar-attachment end
position, and pin it as a mark.
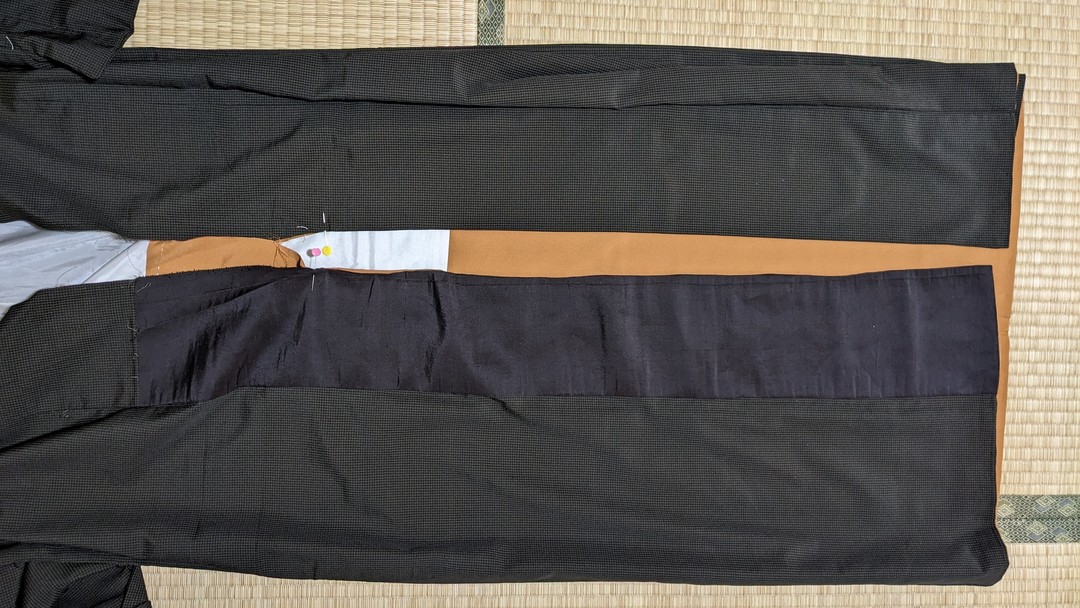
7. I turn the right side of the back body up (the outer fabric if
lined),
and place
· the collar-shoulder area · the okumi sagari
so their lines form a straight line.
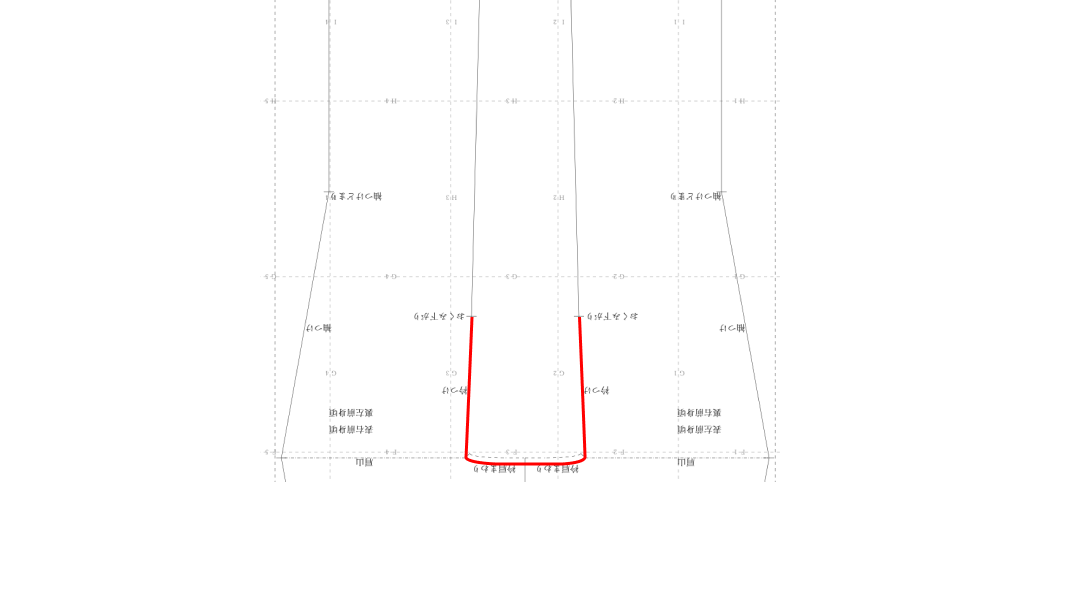
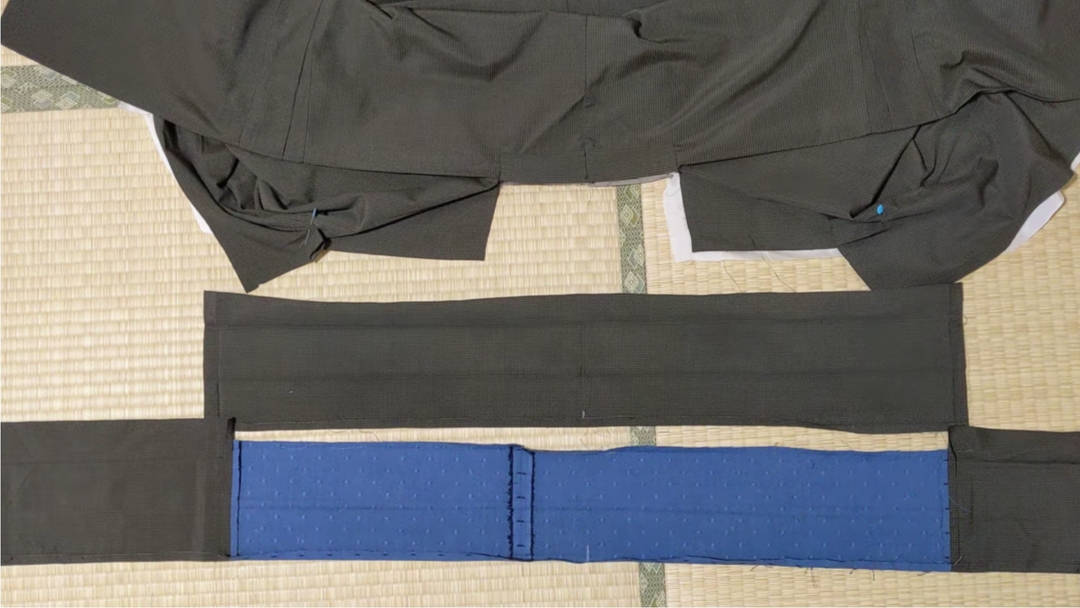
I turn the wrong side of
· the cover collar · the collar
up,
and align and layer
· the fabric edge of the outer collar · the collar center.
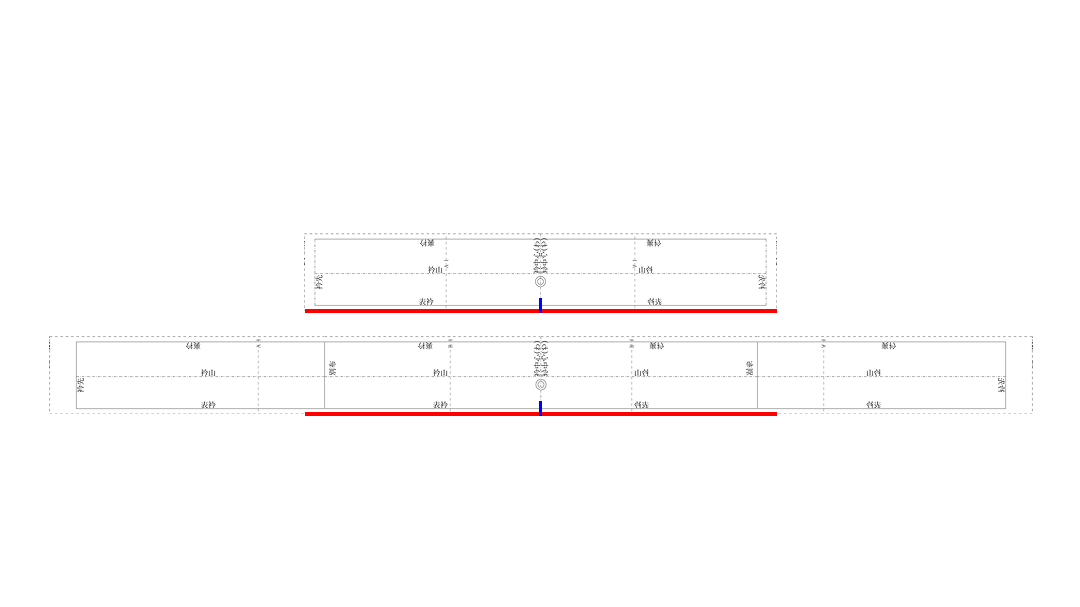
I place
· the cover collar · the collar
on the body.
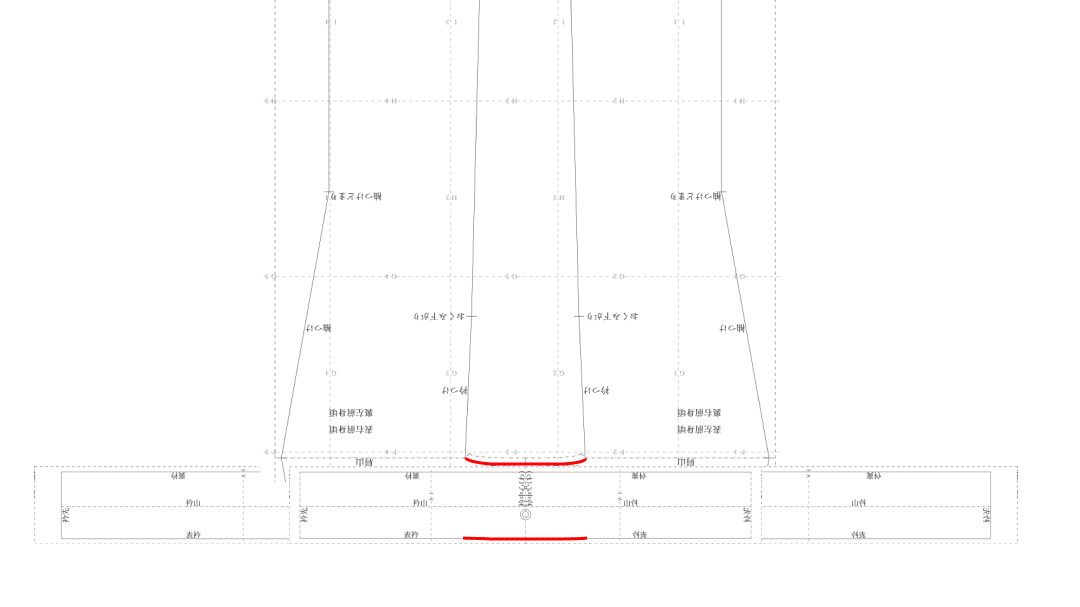
I align the back center and the collar center.
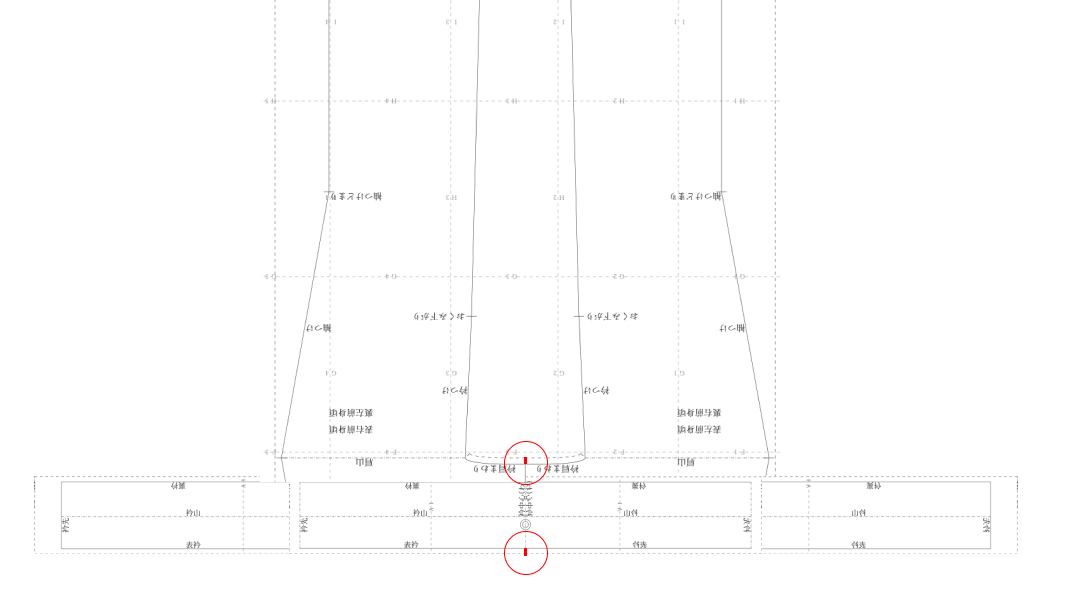
I align the fabric edges at the back center and collar center, and clip.
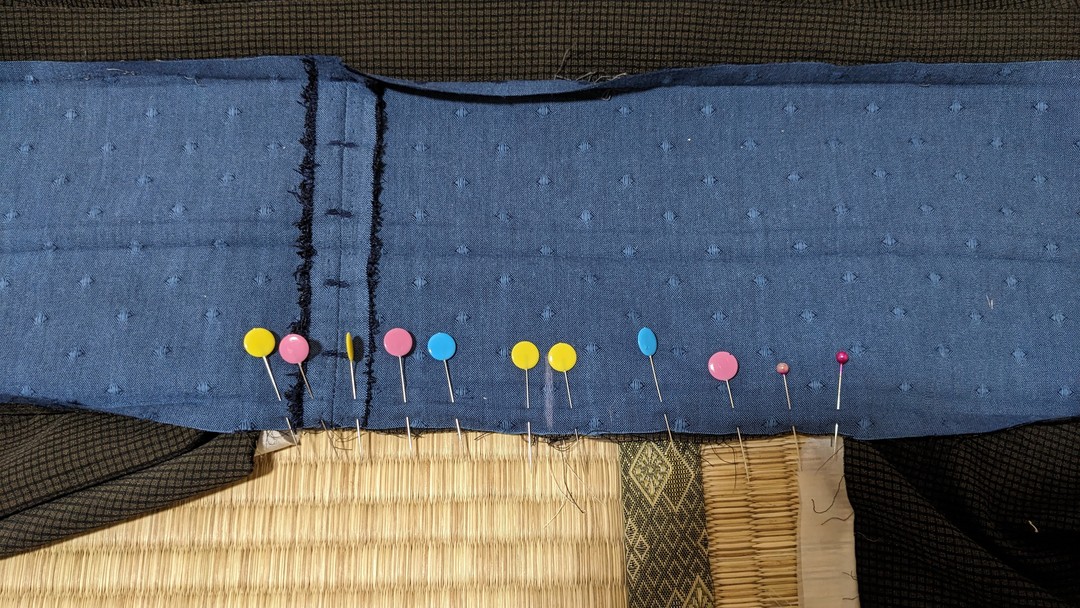
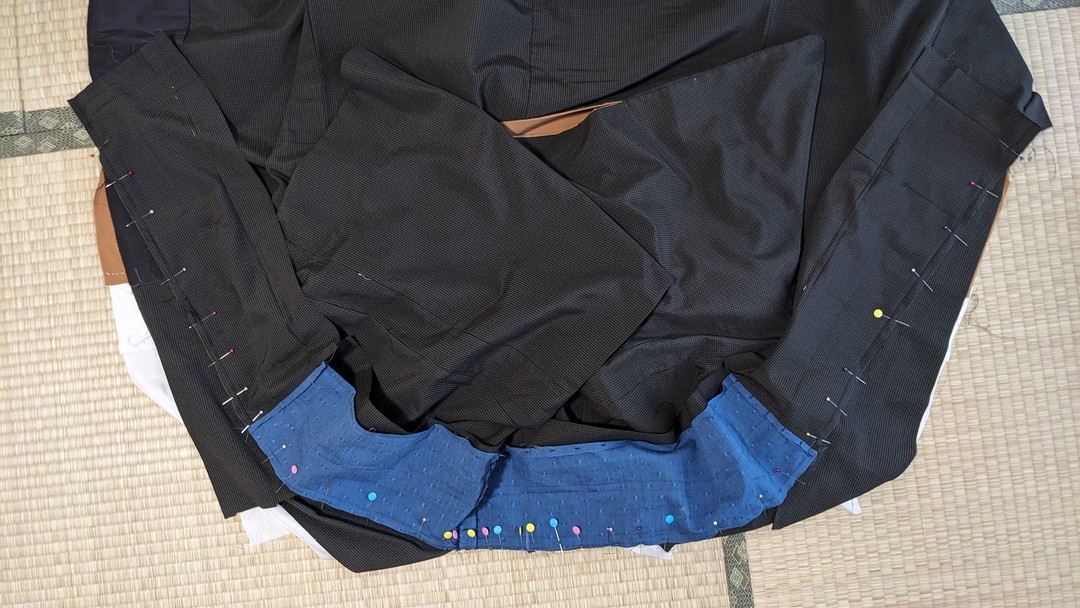
Along the marks of the collar-shoulder area, I layer the stitch lines of
the outer collar of the cover collar and collar, and pin.
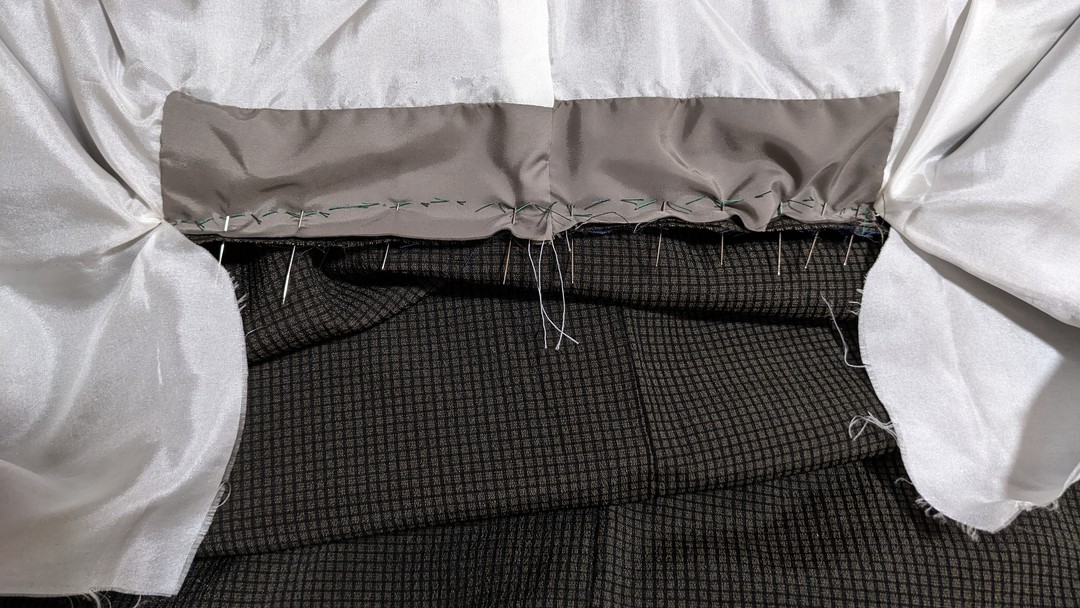
This time it is a lined kimono, so at the collar-shoulder area I align
the outer fabric and lining and pin.
The cover collar and collar are straight, but the collar-shoulder area
is a curve.
While bending the cover collar and collar little by little,
I align the stitch lines while checking the tips of the pins that go
through.
Wrong side of the collar
Lining of the collar-shoulder area
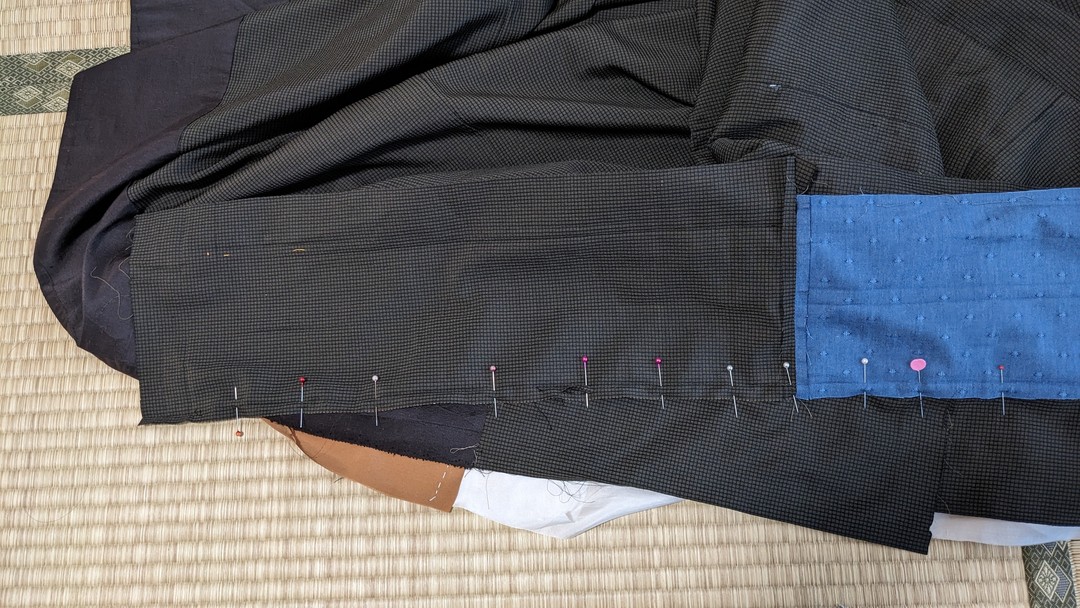
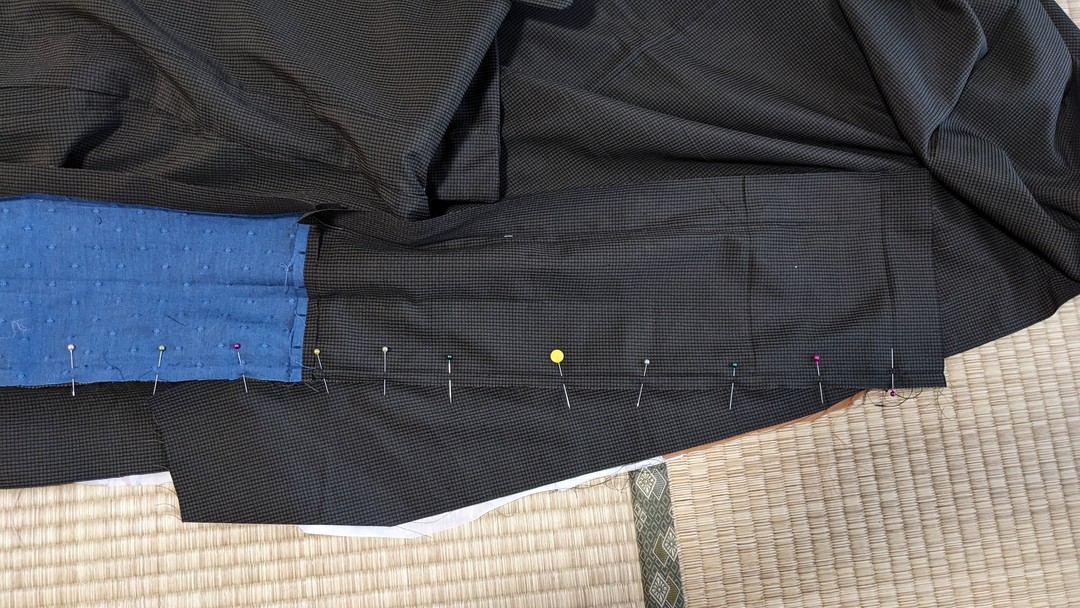
On the okumi sagari too, I layer the stitch lines of the outer collar of
the cover collar and collar, and pin.
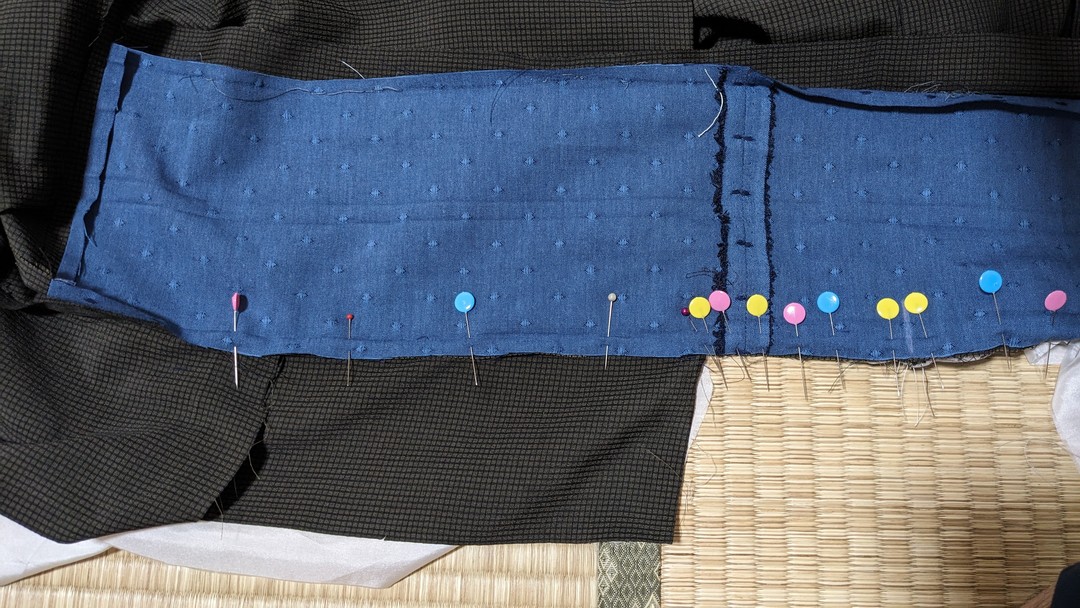
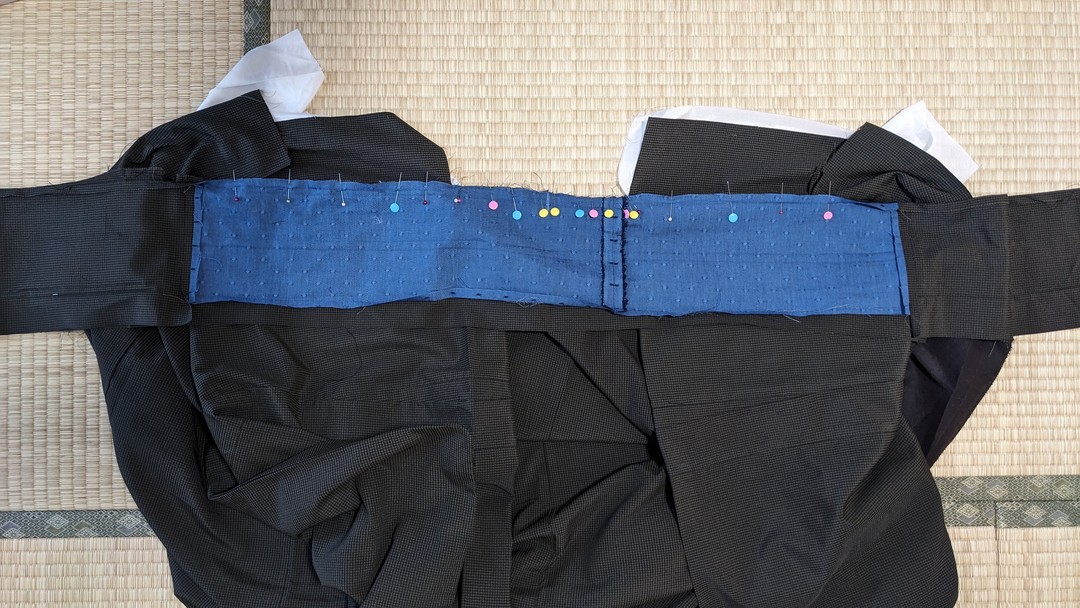
I fold the seam allowance of the cover collar’s collar end, and clip.
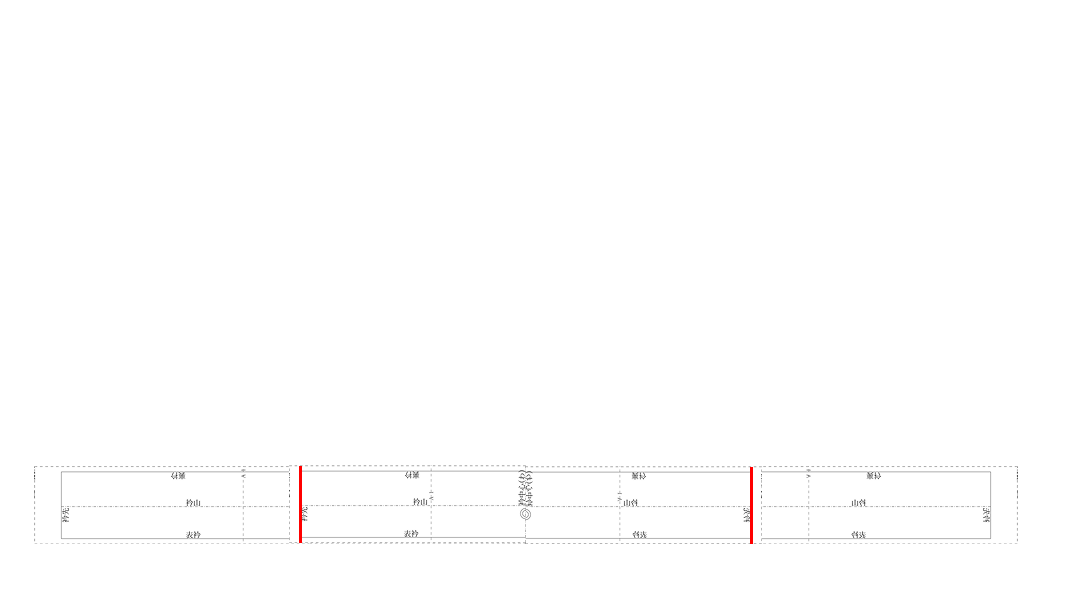
On the collar attachment up to the collar-attachment end too, I layer
the stitch line of the outer collar,
and pin along the stitch line.
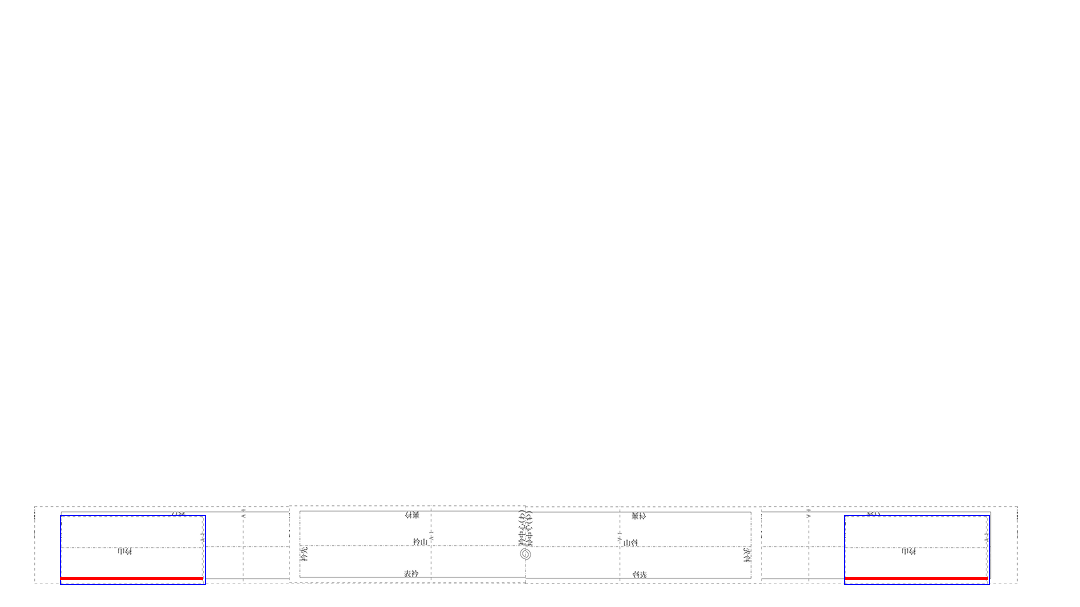
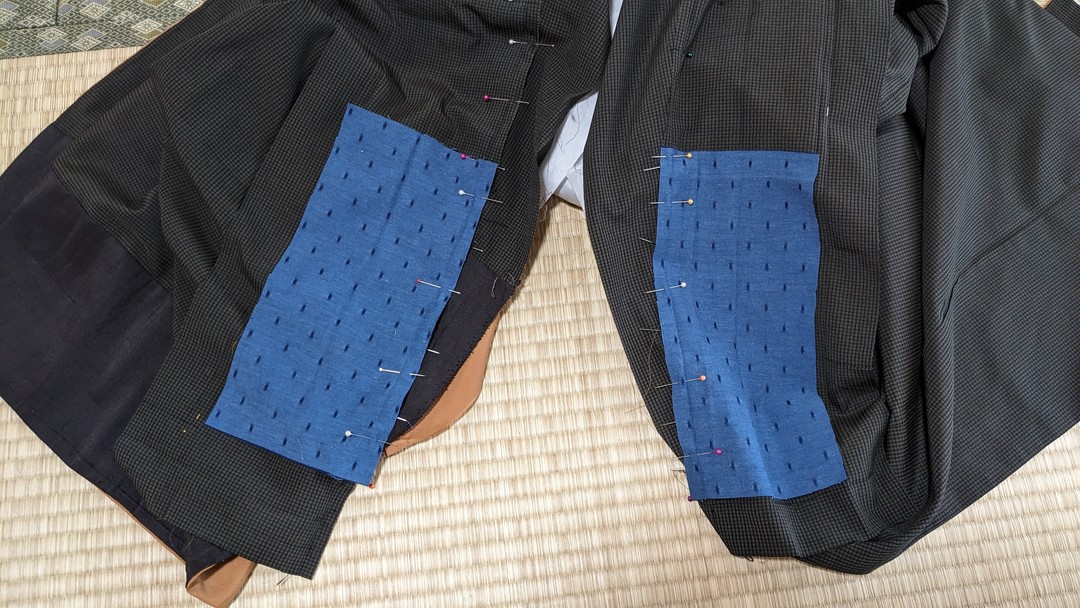
8. (Men’s kimono only) I place the collar-end fabric on the wrong side
of the outer collar’s collar end,
layer it aligning the stitch lines, and pin over the existing pins.
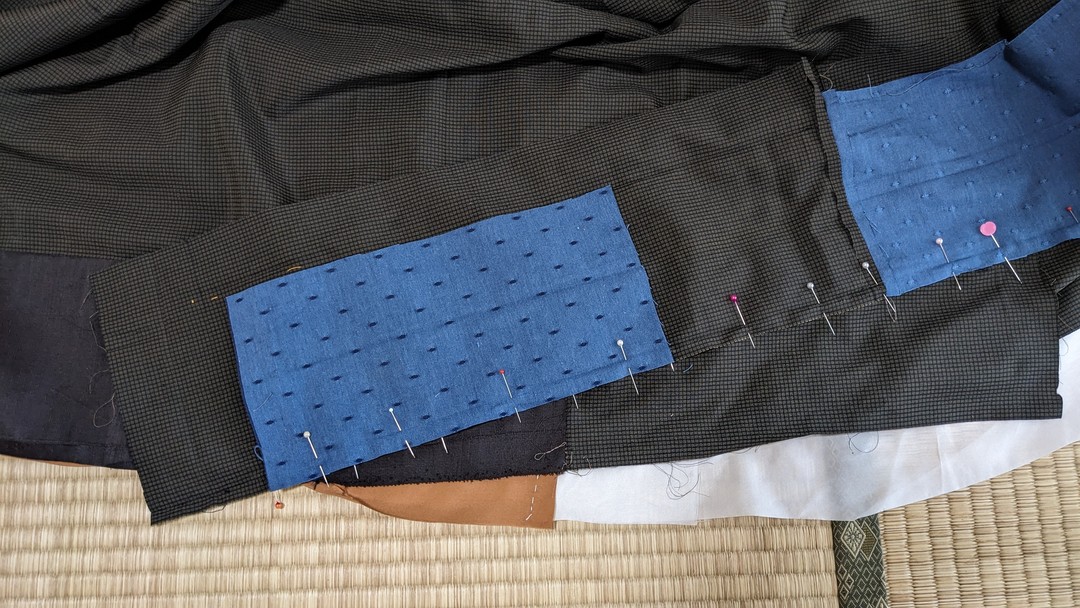
I do this on both left and right collar-end fabrics.
9. From the collar center toward the collar end, with a straight machine
stitch I sew to the body
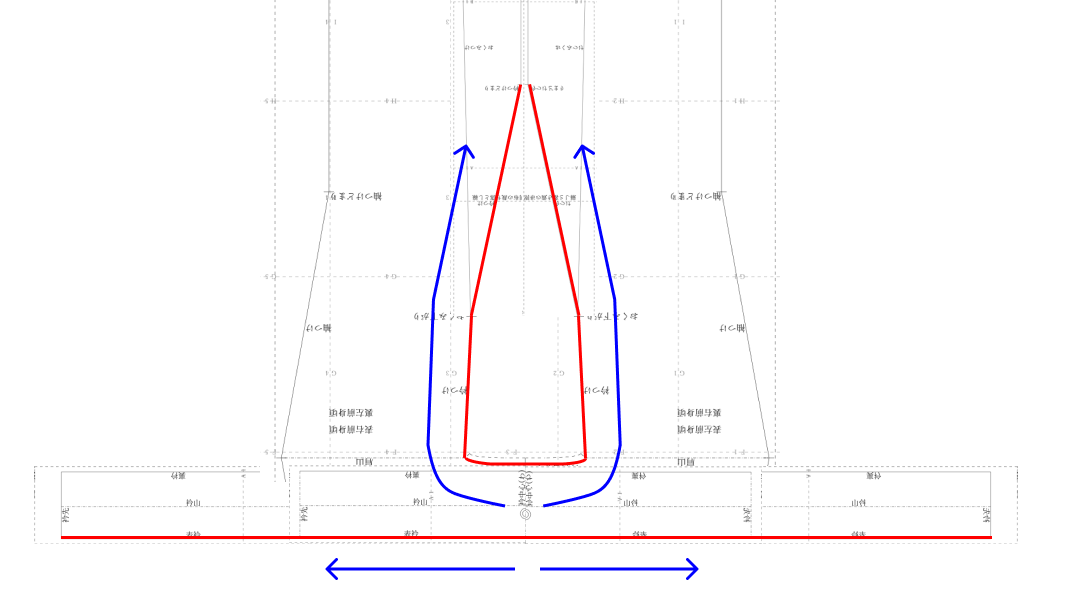
· the cover collar · the collar · the collar-end fabric.
Stitch length is 5 mm.
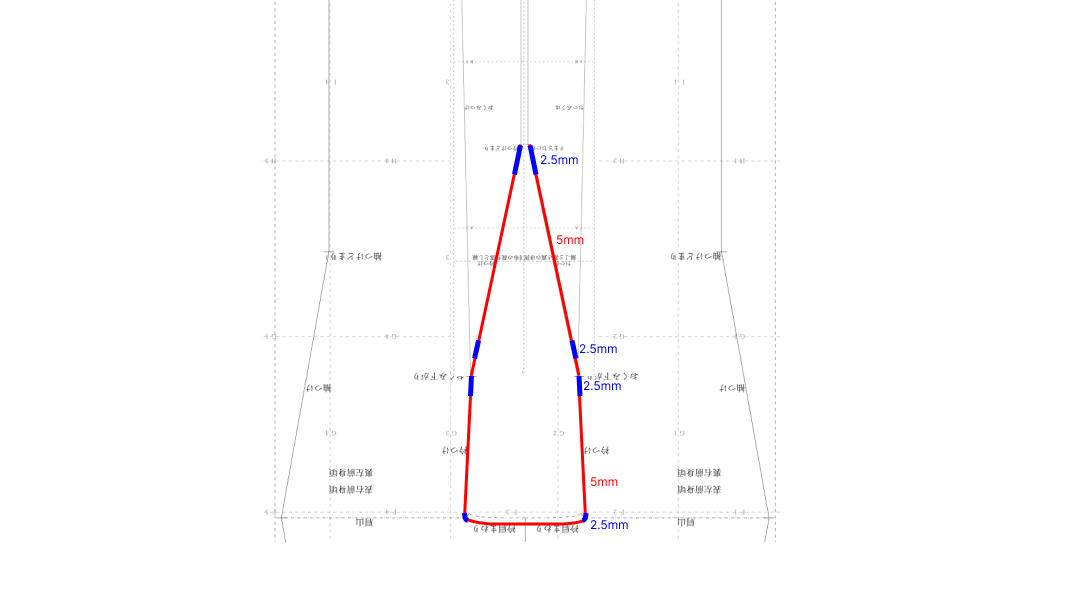
Stitch length is 2.5 mm at
· the notch of the collar-shoulder space · the okumi tip · the cover
collar’s collar end · the collar’s collar end.
This area is the okumi sagari.
At the okumi tip I set the stitch length to 2.5 mm, then return to 5 mm
after passing it,
and at the cover collar’s collar end I set it to 2.5 mm again, then to 5
mm after passing it.
This area is the okumi’s collar attachment.
From here is the collar-end fabric.
The collar end is 2.5 mm.
I sew the other side from the back center.
This is the collar-shoulder area.
This is around the notch of the collar-shoulder space.
From here is the okumi sagari.
When finished sewing, I pull the threads to secure.
The sewn area. Outer fabric (right side).
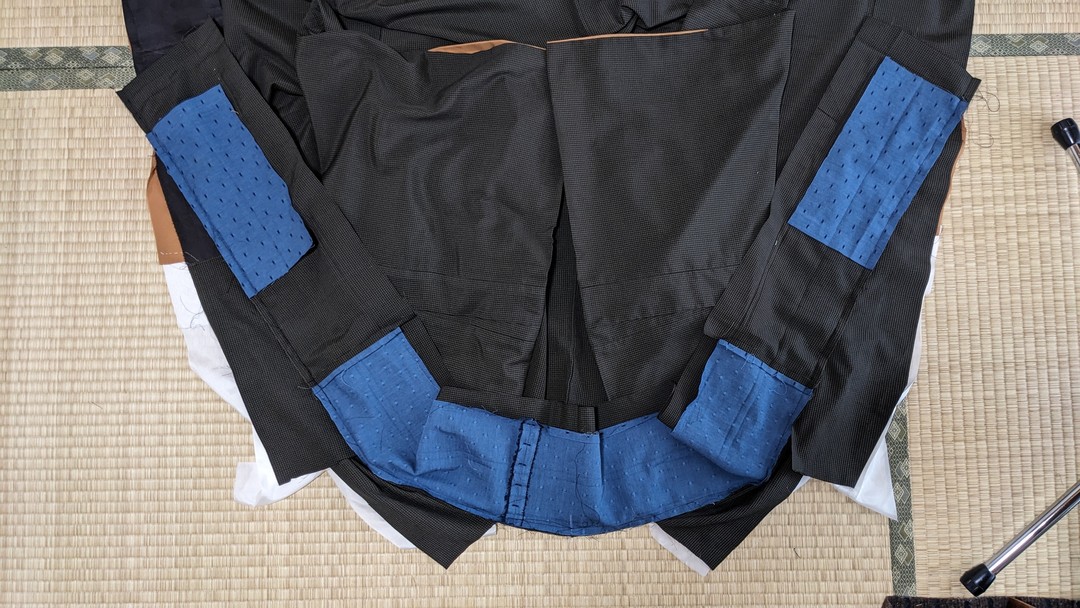
Right side of the collar
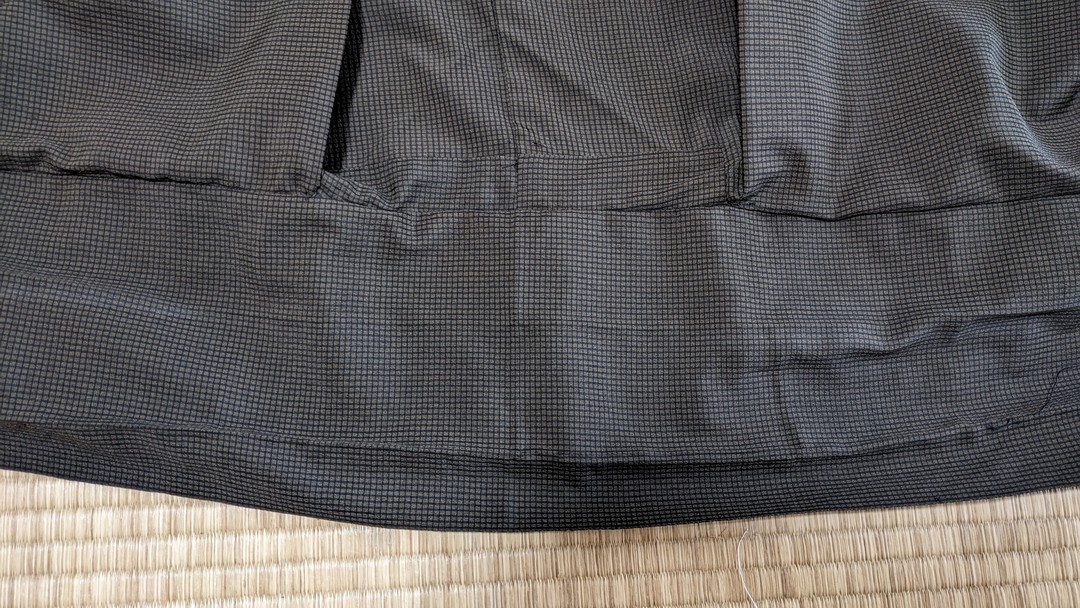
Wrong side of the collar
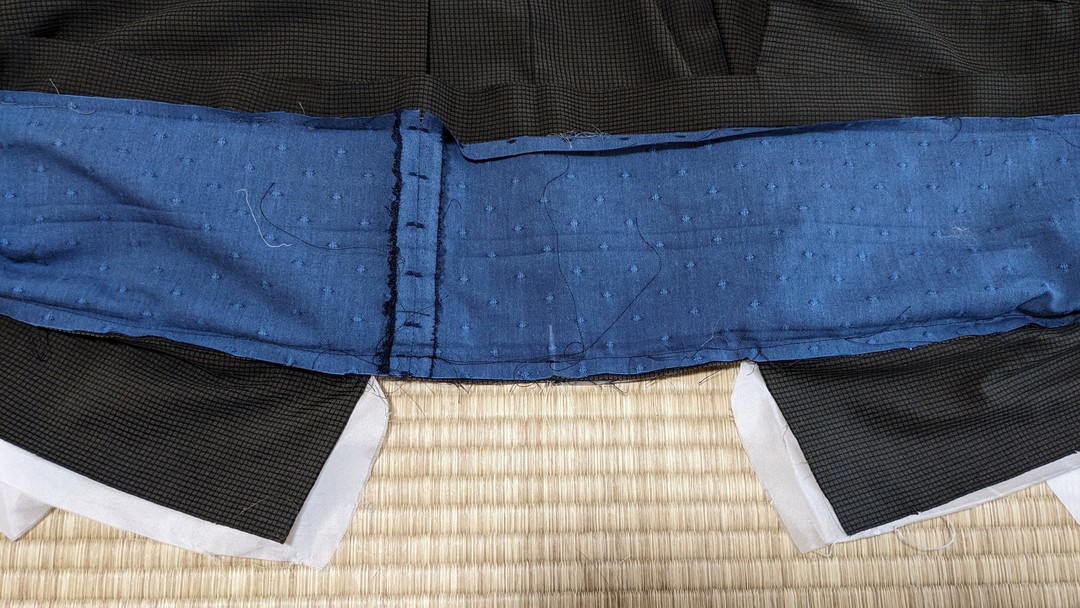
Lining side (wrong side if unlined)
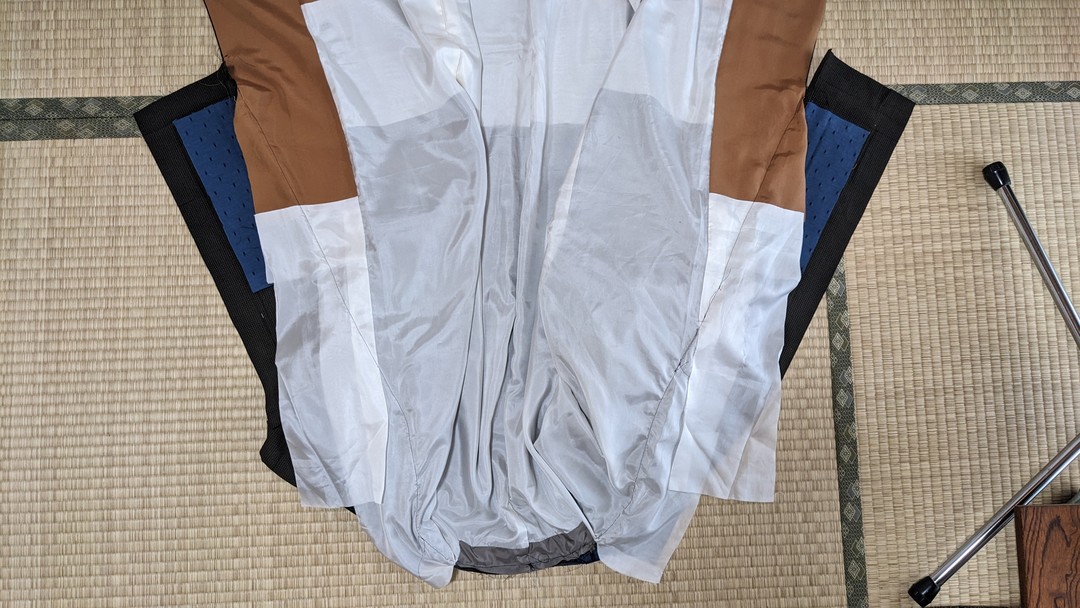
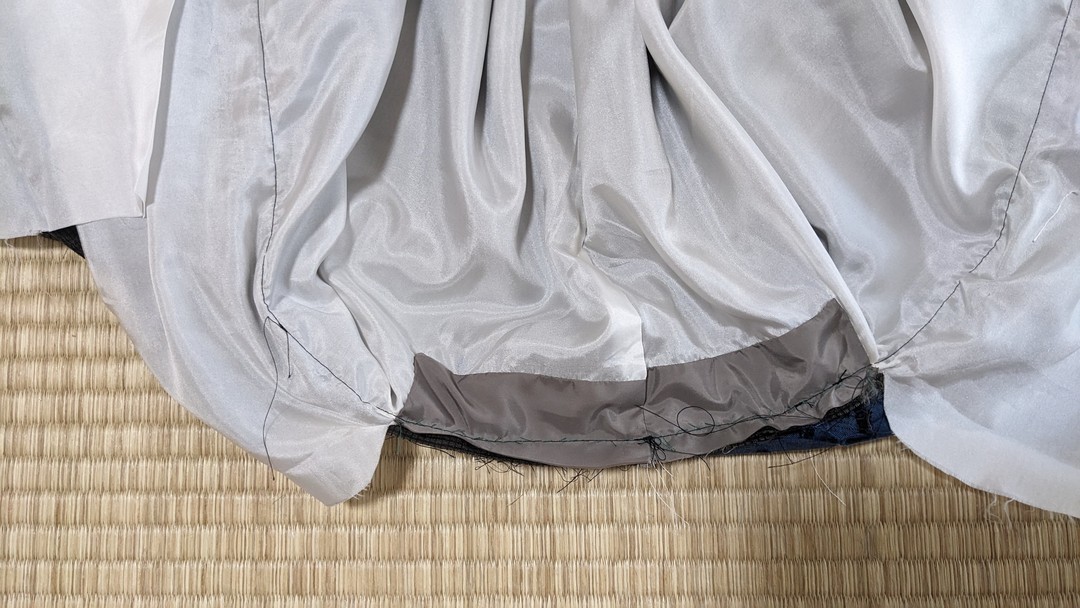
10. (Men’s kimono only) I fold the triple collar interfacing at the
collar mountain
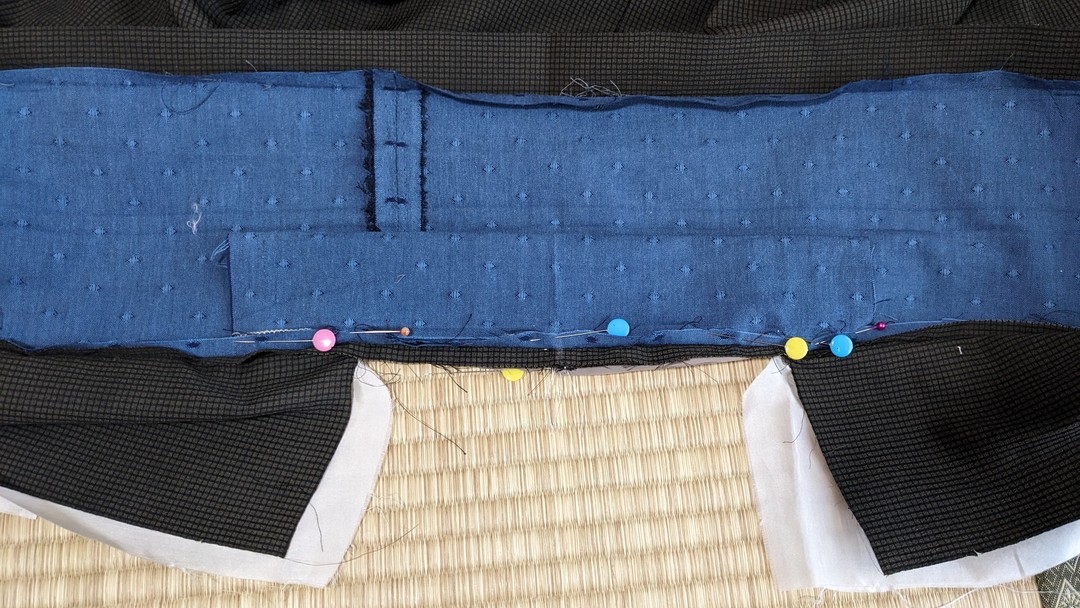
(For both men’s and women’s) I layer the triple collar interfacing on
the wrong side of the outer collar. I align the collar center.
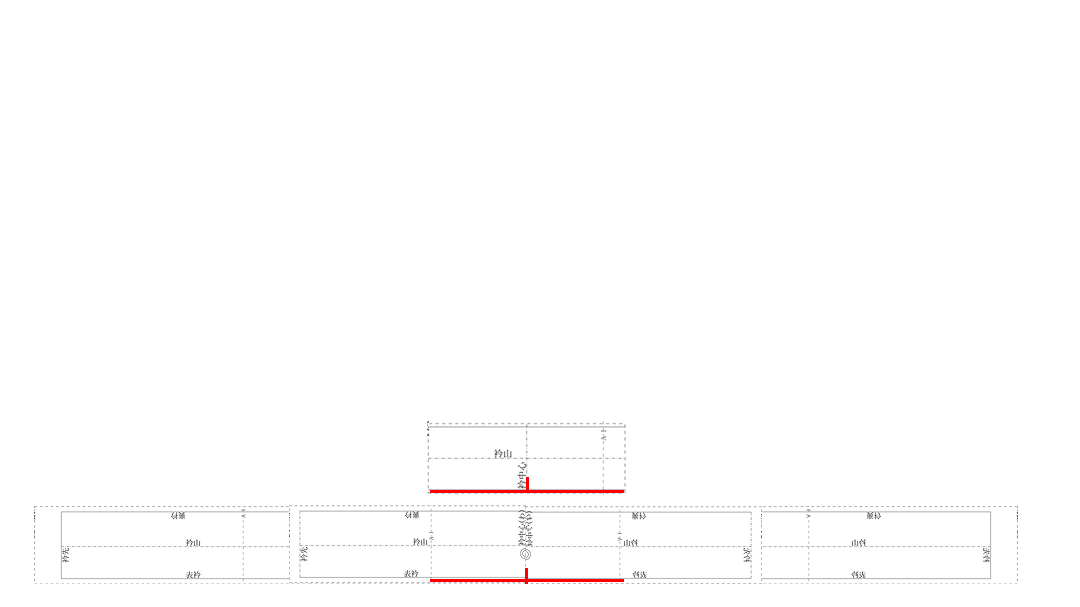
On the triple collar interfacing, I layer one seam-allowance layer
parallel and 5 mm away from the stitch line, and pin.
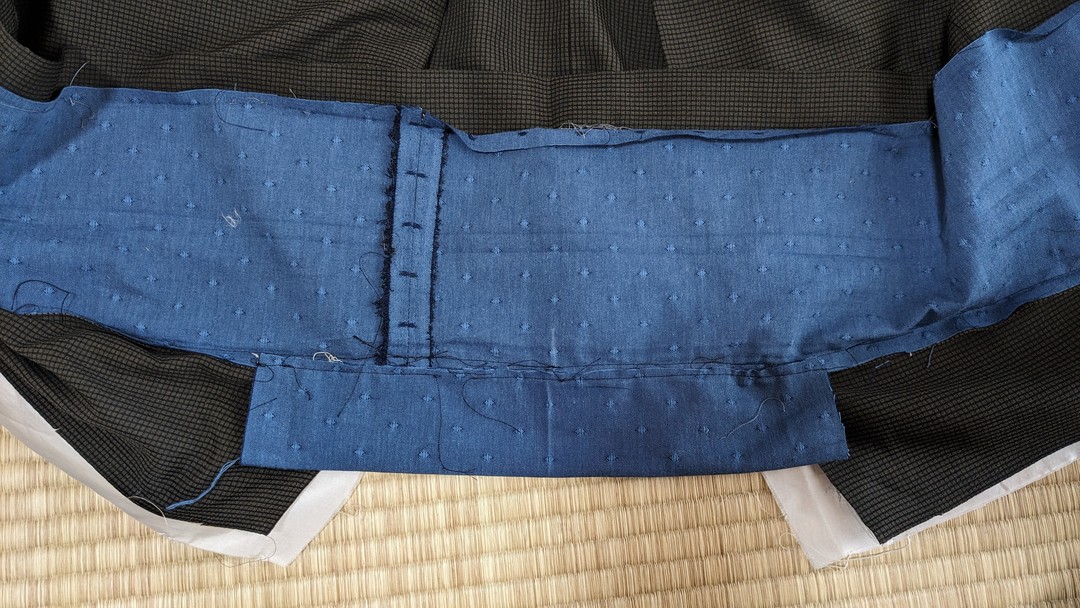
11. With a straight machine stitch, I sew together the 2–3 mm edge of
the triple collar interfacing’s seam allowance and the seam allowance of
the outer collar.
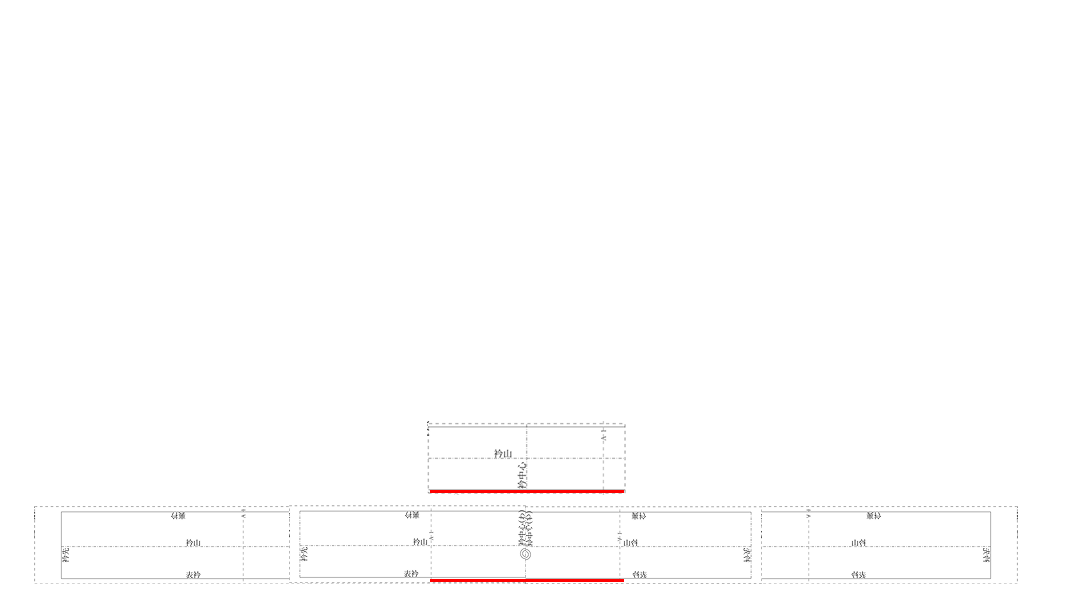
Stitch length is 5 mm. When finished sewing, I pull the threads to
secure.
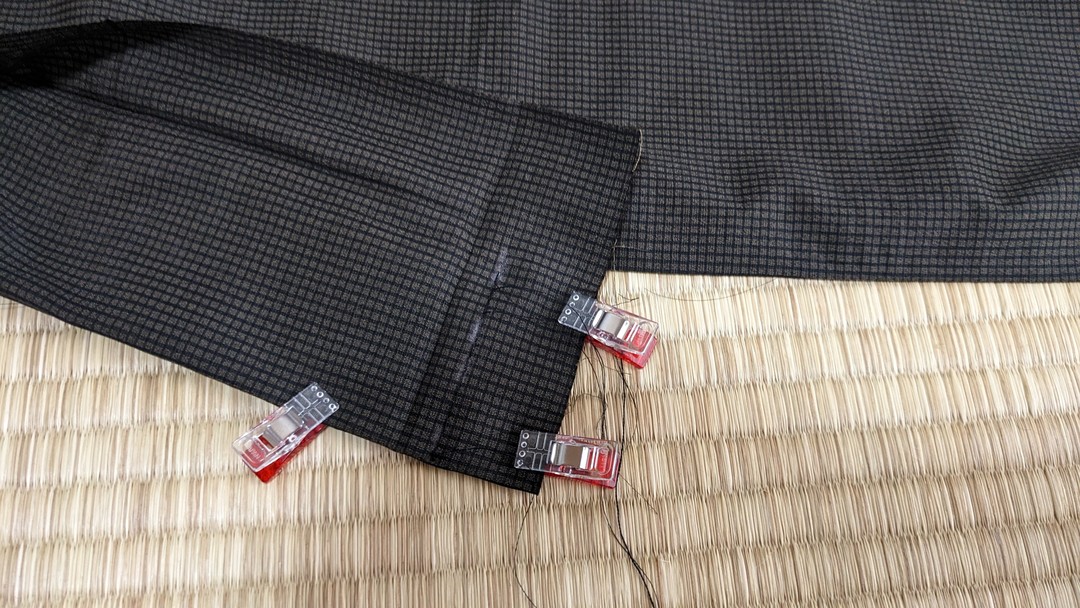
12. I fold the collar mountain of the collar end with outer sides
together, and clip.
From the collar-attachment end, 8 mm toward the fabric edge, I mark with
chalk,
and sew together with a straight machine stitch.
Stitch length is 5 mm. When finished sewing, I pull the threads to
secure.
Outer-collar side
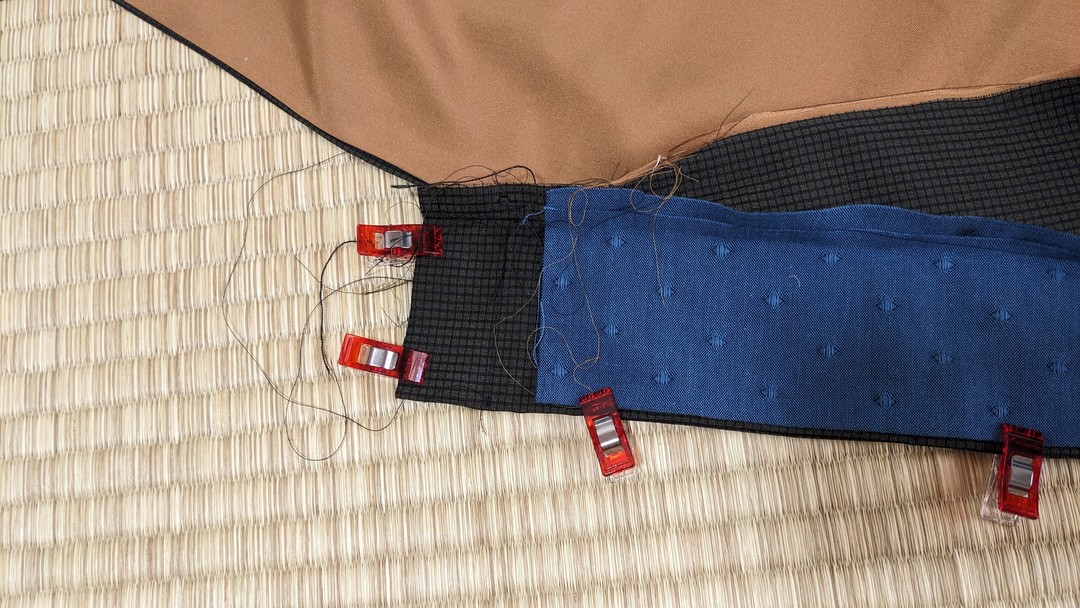
13. From the collar-end stop as the base, I fold the collar-end seam
allowance toward the right side (the outer fabric if lined).
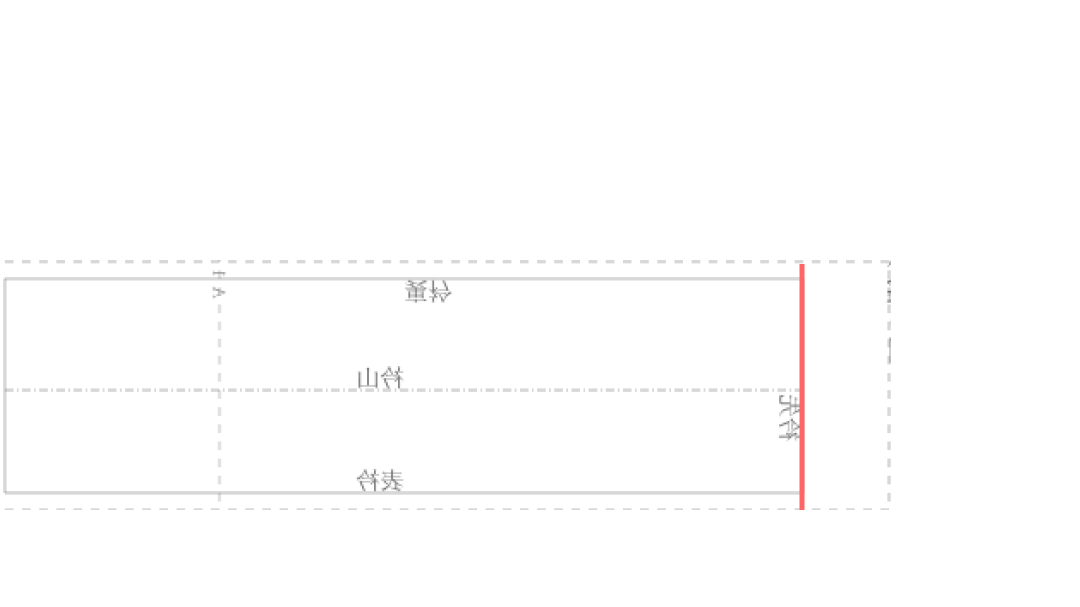
Then I fold the stitch line of the inner collar to the outer side.
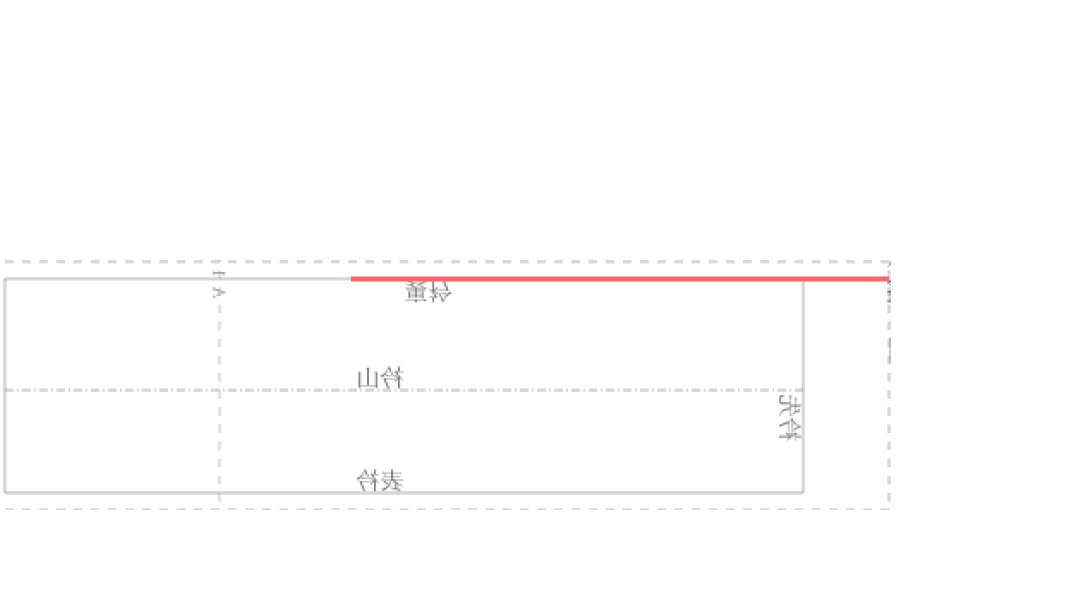
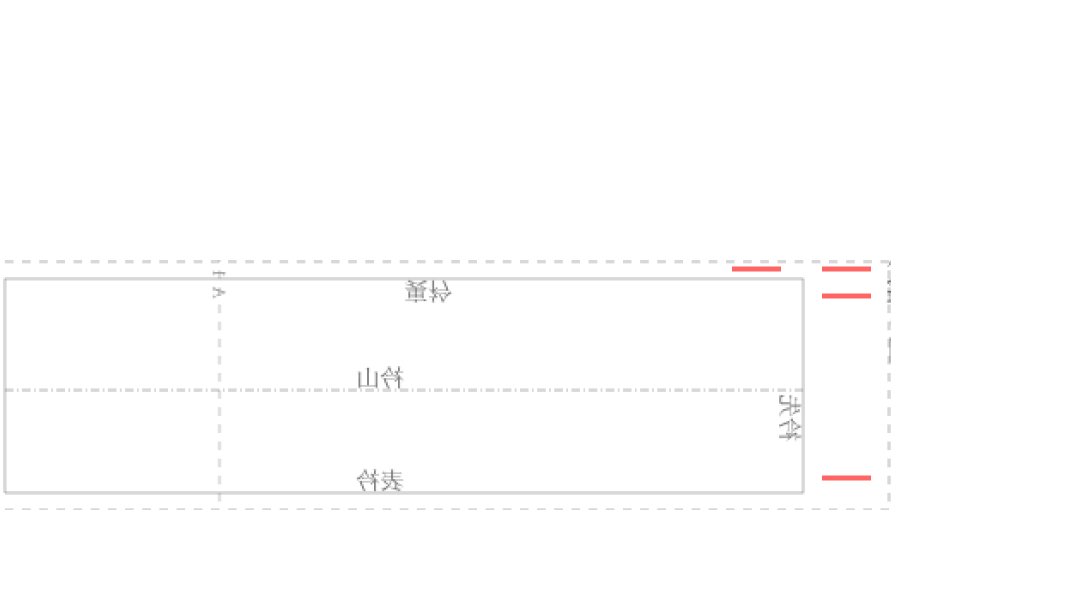
At this time, 3 layers of collar-end seam allowance and 1 layer of the
inner-collar seam allowance overlap.
I pin this,
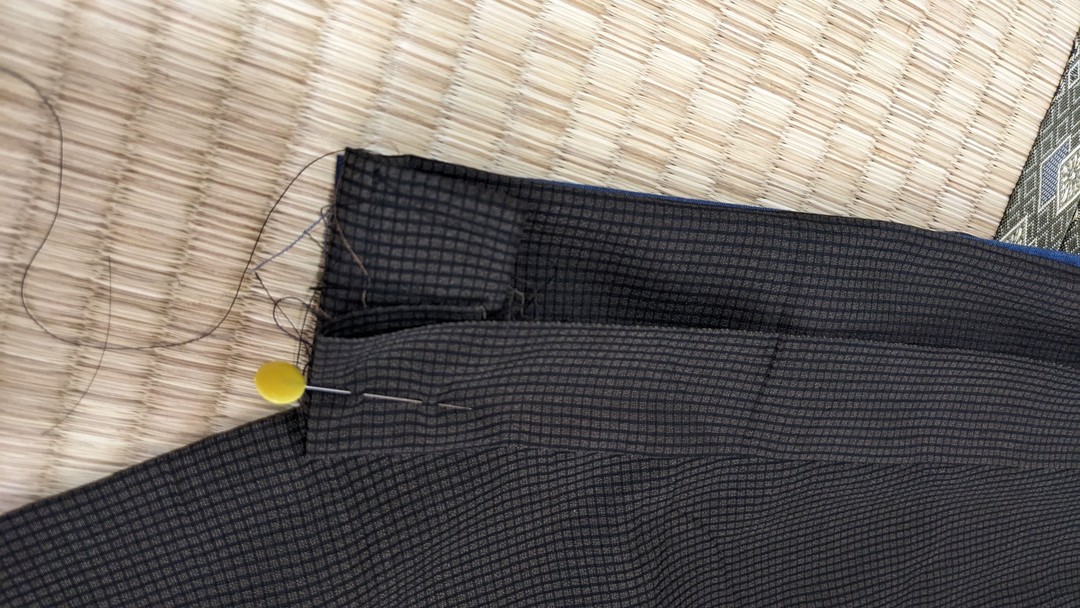
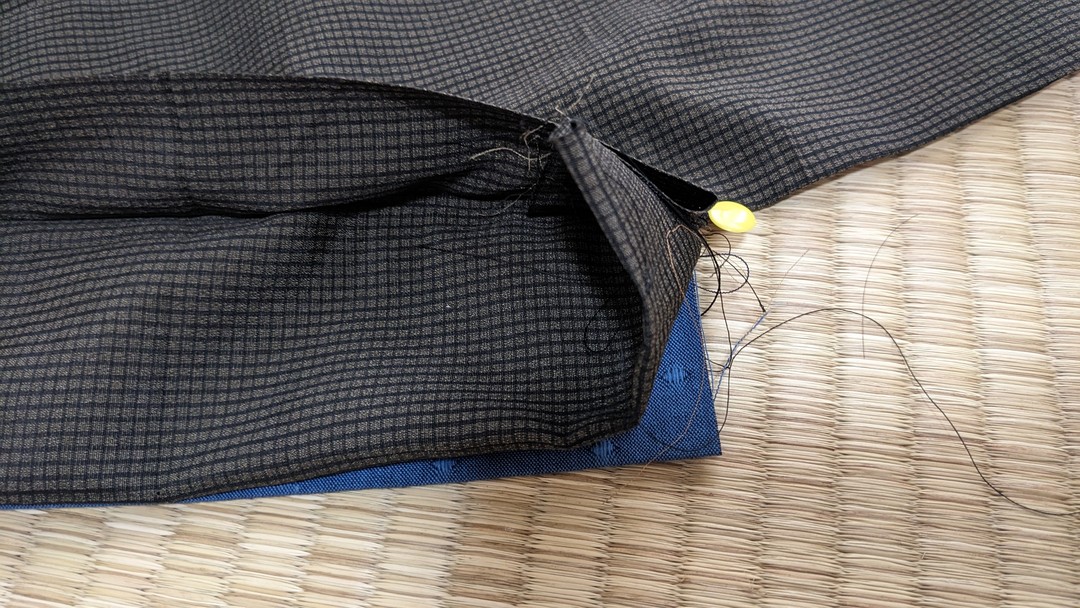
and sew it together by hand.
Stitch length is 5 mm. When finished sewing, I pull the threads to
secure.
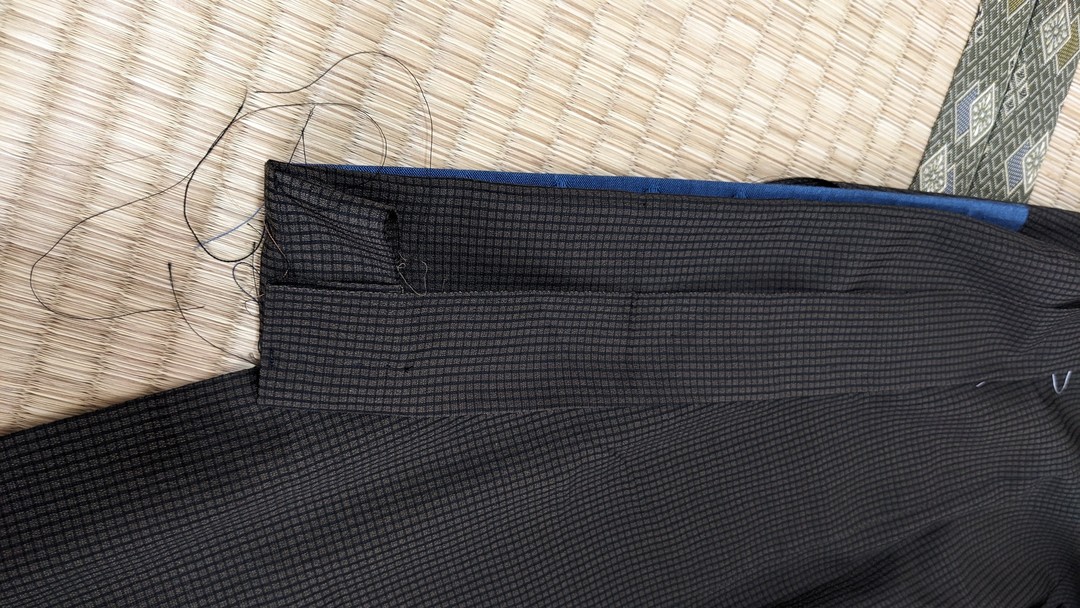
14. While pinching the collar mountain of the collar-end fabric, I turn
the collar end to the outer side.
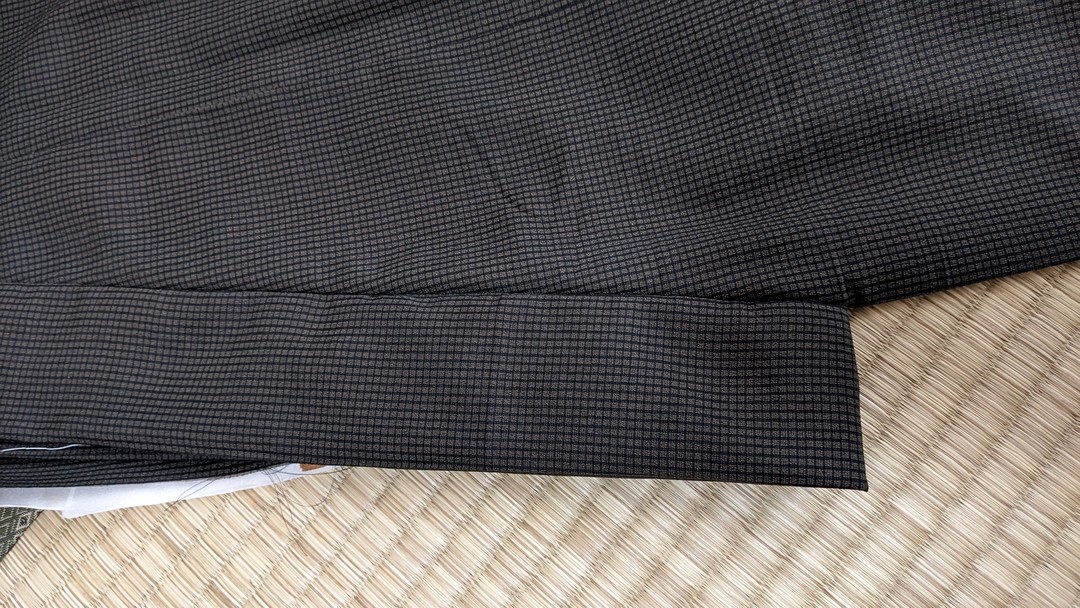
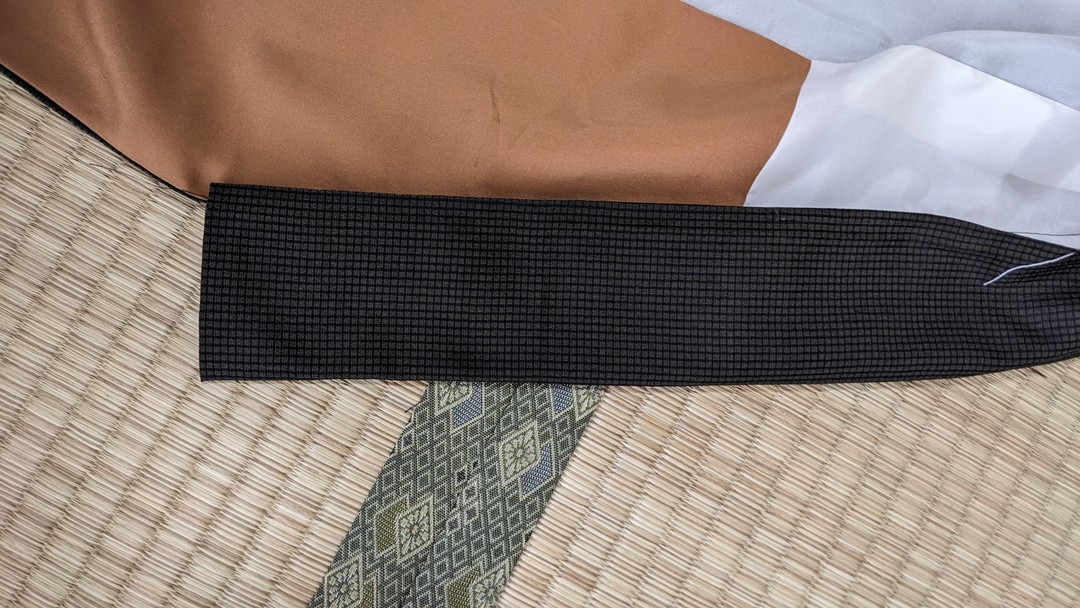
I do this on both left and right collar ends.
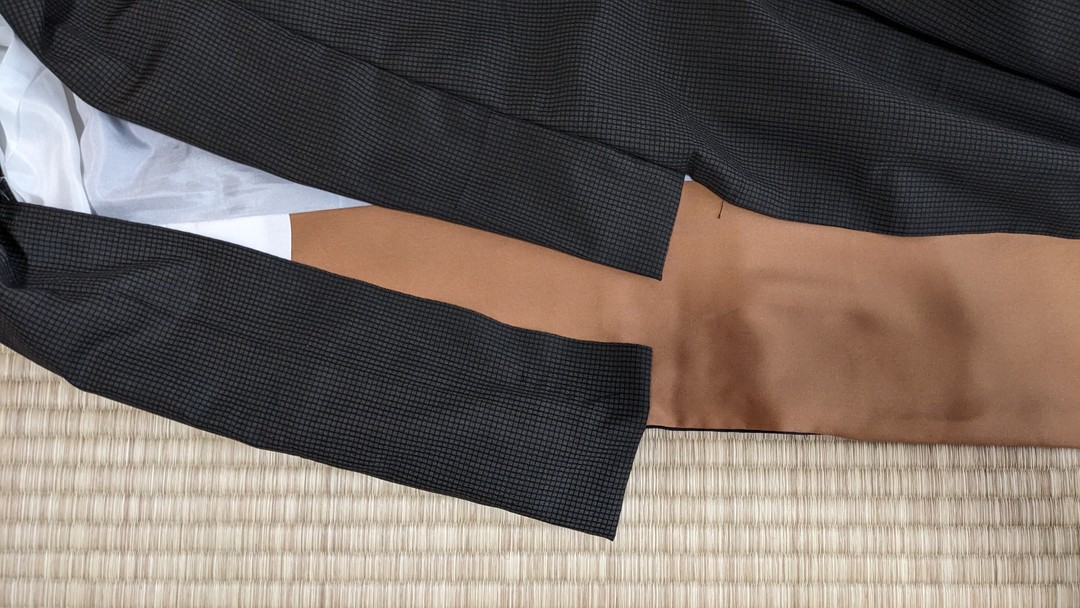
15. I fold the seam allowance of the entire inner collar to the outer
side.
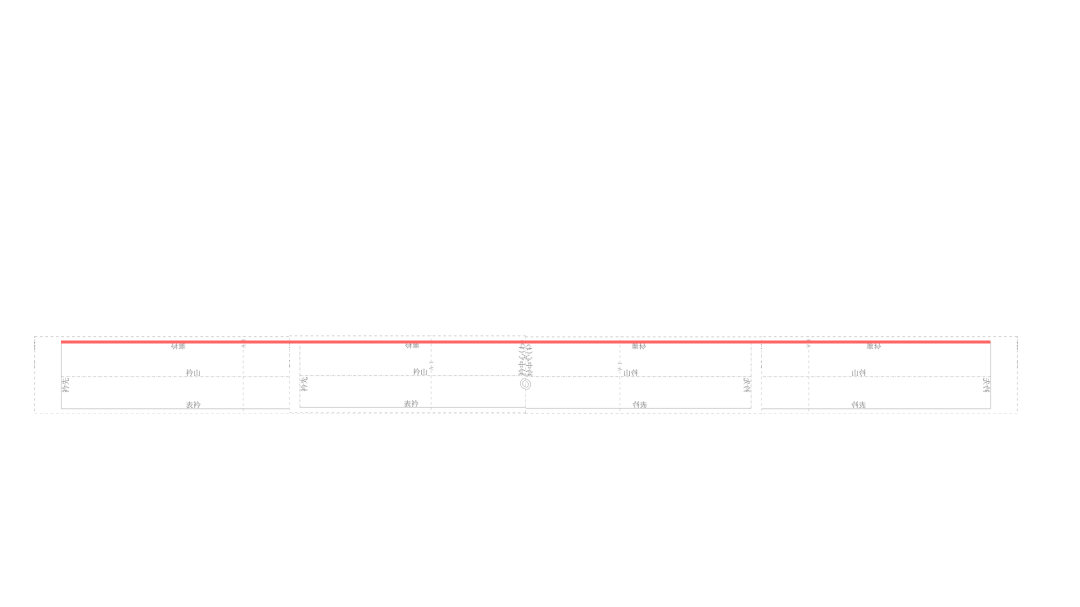
By the pattern, I made the inner collar 5 mm wider than the outer
collar,
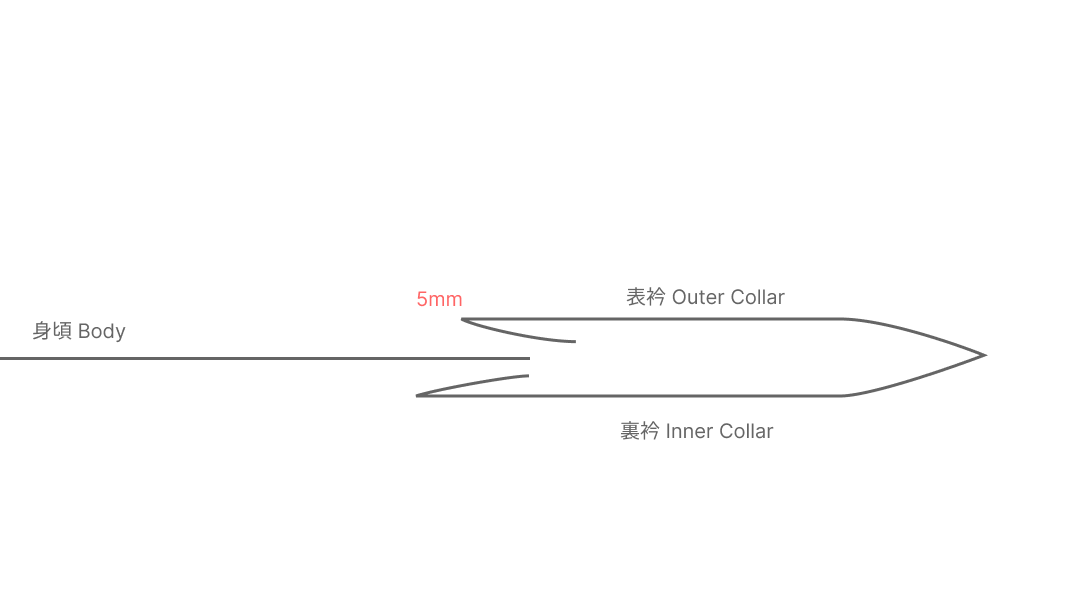
and I pin that 5 mm difference to the body.
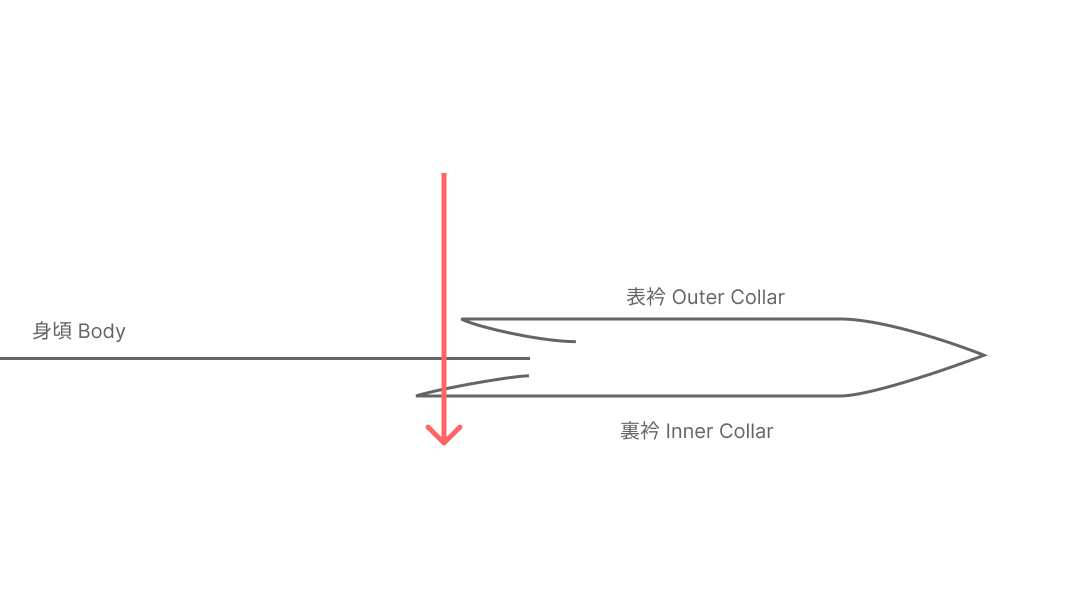
I also neatly fold the seam allowances of the okumi and the front body.
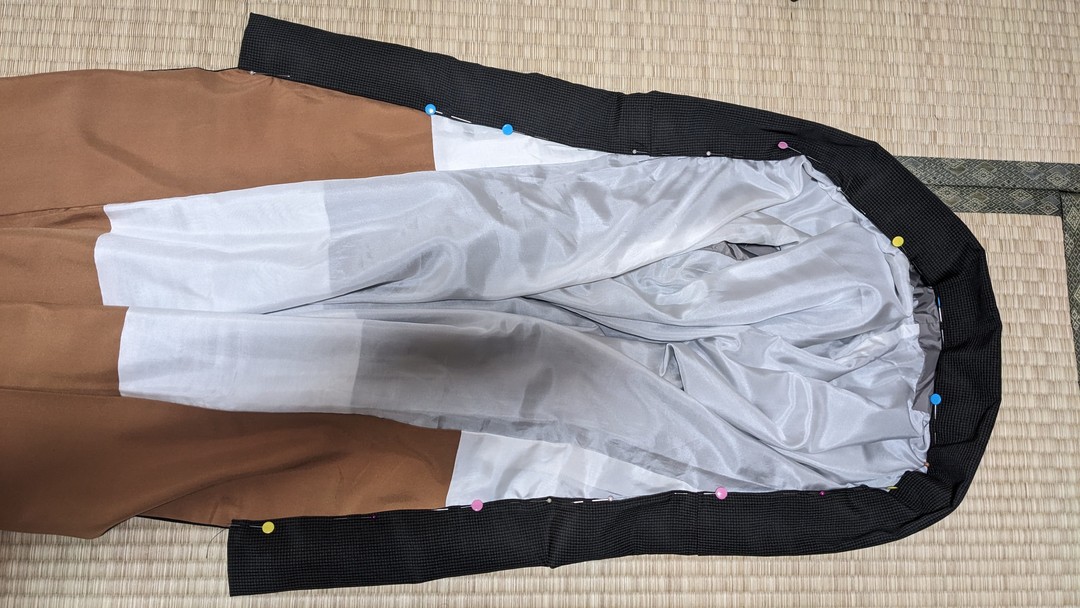
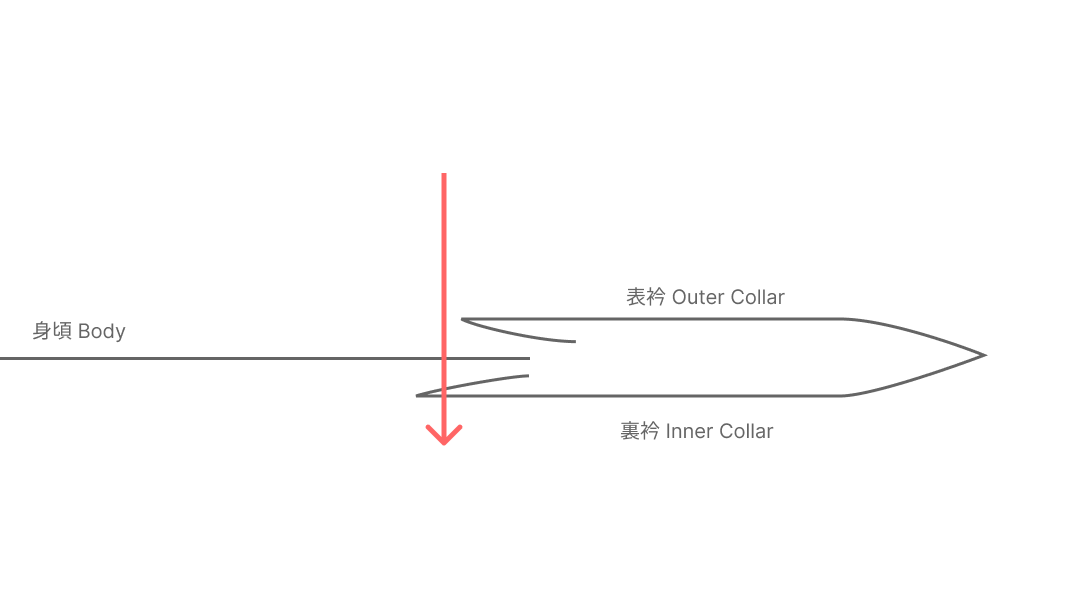
16. From the right side of the body (the outer fabric if lined), with a
straight machine stitch just along the outer collar,
I sew the inner collar of
· the cover collar · the collar,
from the left collar end toward the right collar end.
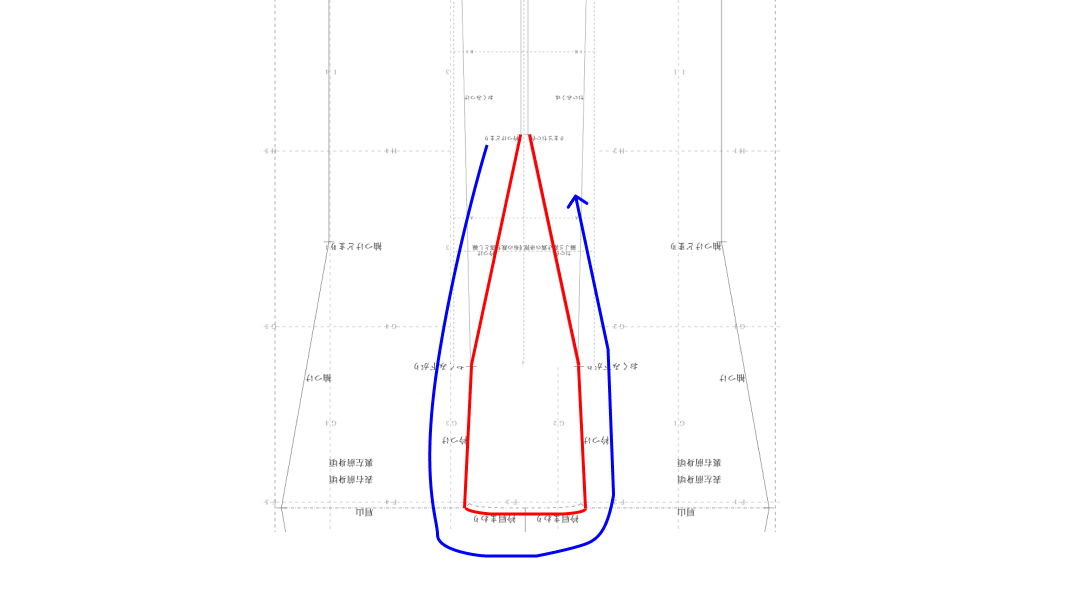
Stitch length is 5 mm.
Stitch length is 2.5 mm at
· the notch of the collar-shoulder space · the okumi tip · the cover
collar’s collar end · the collar’s collar end.
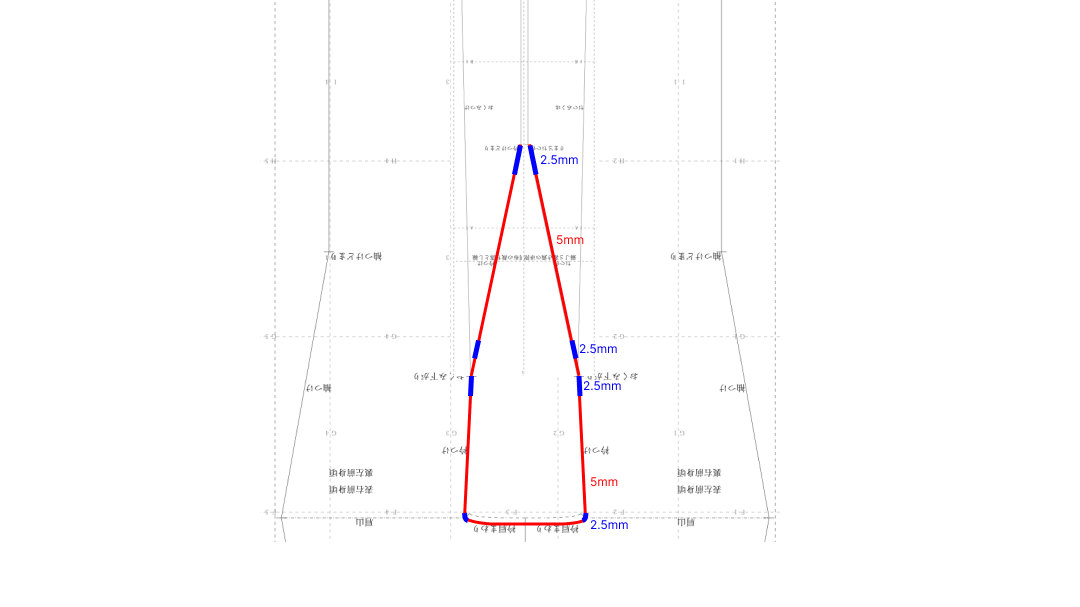
Left collar end stitch length 2.5 mm
Left okumi collar attachment stitch length 5 mm
Cover collar’s collar end stitch length 2.5 mm
Around the okumi tip stitch length 2.5 mm
Okumi sagari stitch length 5 mm
Notch of the collar-shoulder space stitch length 2.5 mm
Collar-shoulder area stitch length 5 mm
Notch of the collar-shoulder space stitch length 2.5 mm
Okumi sagari stitch length 5 mm
Okumi tip stitch length 2.5 mm
Cover collar’s collar end stitch length 2.5 mm
Okumi collar attachment stitch length 5 mm
Collar end stitch length 2.5 mm
When finished sewing, I pull the threads to secure.
17. I sandwich an extra scrap of fabric, and press
· the cover collar · the collar
with the iron.
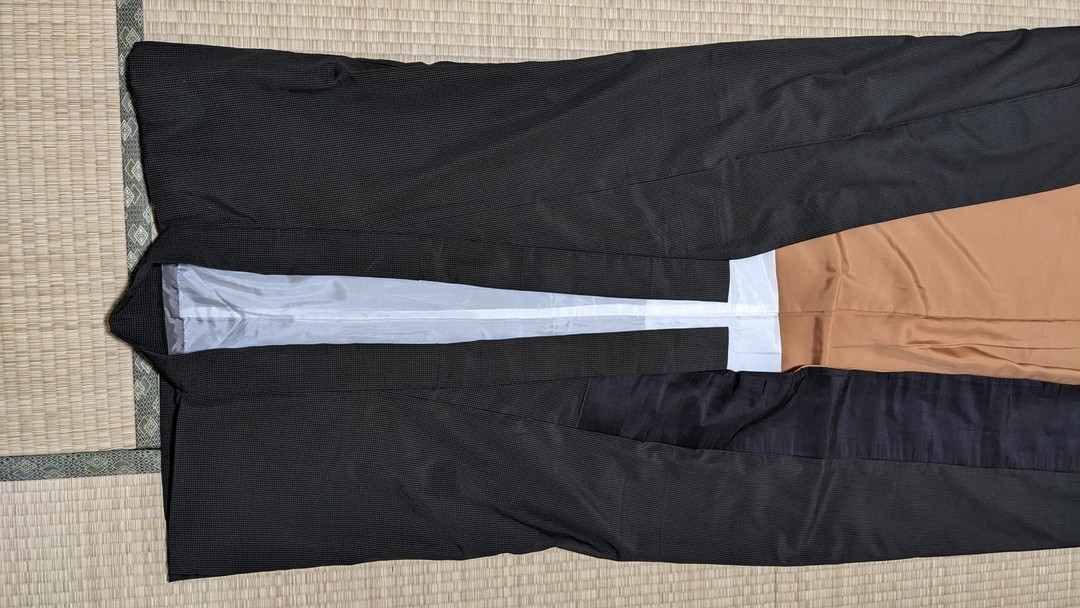
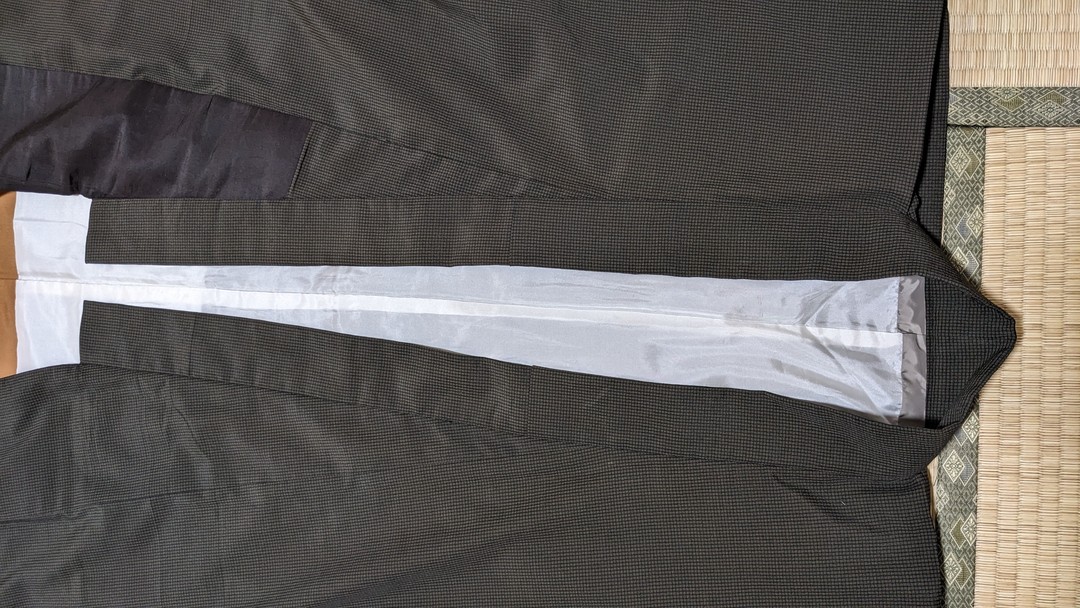
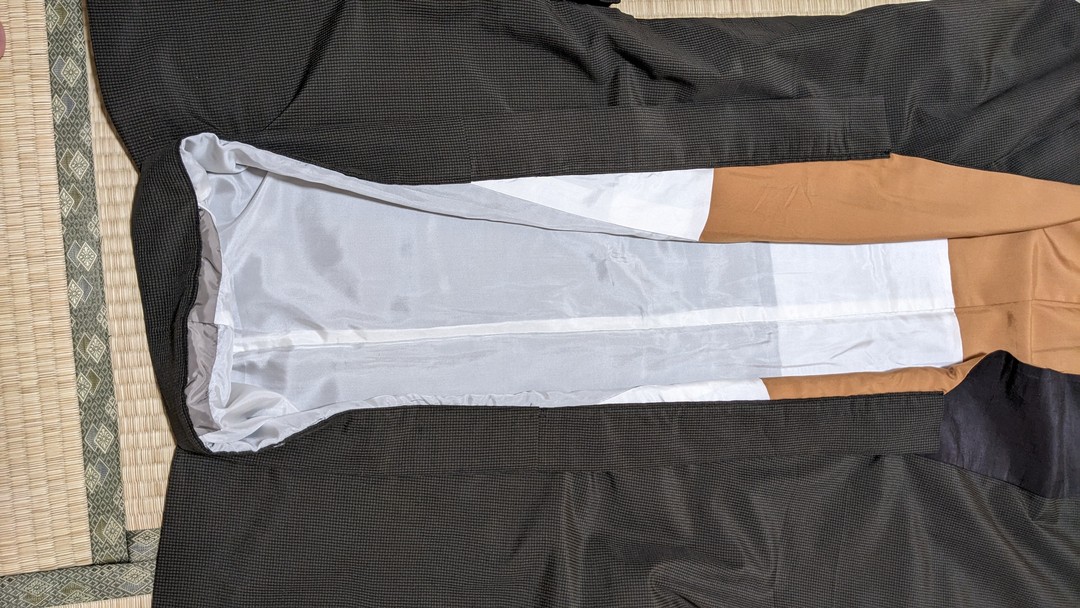
Finished
In the Alteration Guide, I enter the measurements of the kimono I have,
and enter the gender and size after tailoring,
and the differences are calculated automatically.
Places that should be altered and places that may be altered are
diagnosed automatically.
When I choose what I want to alter, the necessary patch fabric and areas
that can be taken from
are calculated automatically, and according to that area
videos on how to unpick, how to make patch fabric, and how to resew
are displayed.
Link to the Alteration Guide is in the description.