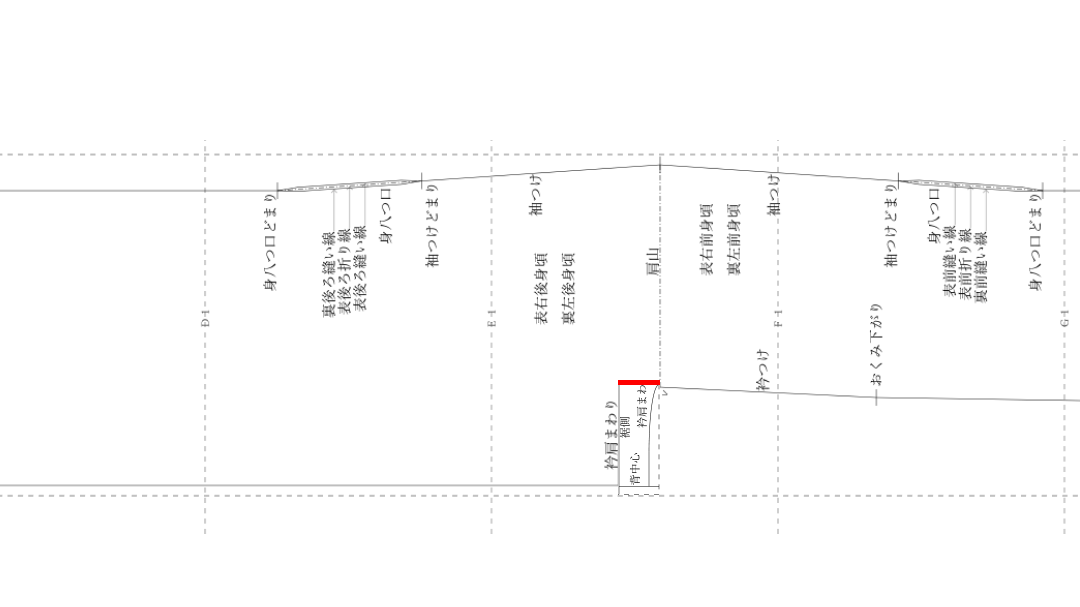
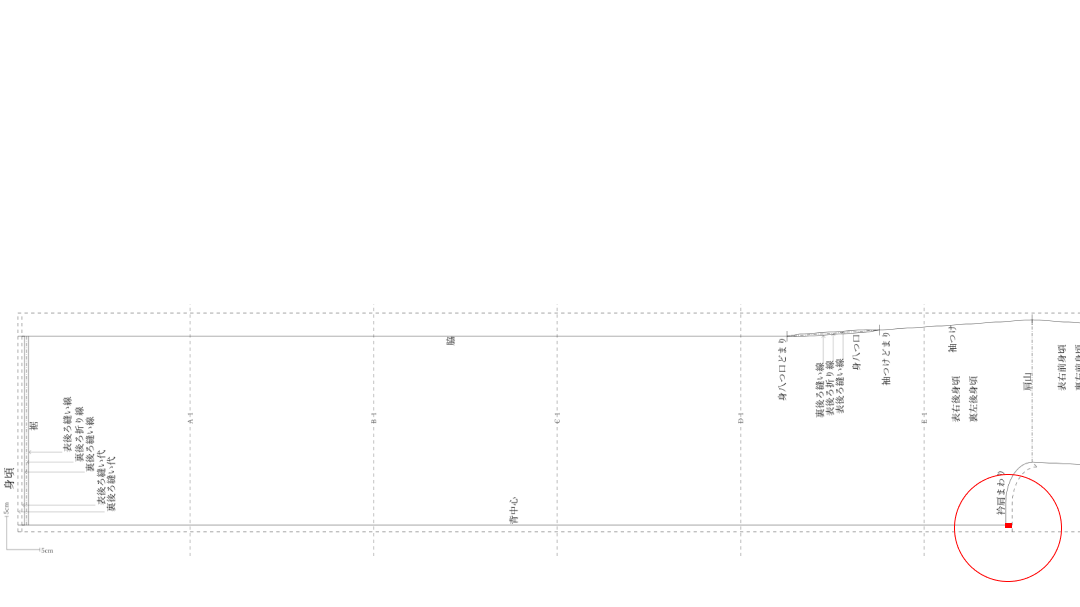
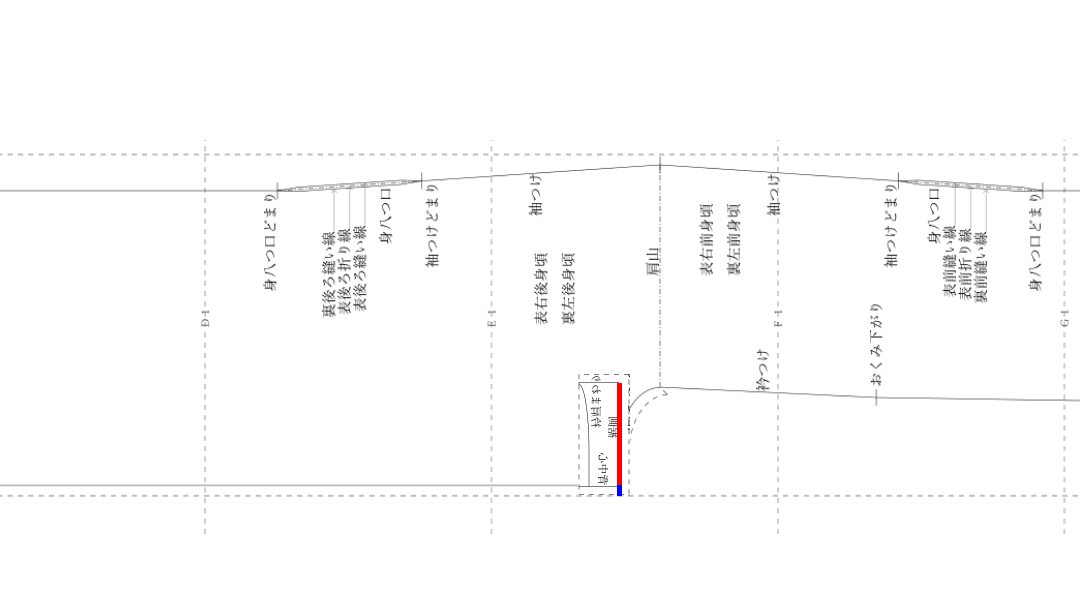
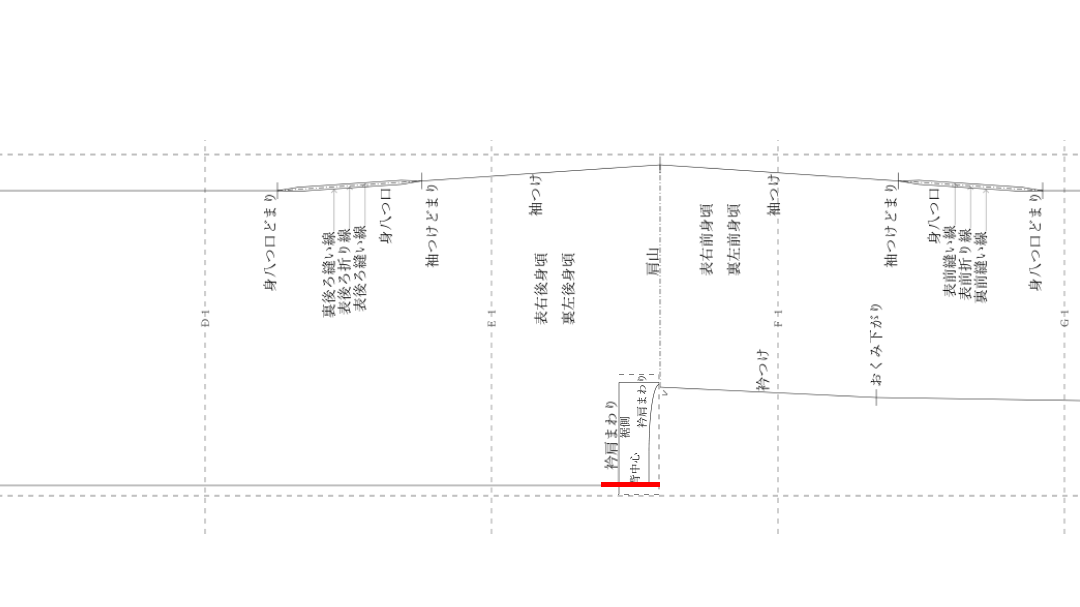
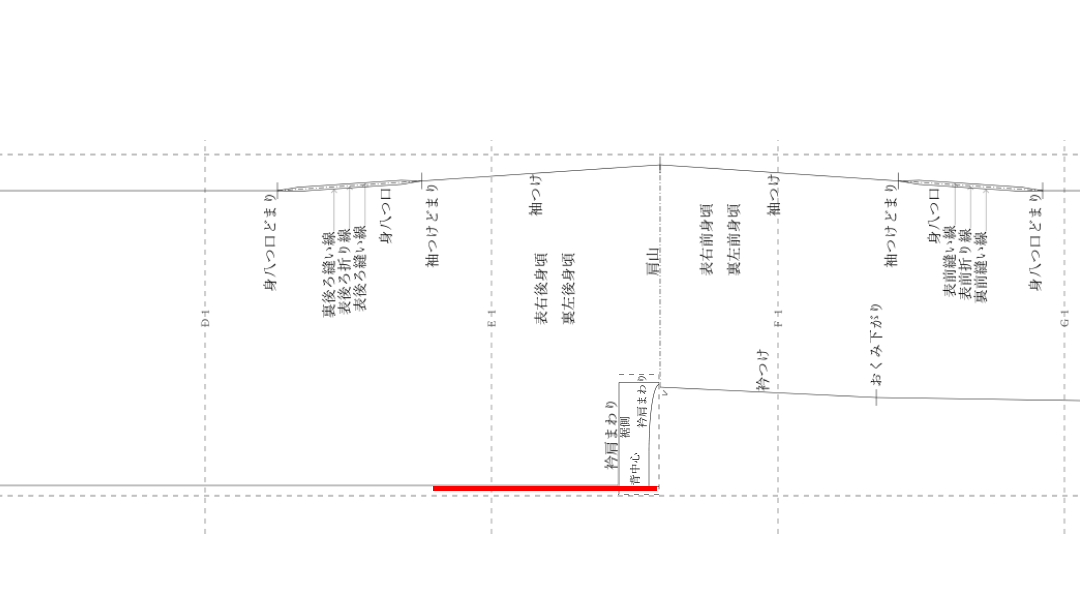
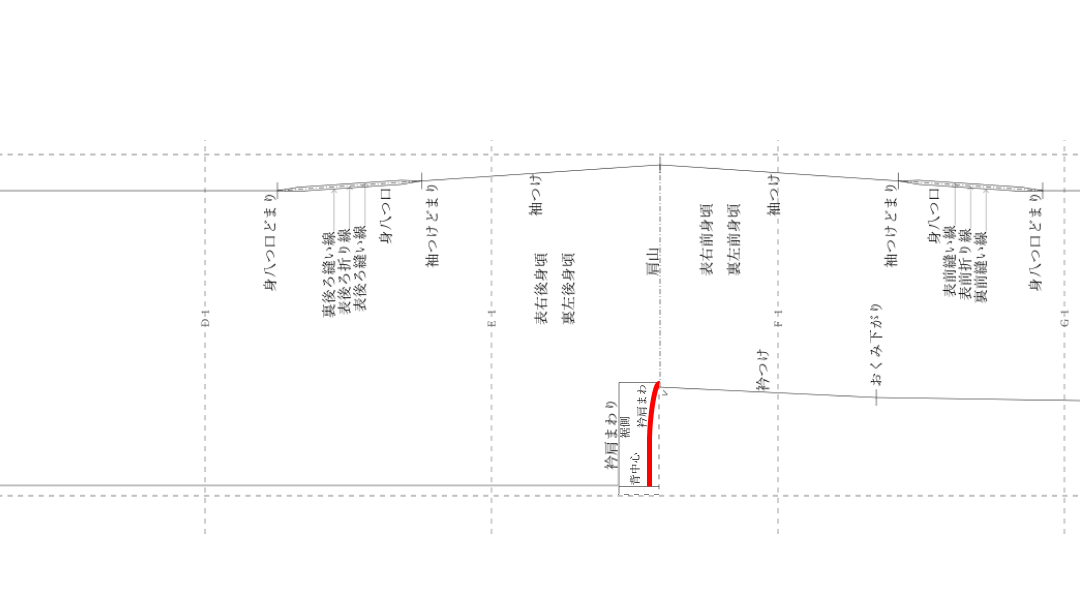
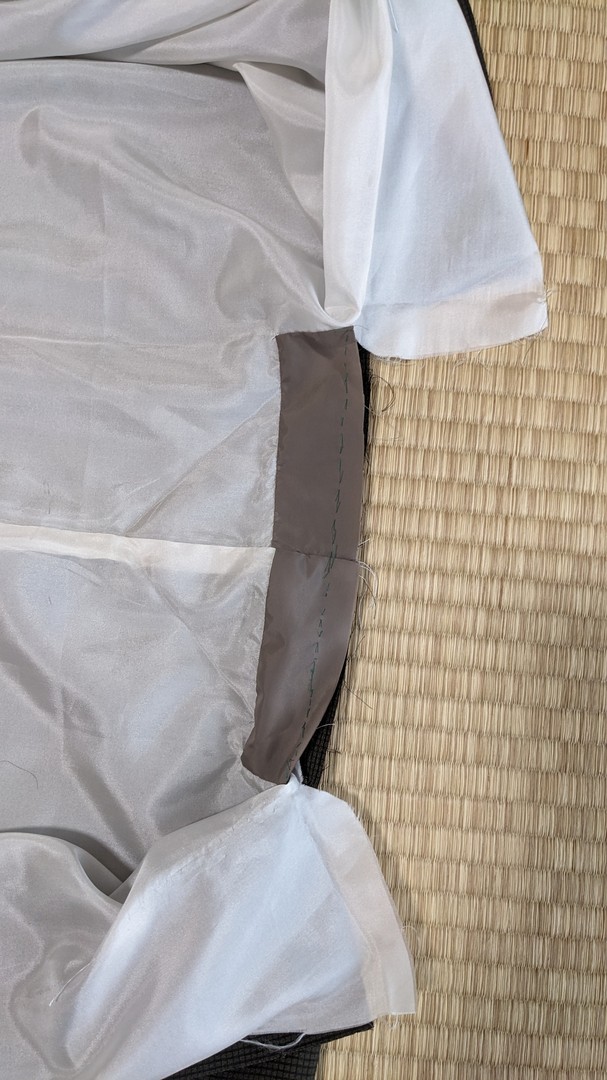
This is the kurikoshi of the back body.
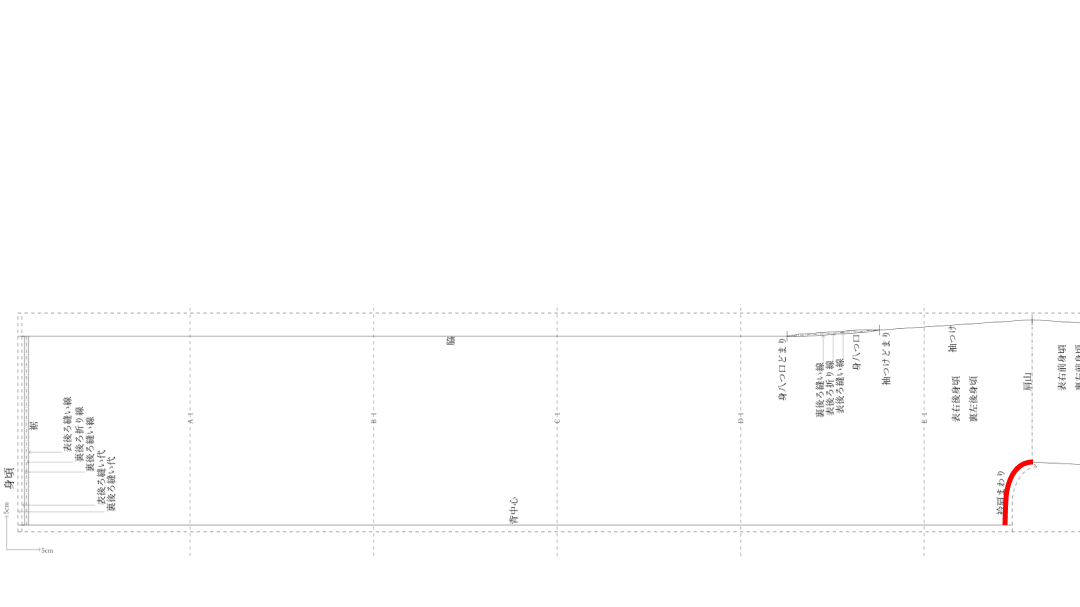
I reduce this kurikoshi.
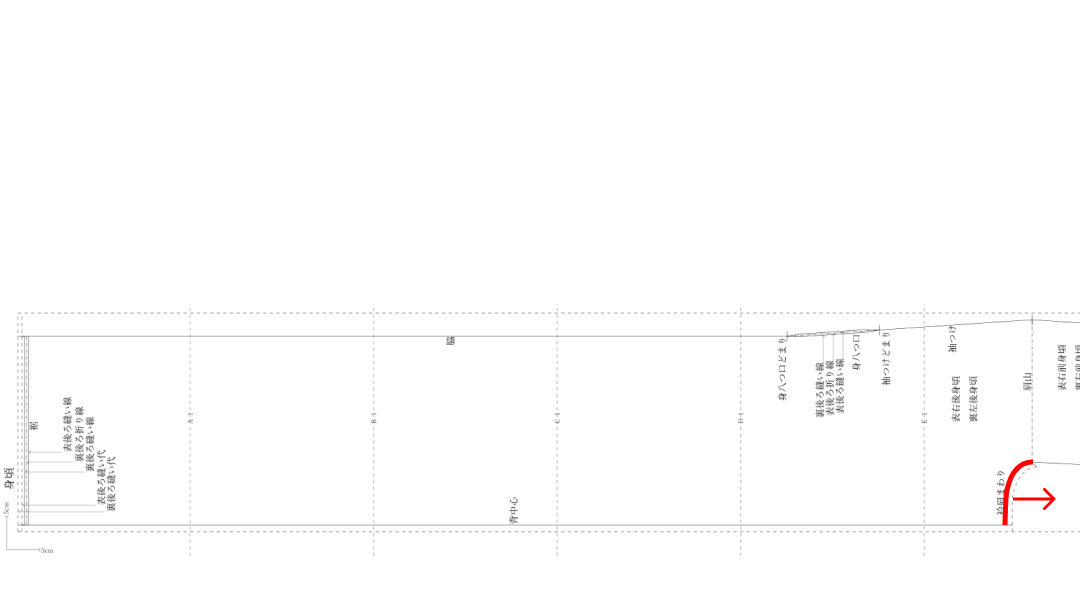
But without a kurikoshi allowance, there is not enough fabric.
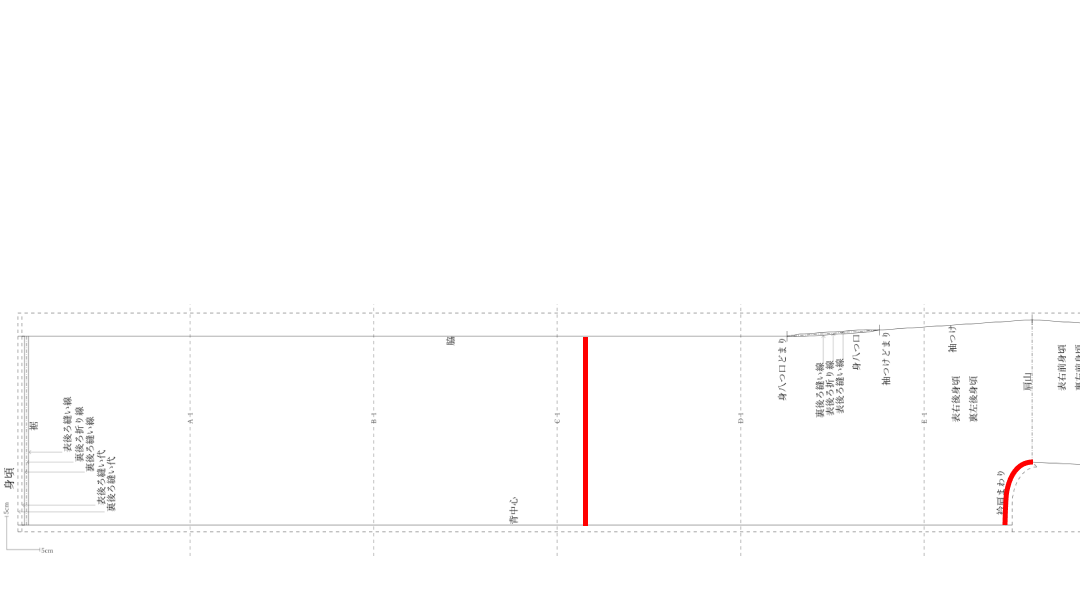
So I explain how to attach patch fabric.
目次
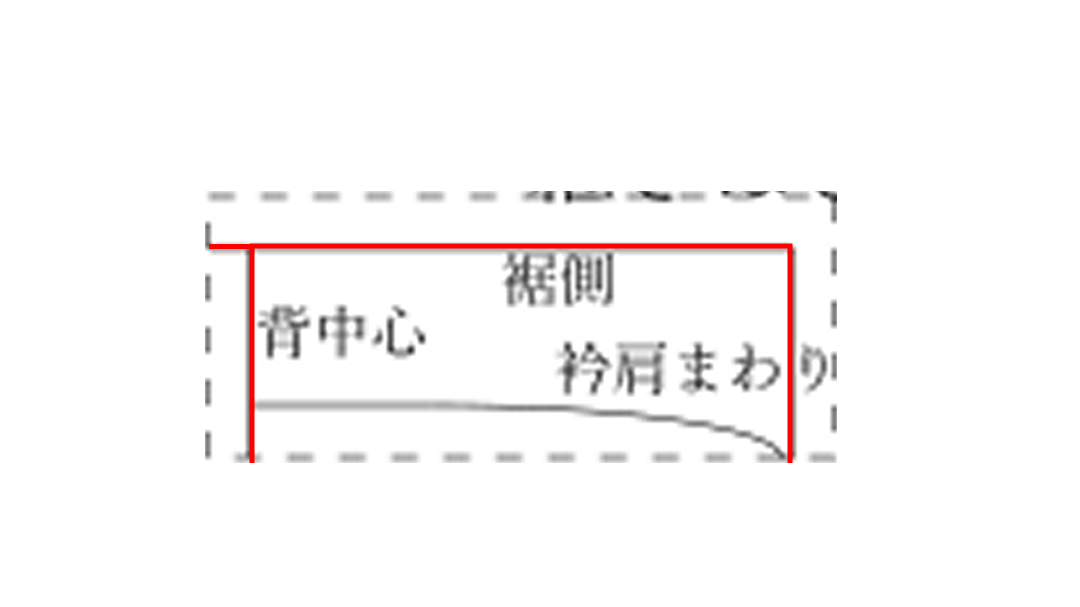
1. Cut off the printed pattern along the seam allowance line.
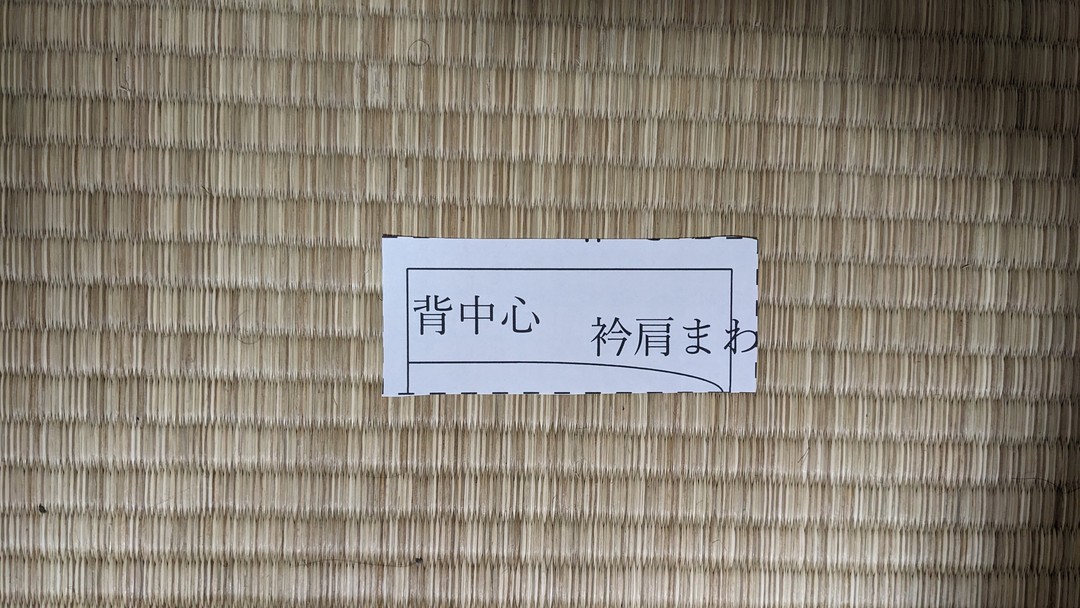
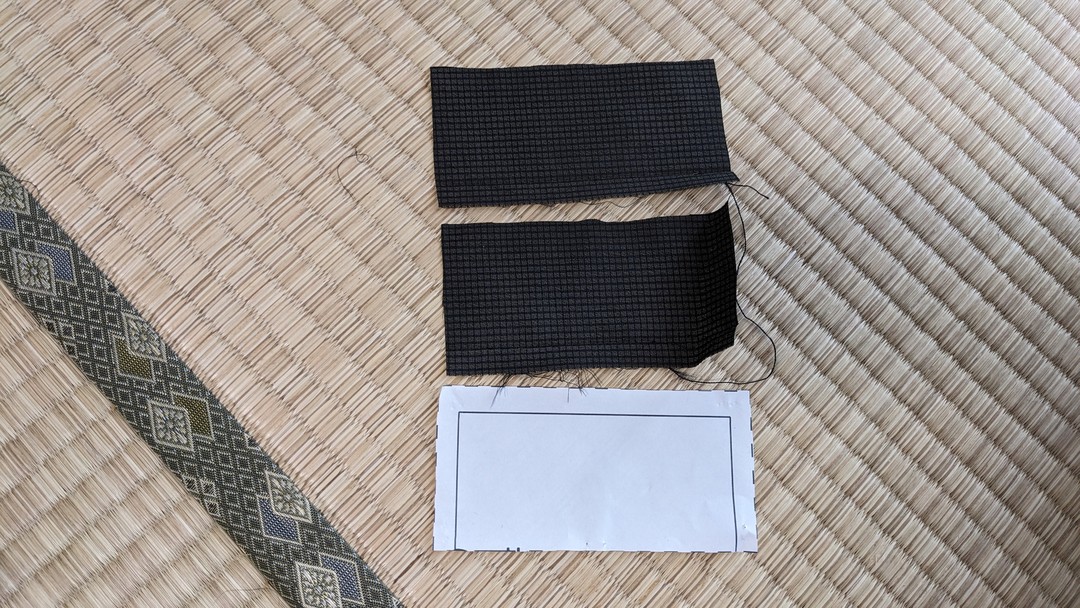
2. Place the pattern on the wrong side of the fabric (same fabric) and
secure with clips.
Cut the fabric along the pattern.
Make two pieces, left and right.
3. Valley-fold the fabric and pattern together on the finish line, and
press a crease with the iron.
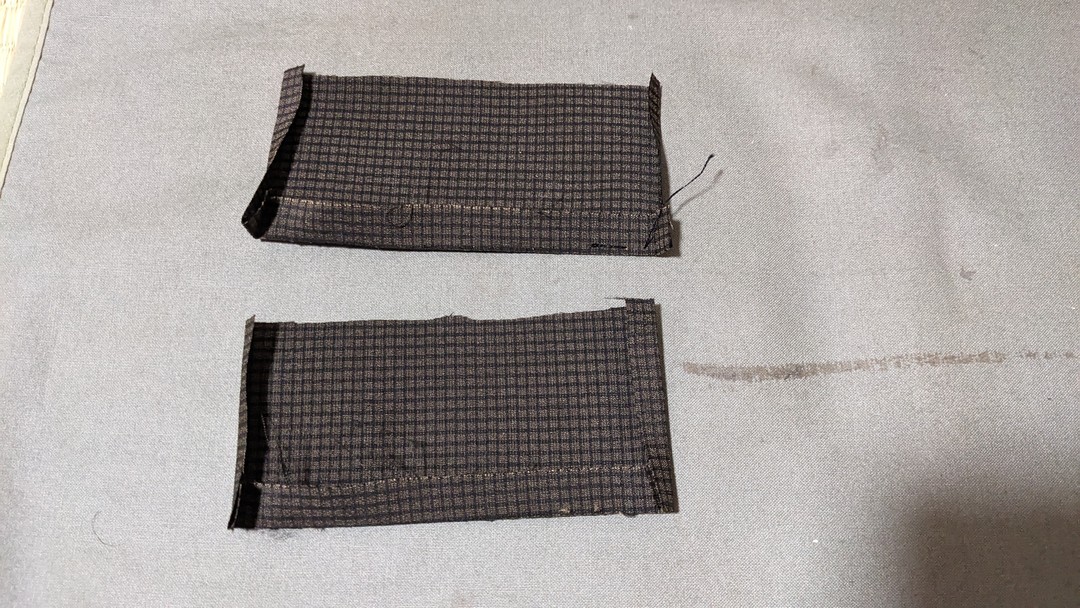
Do this on both left and right pieces.
4. Unpick about 1 cm of the topmost back-center seam allowance of the
body with a seam ripper.
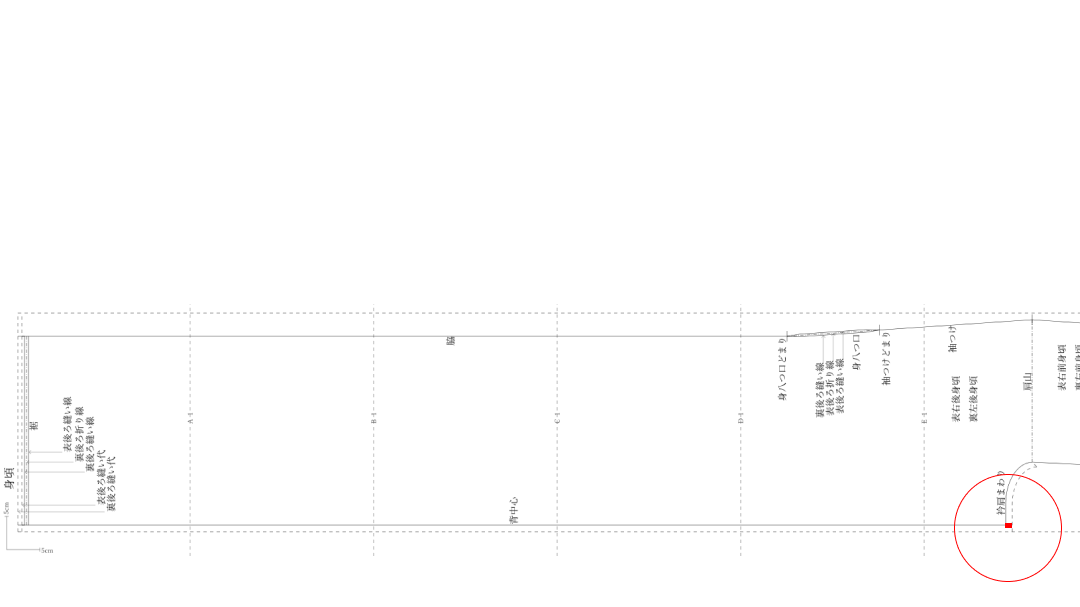
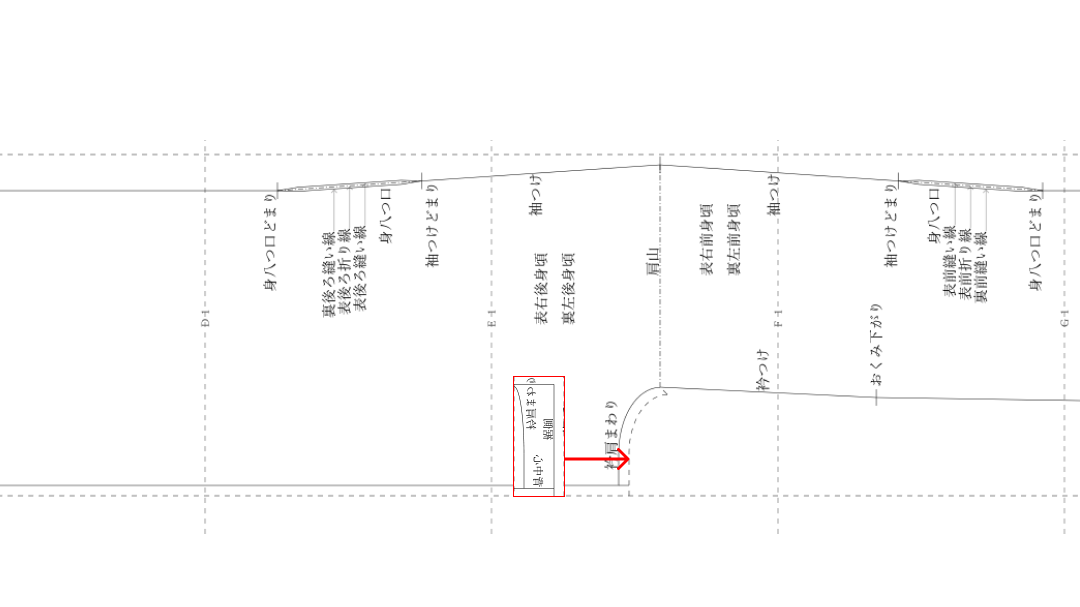
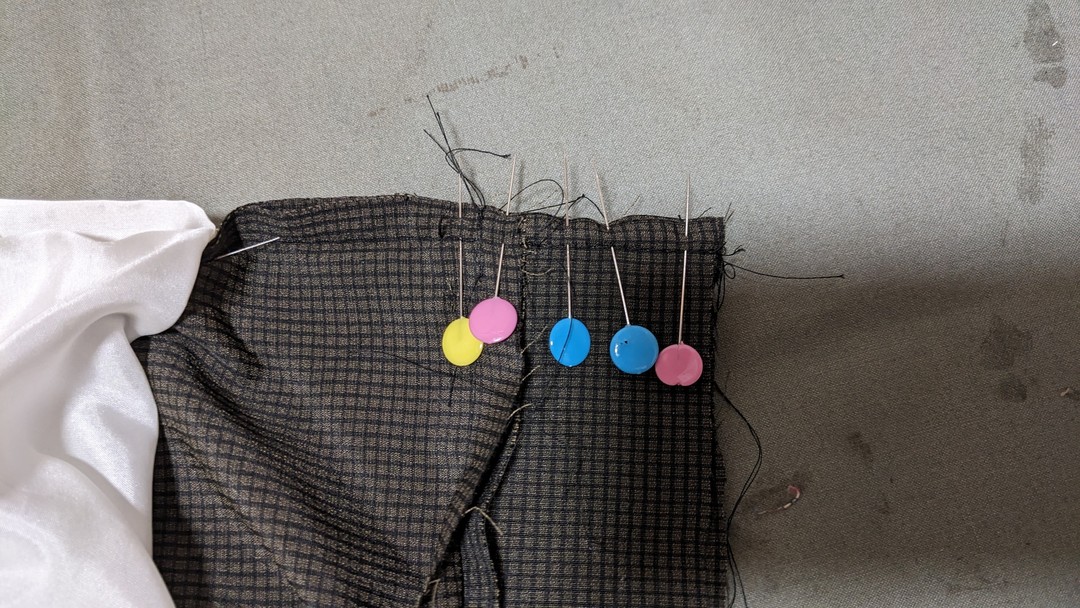
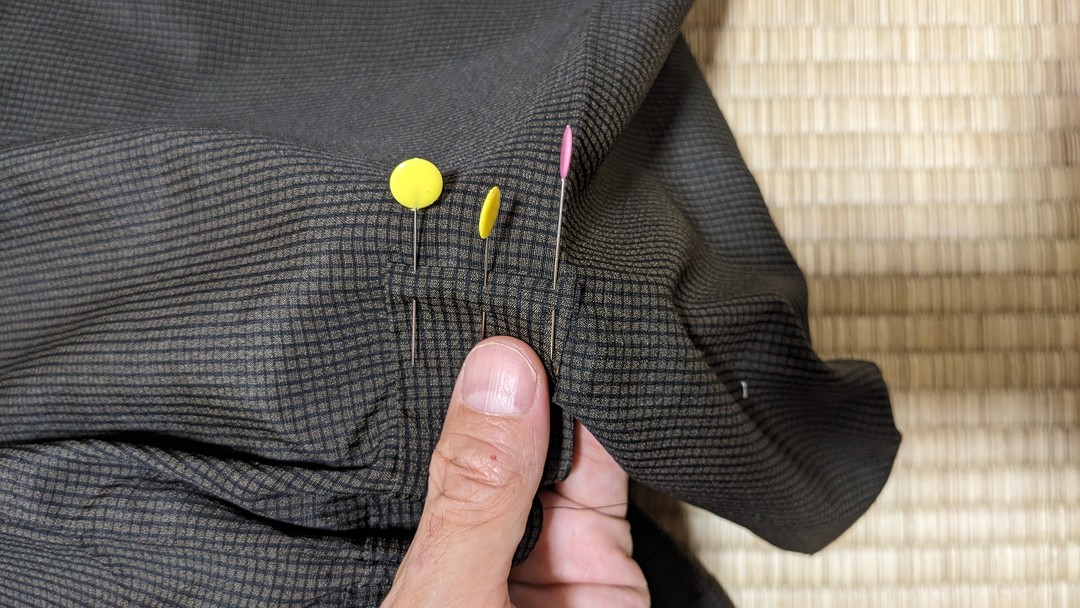
5. Place the hem side of the patch fabric on the body’s collar-shoulder
area with outer sides together, aligning the fabric edges.
Perpendicular to the back center, pin along the crease pressed into the
patch fabric to secure it.
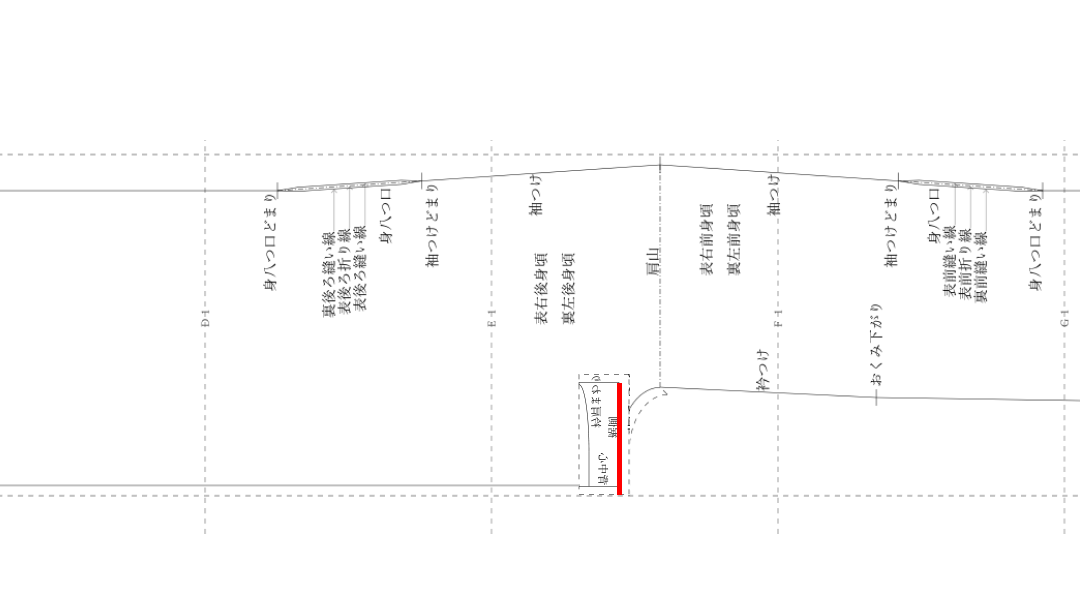
6. With a straight machine stitch, sew the hem side of the patch fabric:
· the finish line
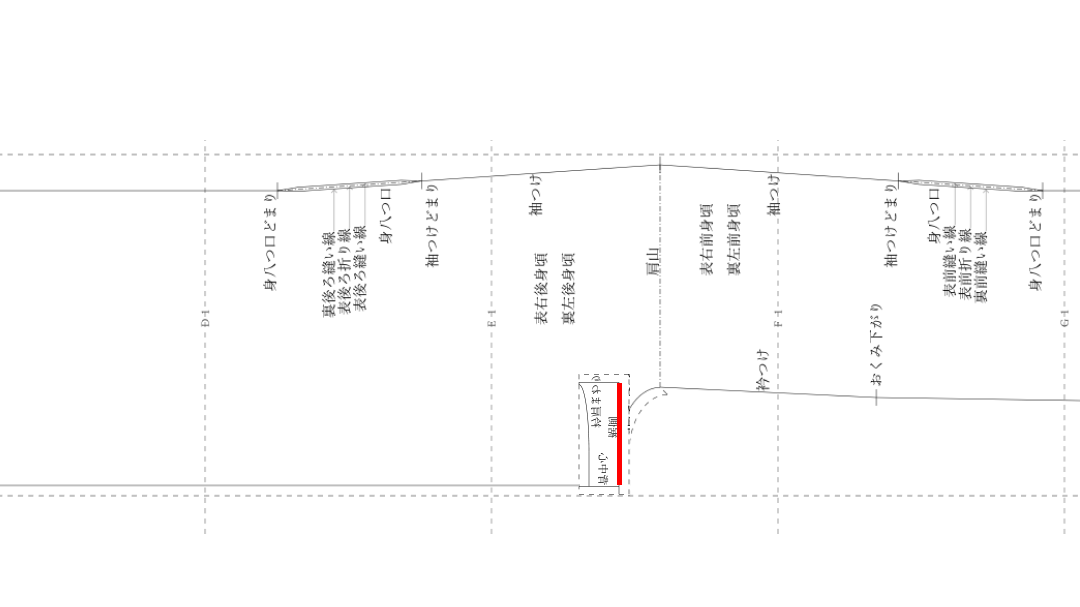
· and the back-center seam allowance on its extension.
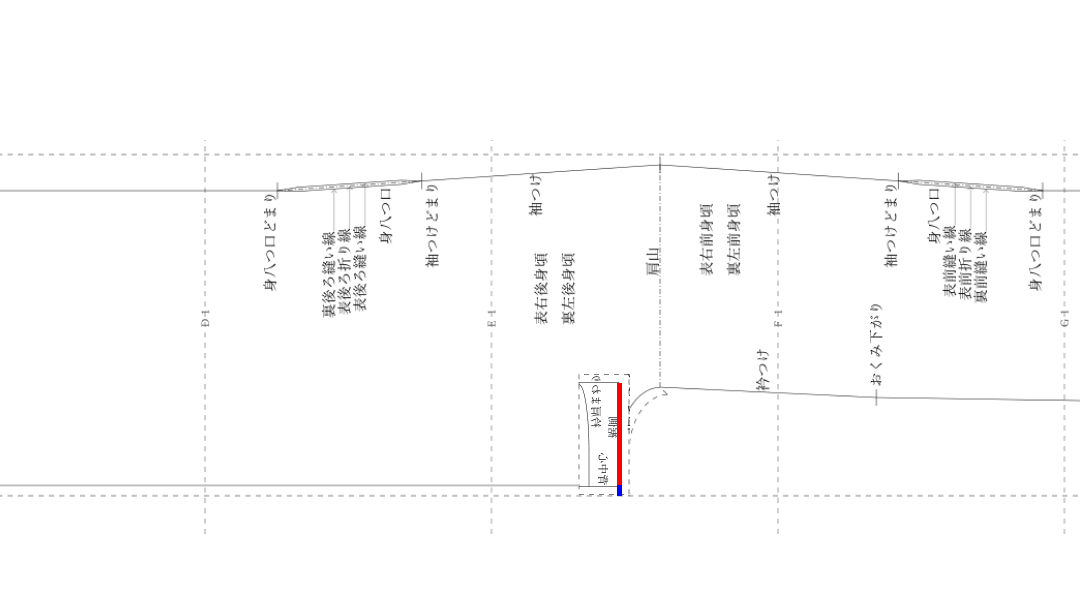
Stitch length is 2.5 mm.
When finished sewing, pull the threads to secure.
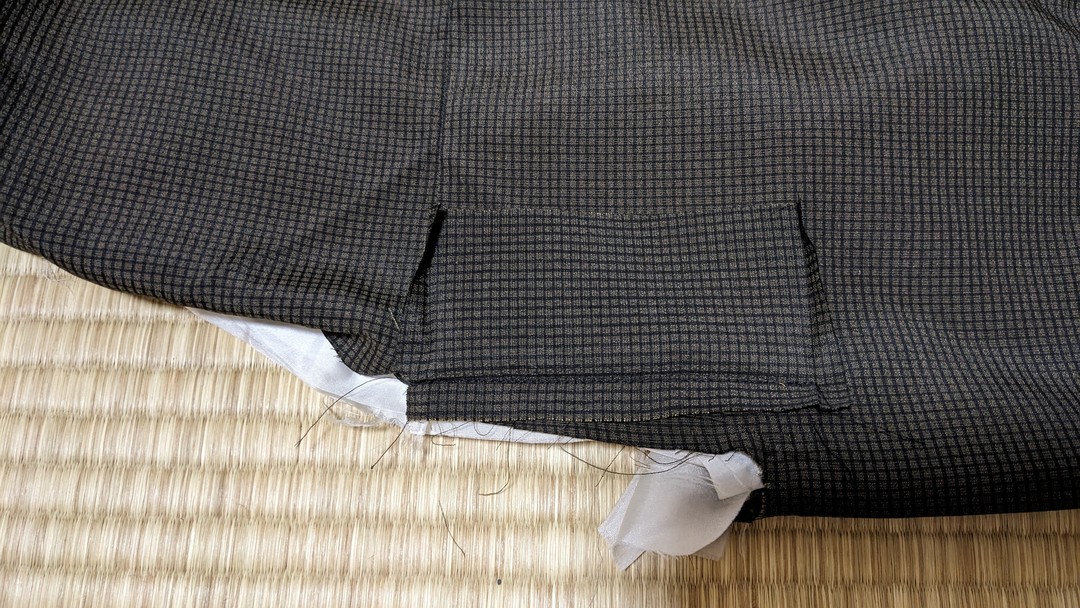
Do this on both left and right patch fabrics.
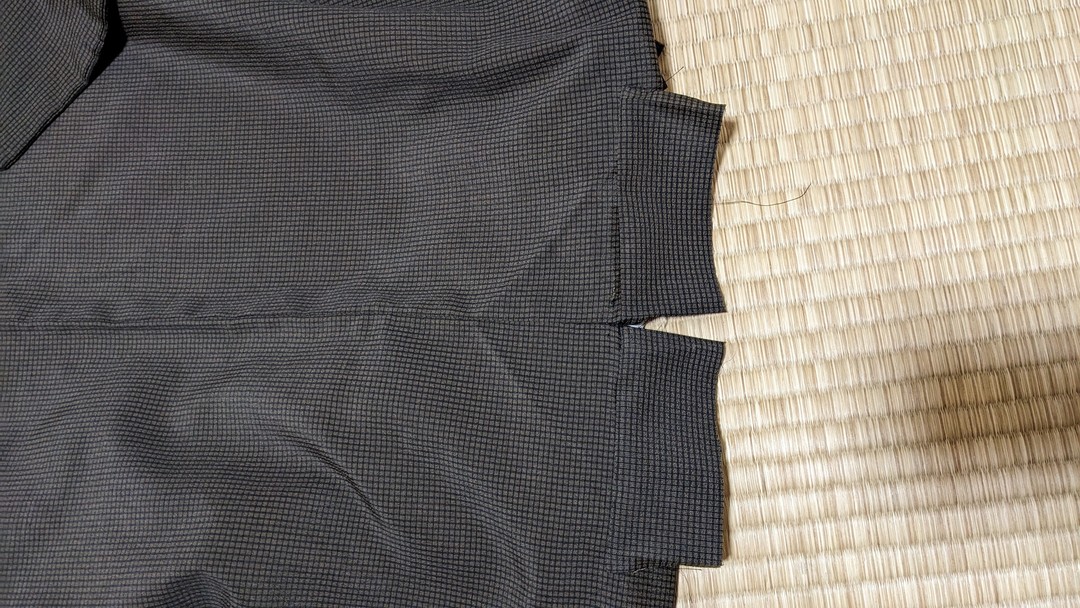
7. Layer the patch fabrics with outer sides together, align the
back-center folds, and pin.
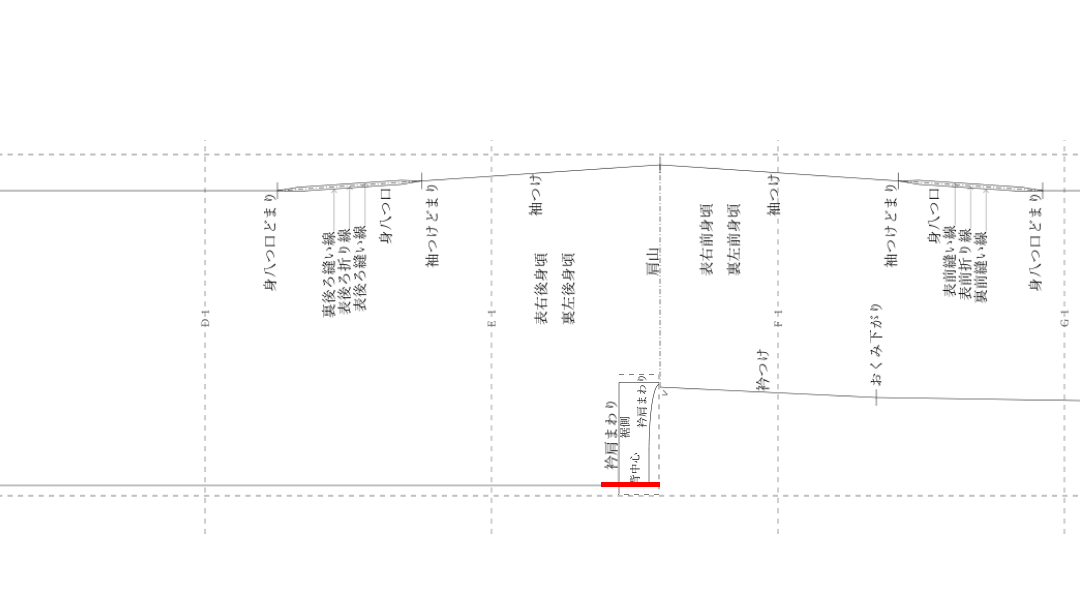
Press the hem-side seam allowances toward the patch fabric.
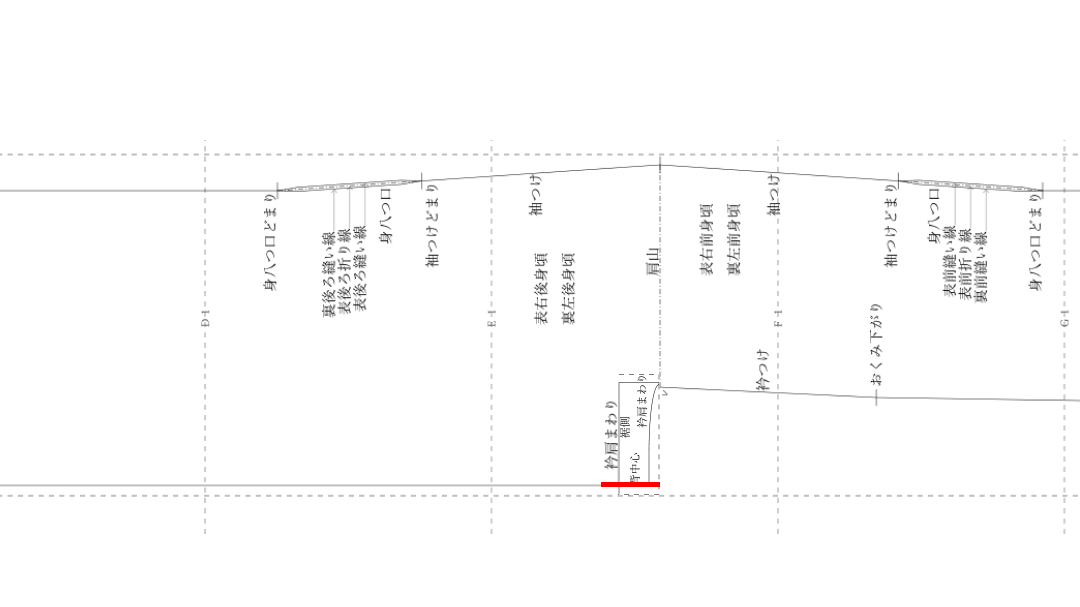
8. With a straight machine stitch, sew the patch fabrics together at the
back center.
Sew 1 cm past the hem-side join.
Stitch length is 5 mm.
When finished sewing, pull the threads to secure.
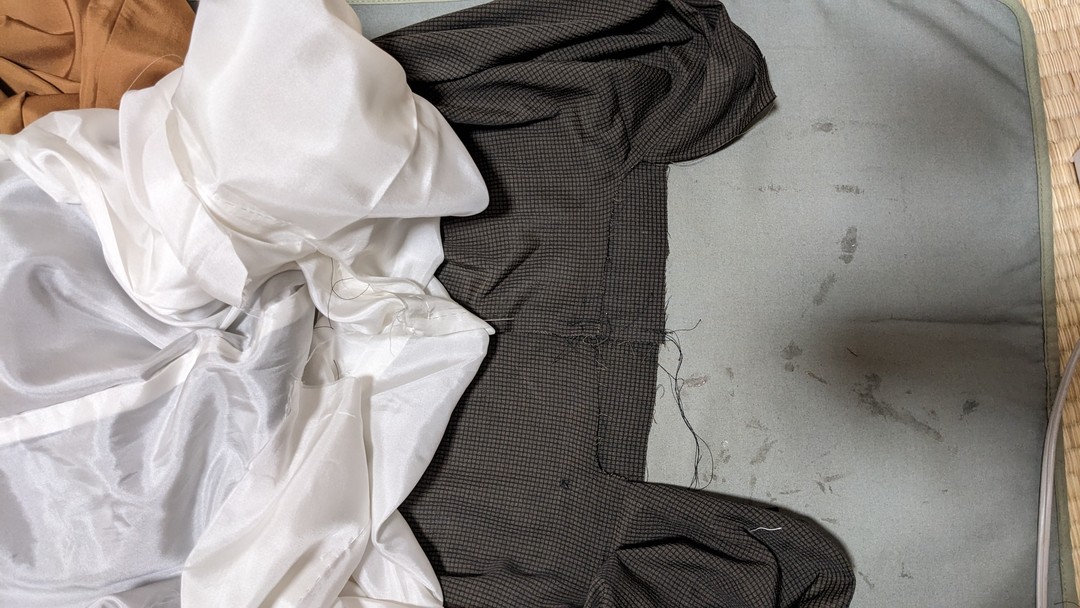
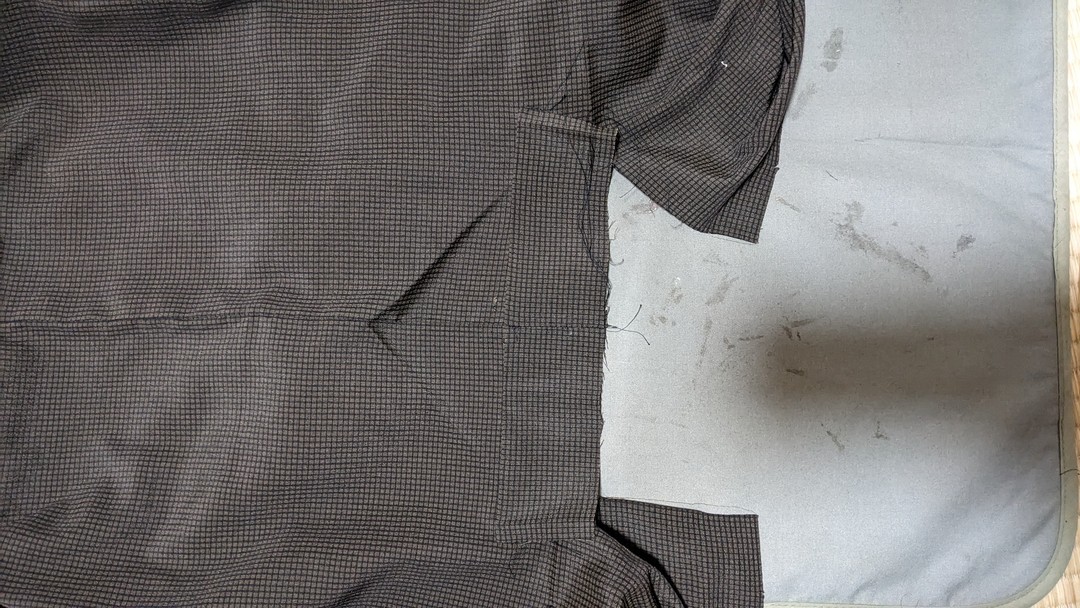
9. Press the back-center seam allowance to the right toward the wrong
side.
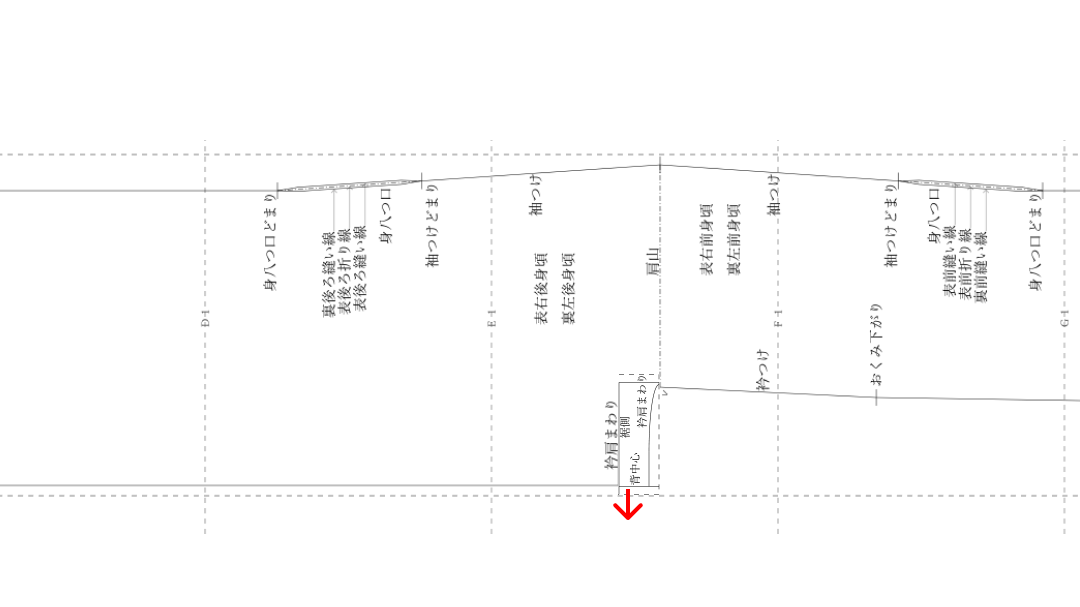
Press the hem-side seam allowances toward the patch fabric.
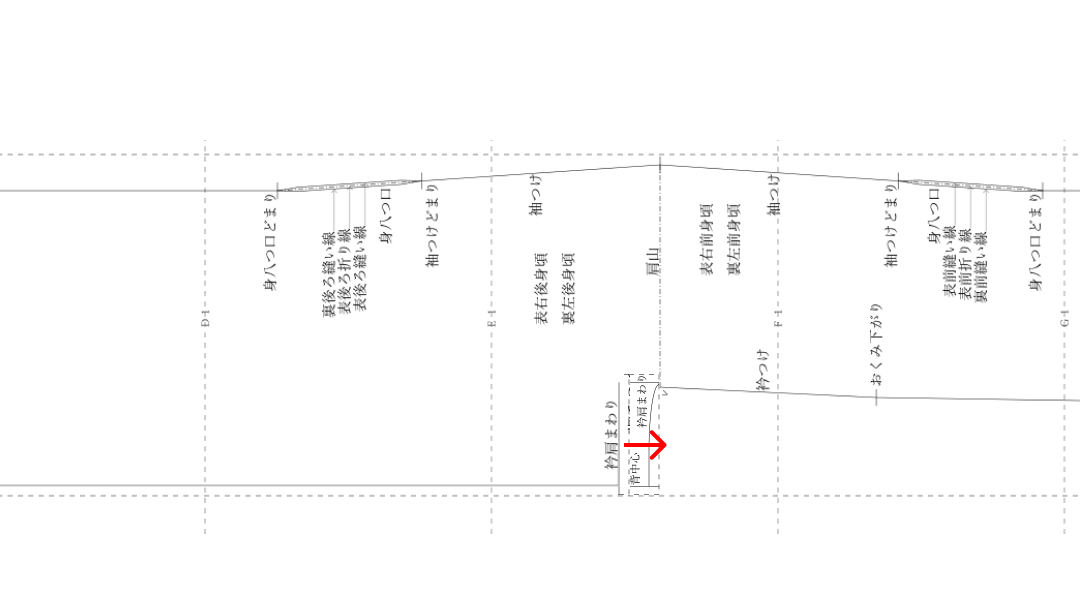
Press a crease with the iron from the wrong side.
Wrong side
Right side
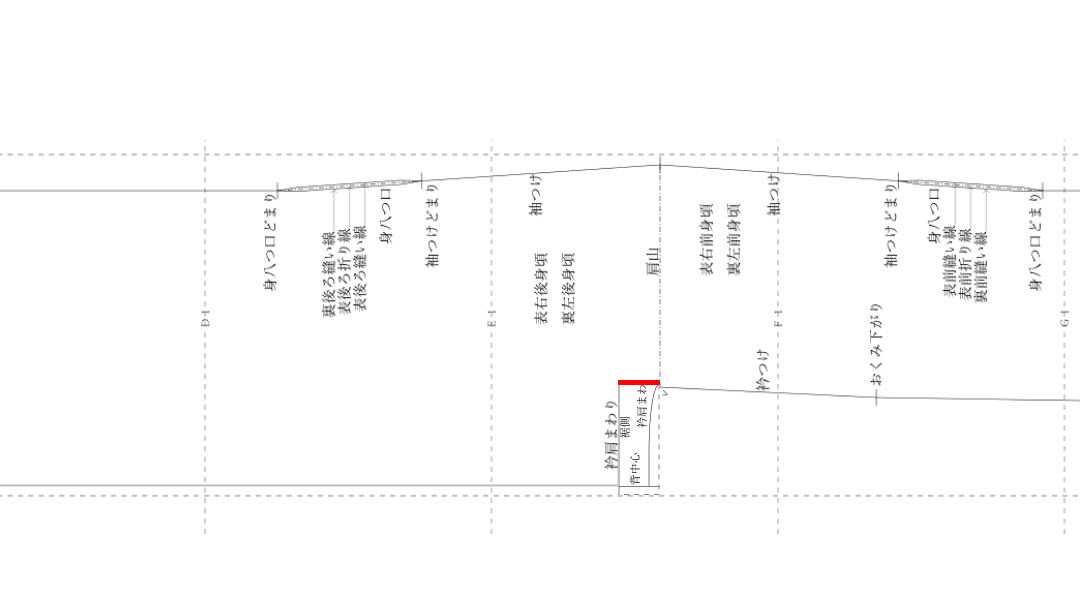
10. Open the body centered on the shoulder line, and layer the patch
fabric with outer sides out.
Fold the sleeve-attachment seam allowance and pin.
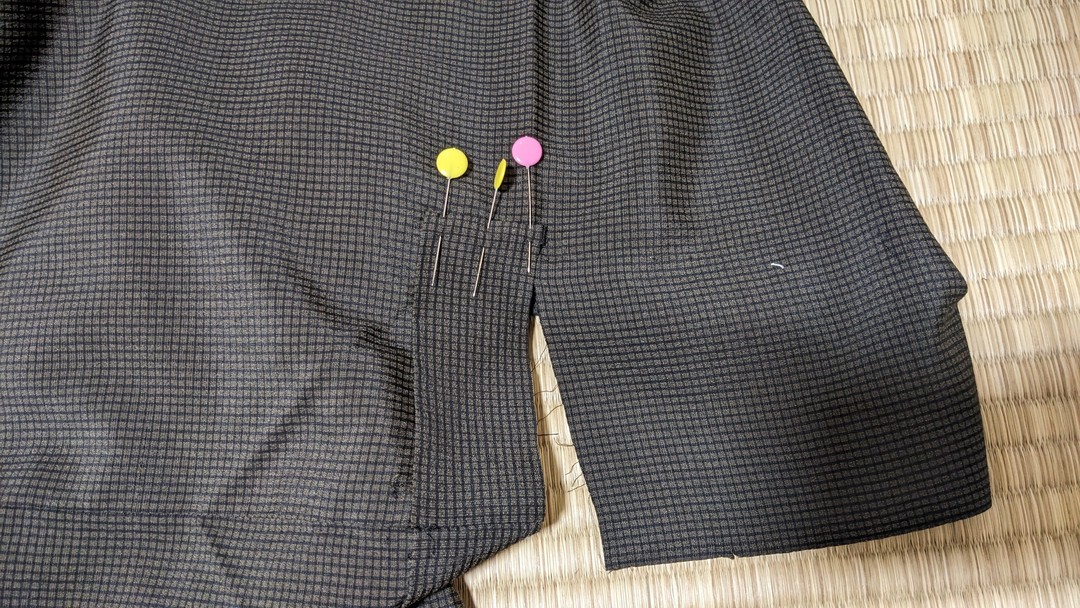
11. Blind-stitch (kuke) along the finish line to sew it to the body.
Kuke: stitching so the stitches do not show on the right side.
If kuke is difficult, sew with a regular running stitch or a straight
machine stitch.
When finished sewing, pull the threads to secure.
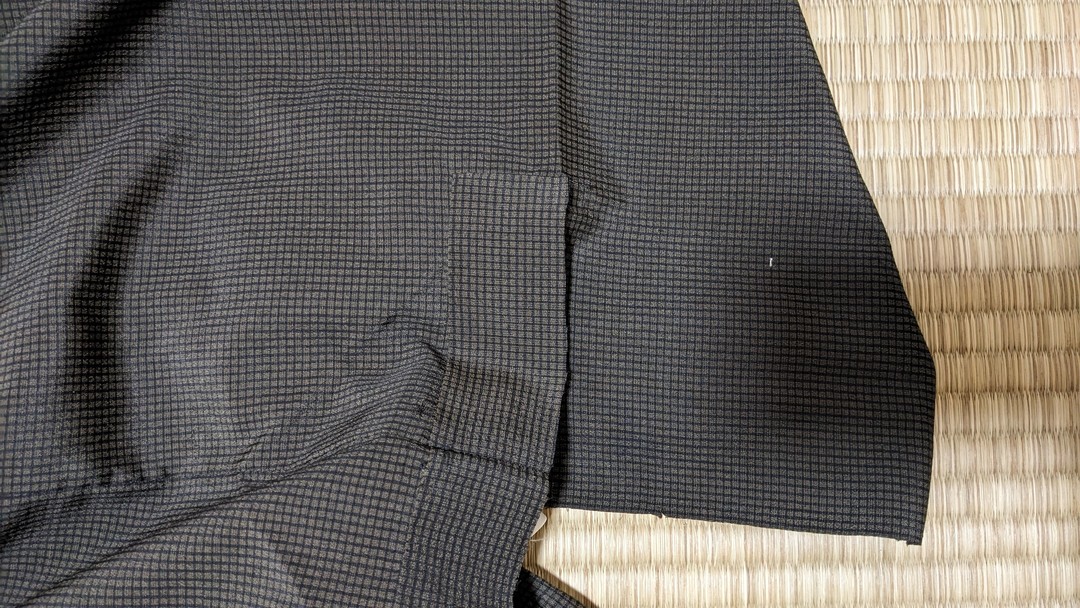
Do this on both left and right sleeve-attachment sides.
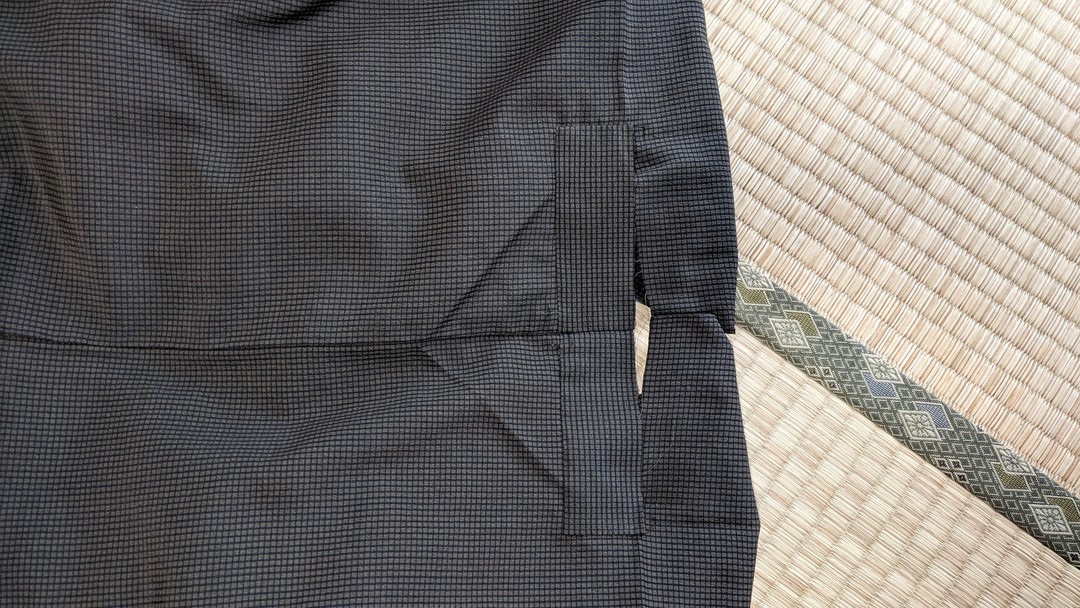
12. (Unlined kimono only)
Cut off the finish line of the pattern’s collar-shoulder area.
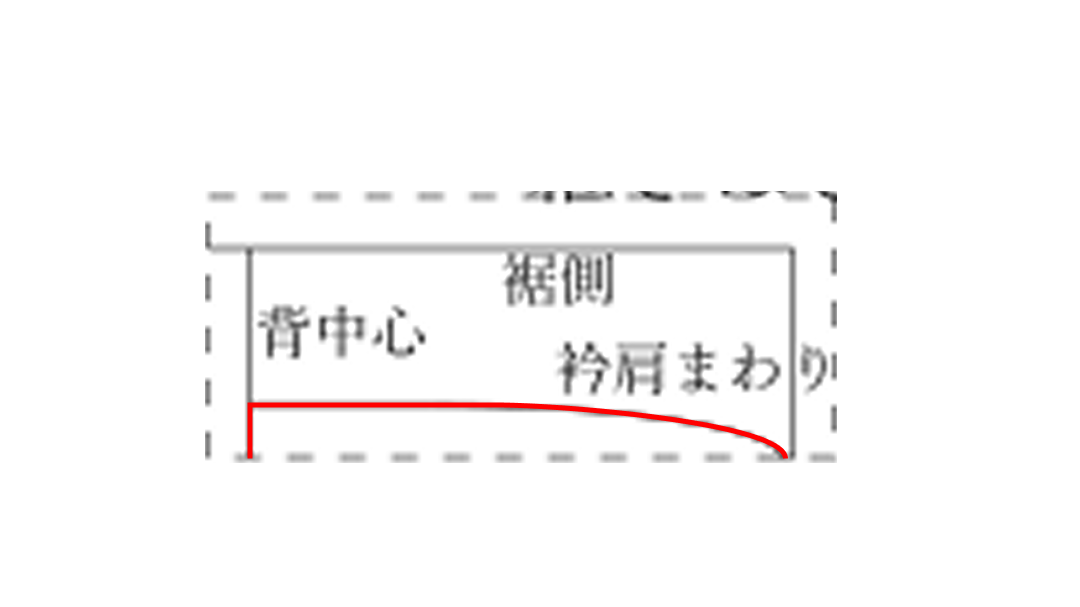
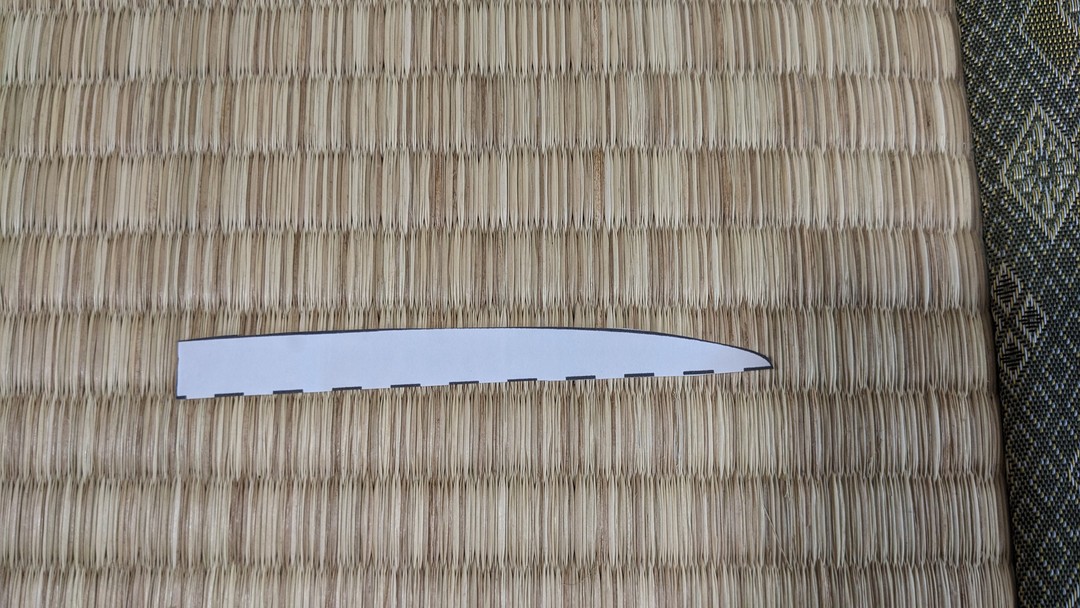
Place that pattern on the wrong side of the patch fabric at the
collar-shoulder area, and transfer the finish line with chalk.
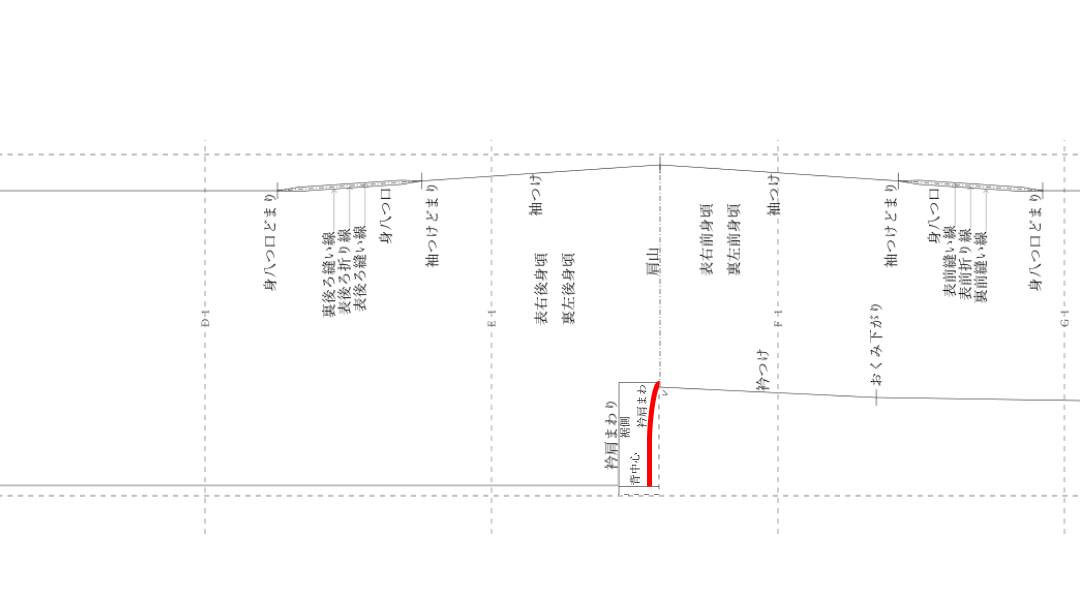
Do this on both left and right collar-shoulder areas.
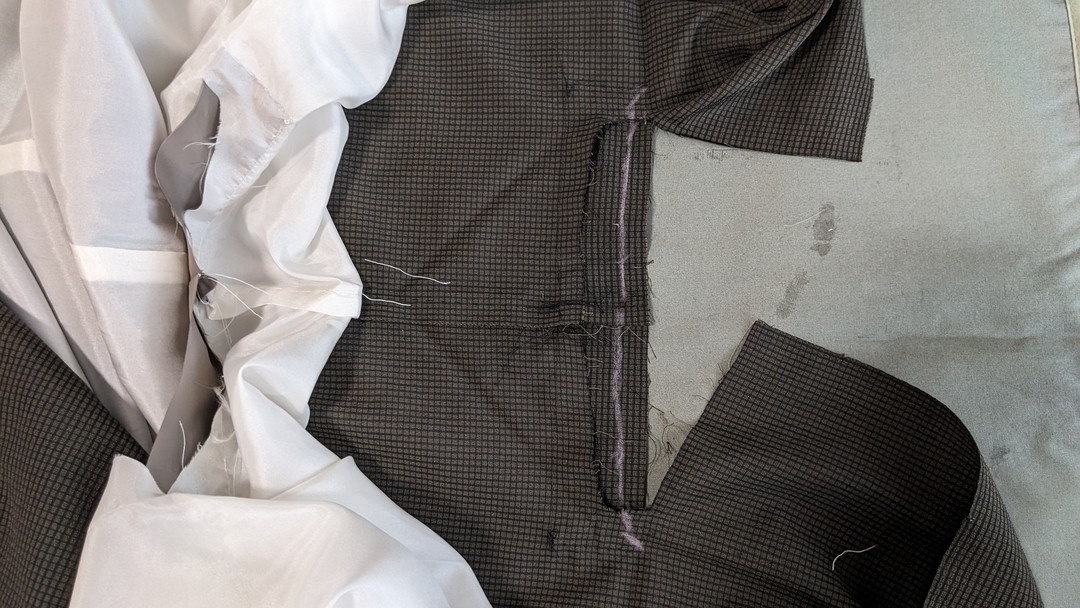
13. For a lined kimono, do the same on the lining.
The lining patch fabric may be a different fabric.
Place the pattern on the wrong side of the fabric and pin.
Cut the fabric along the pattern.
Make two pieces, left and right.
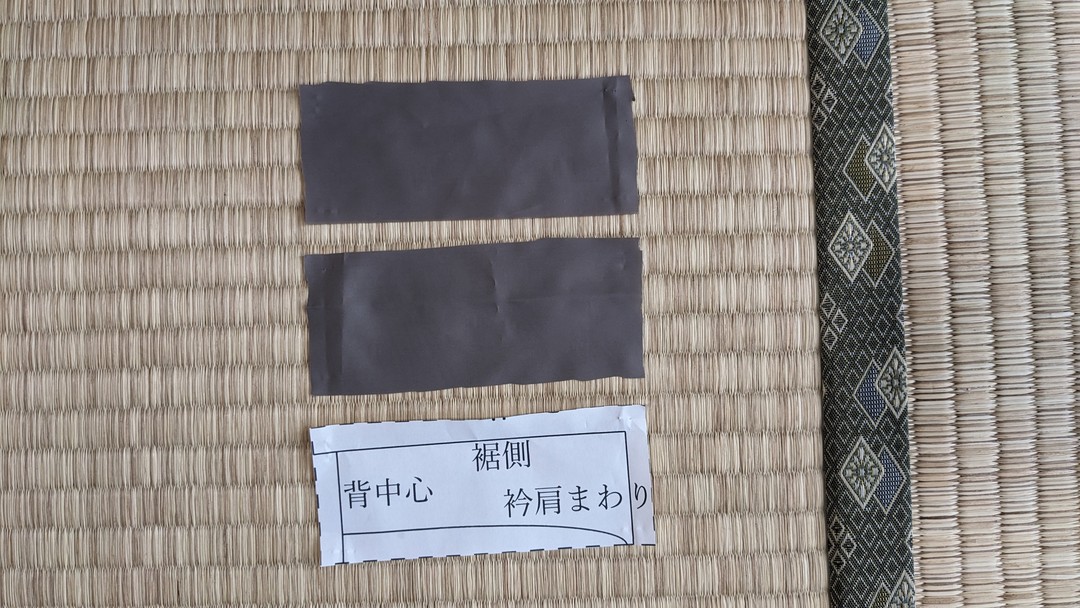
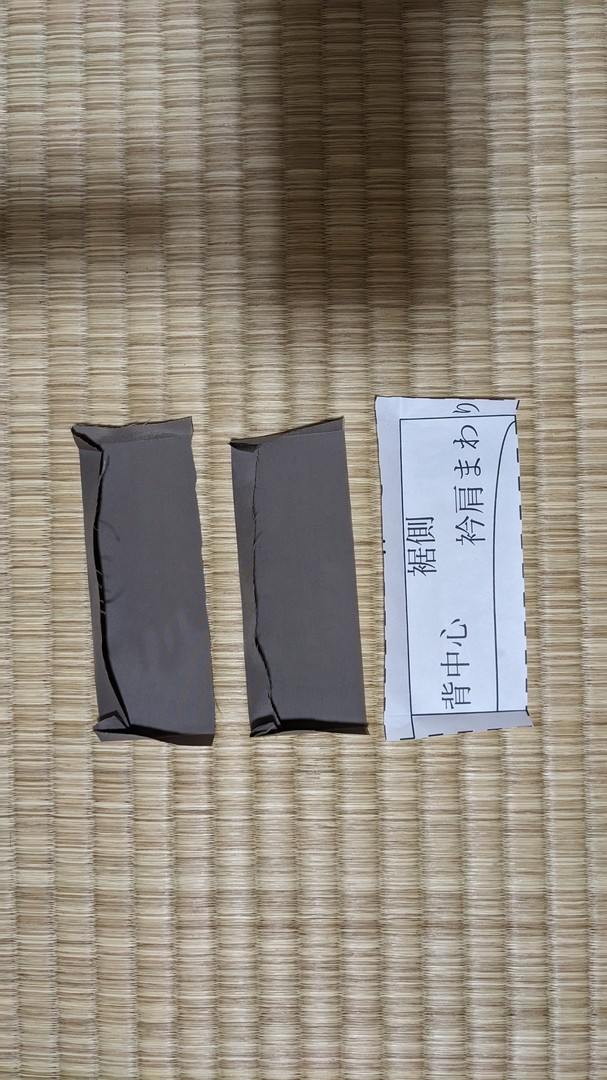
14. Valley-fold the fabric and pattern together on the finish line, and
press a crease with the iron.
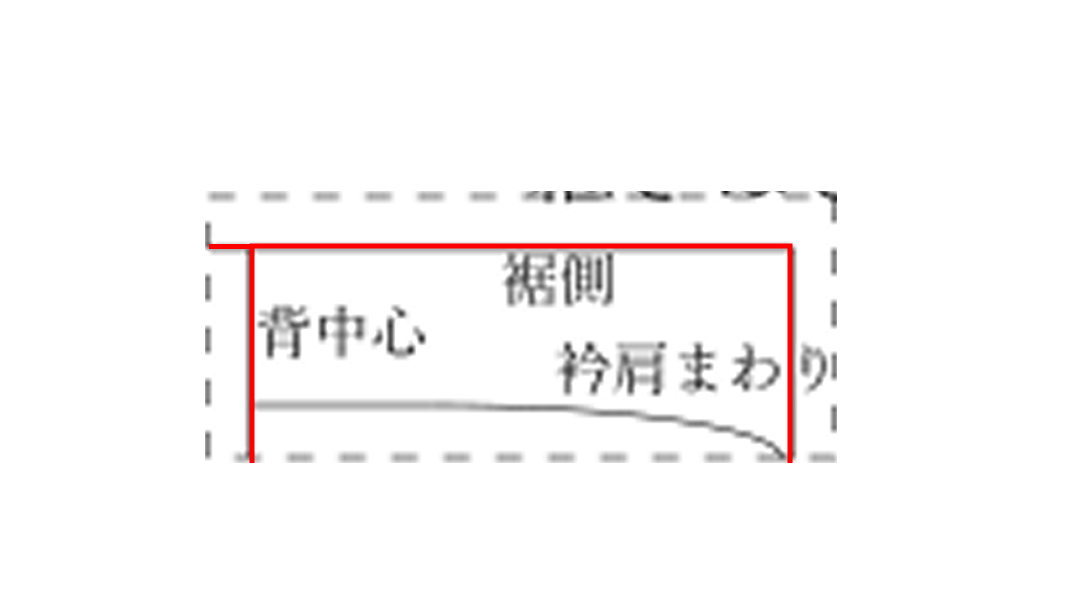
Do this on both left and right pieces.
15. Unpick about 1 cm of the topmost back-center seam allowance of the
body with a seam ripper.
This time it is already unpicked.
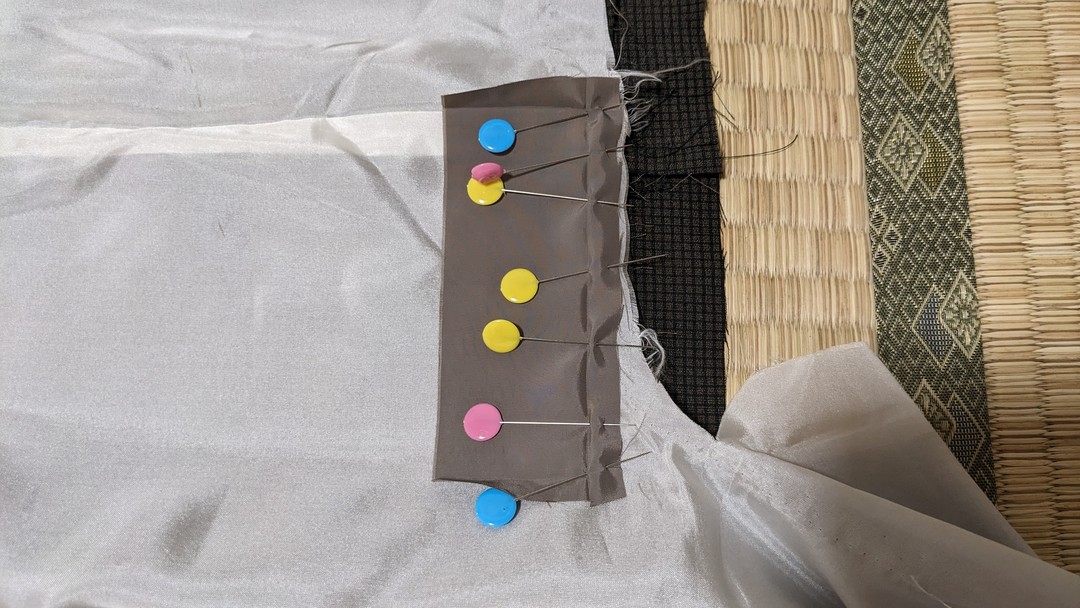
16. Place the hem side of the patch fabric on the body’s collar-shoulder
area, aligning the fabric edges.
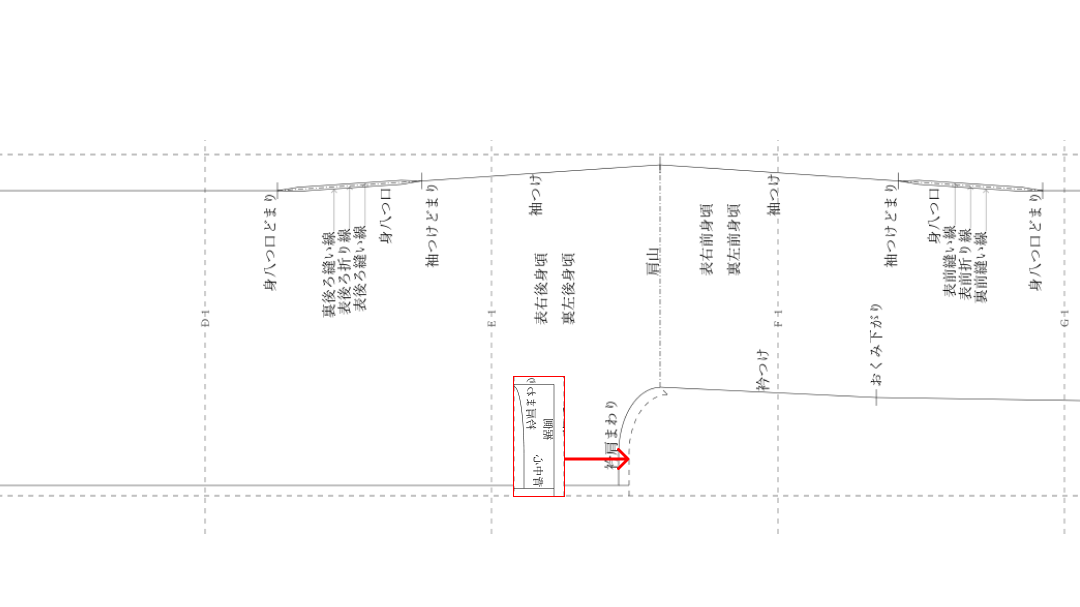
Perpendicular to the back center, pin along the crease pressed into the
patch fabric to secure it.
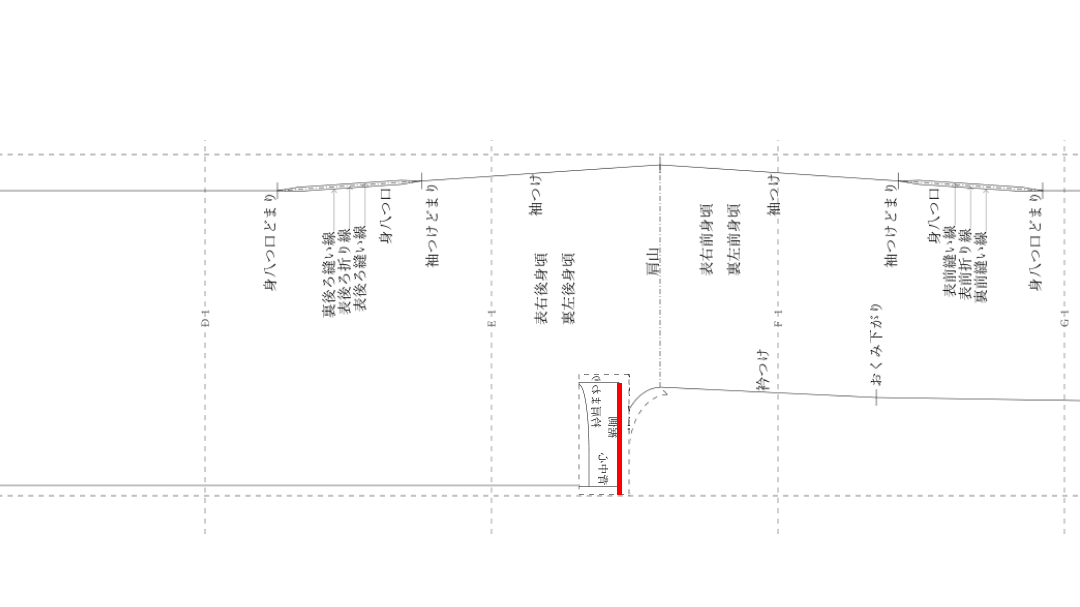
17. With a straight machine stitch, sew the hem side of the patch
fabric:
· the finish line
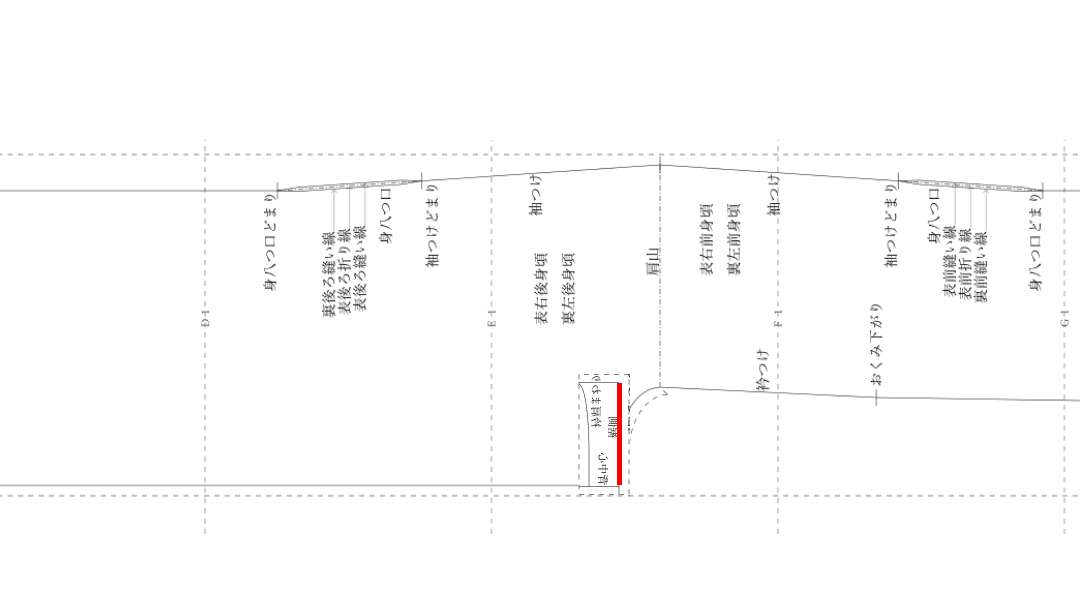
· and the back-center seam allowance on its extension. Stitch length is
2.5 mm.
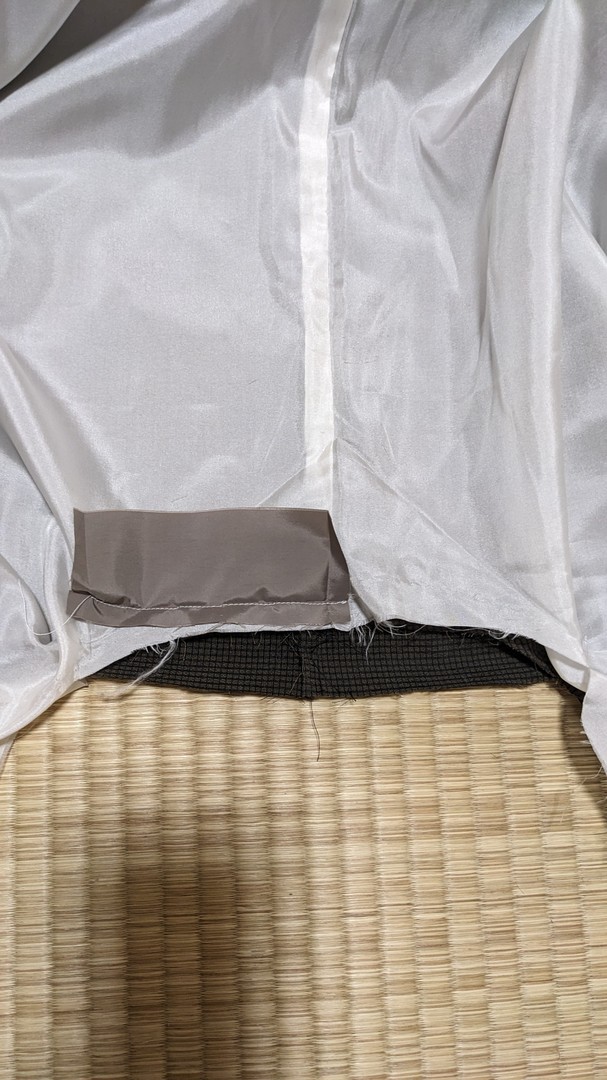
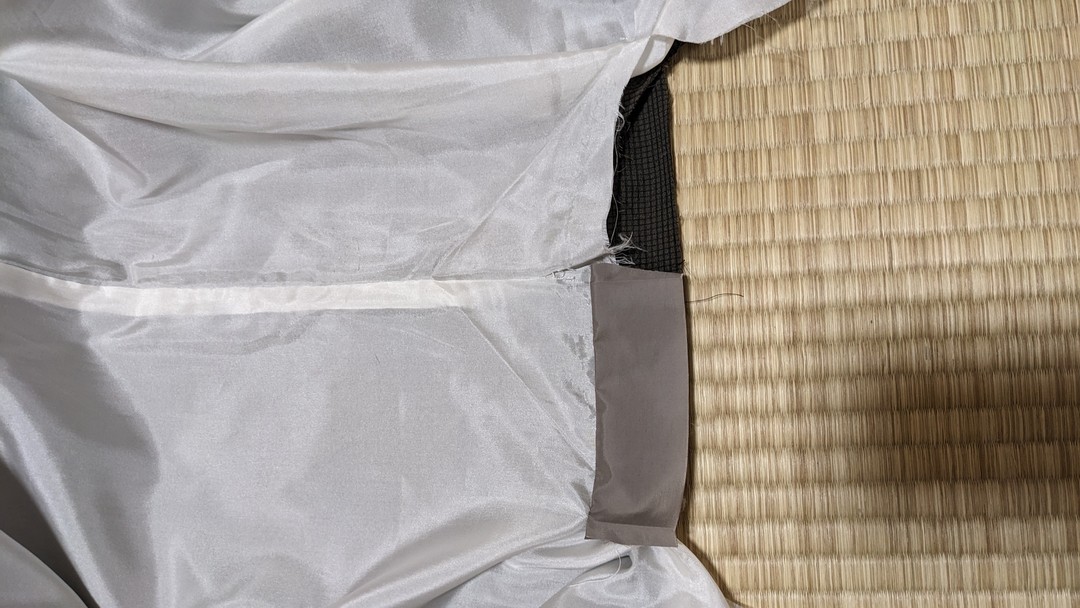
When finished sewing, pull the threads to secure.
Do this on both left and right patch fabrics.
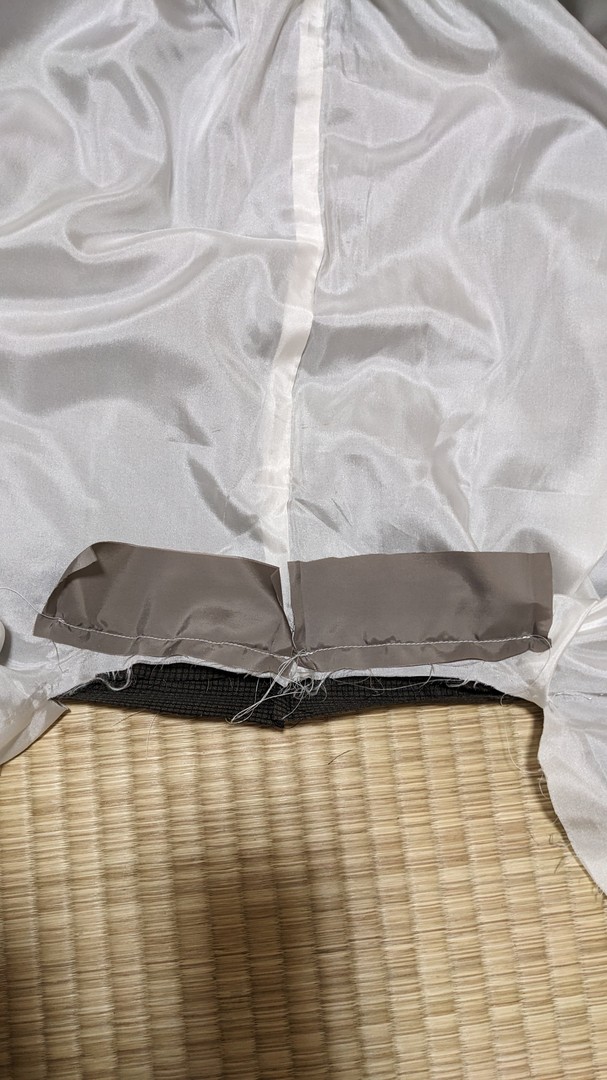
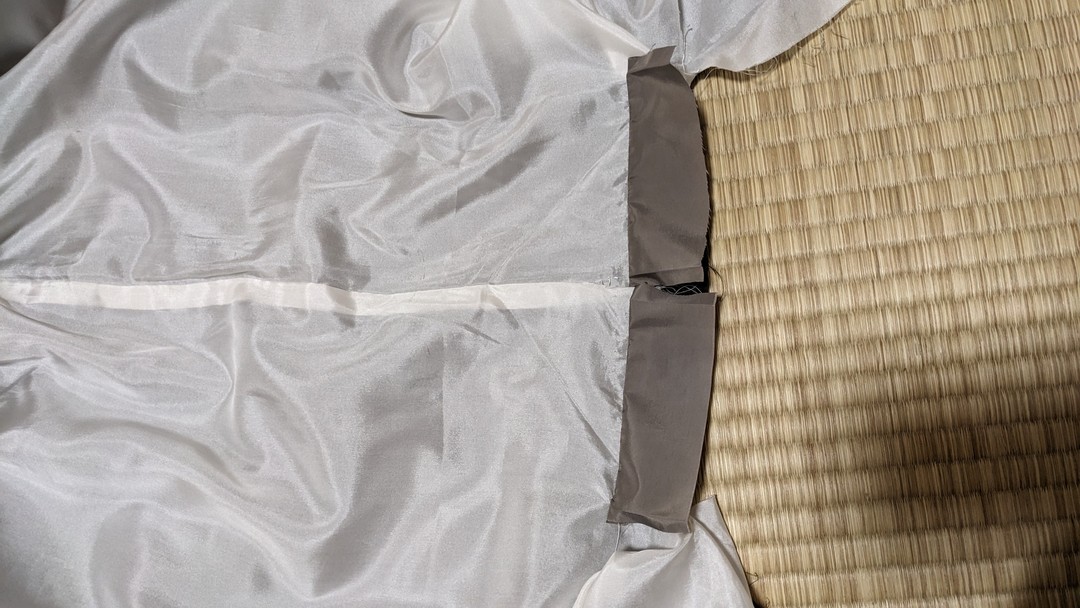
18. Layer the patch fabrics with outer sides together, align the
back-center folds, and pin.
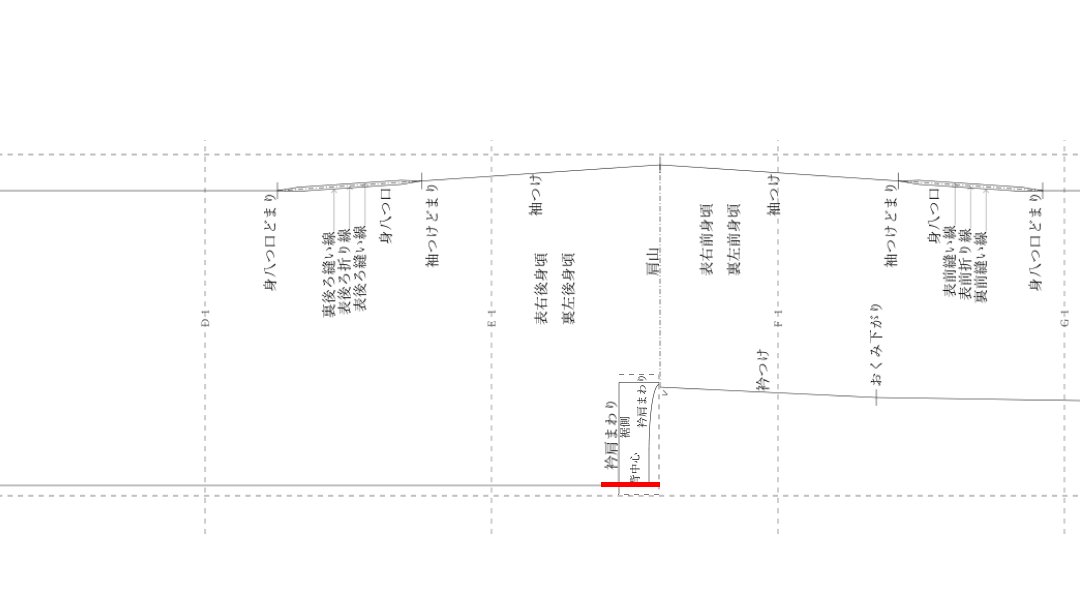
Press the hem-side seam allowances toward the patch fabric.
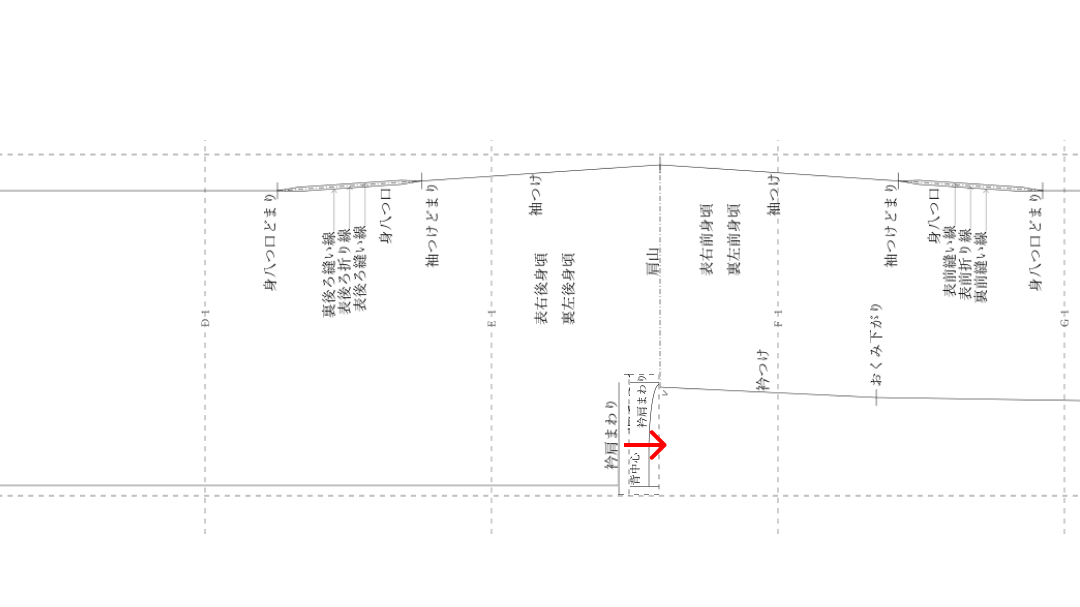
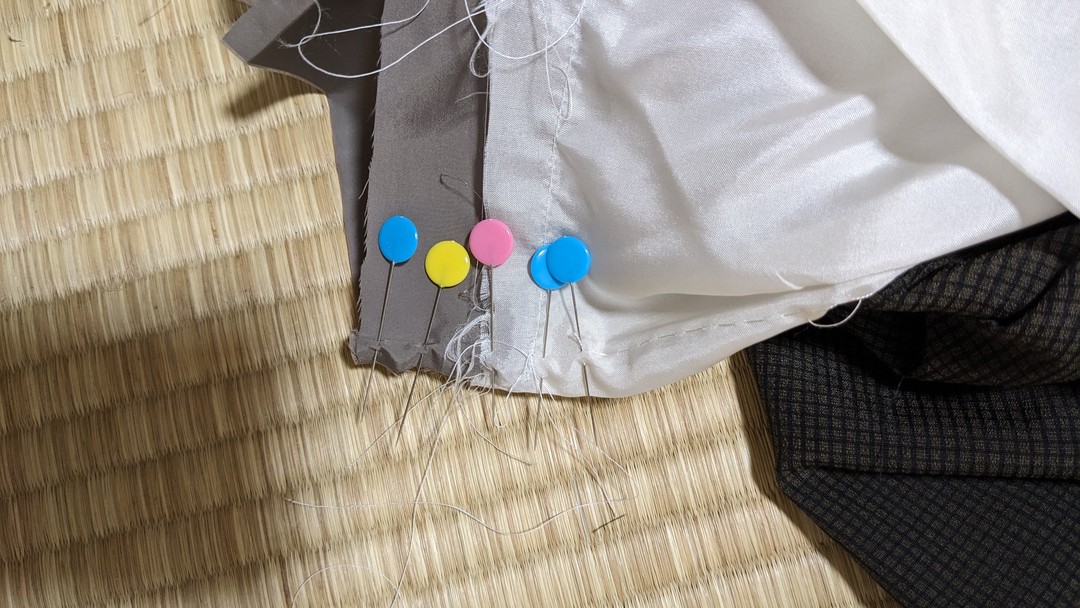
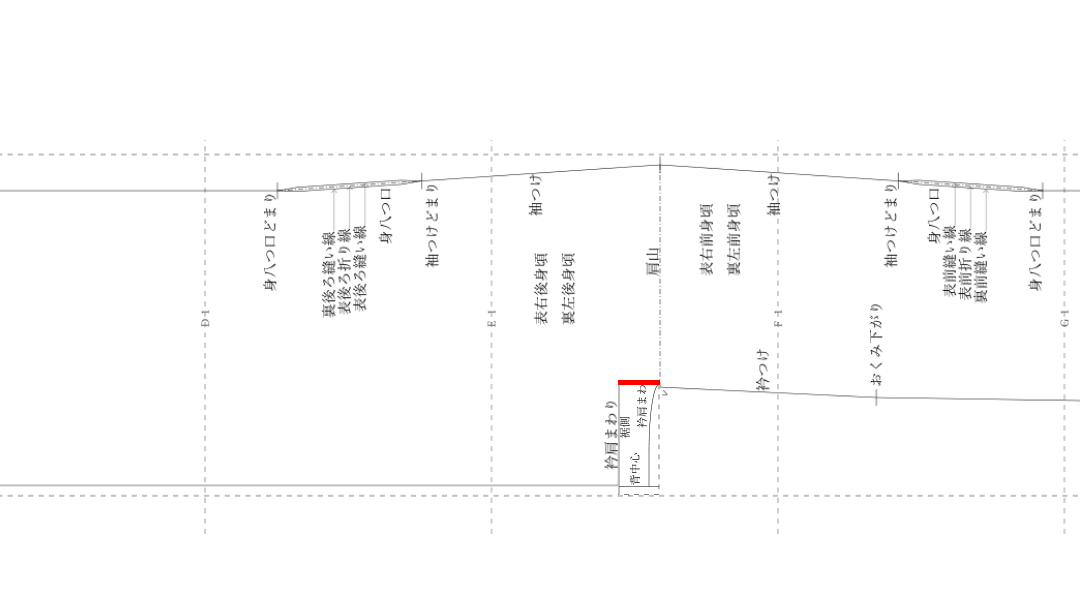
19. With a straight machine stitch, sew from 1 cm before the back-center
join to the edge of the patch fabric.
Stitch length is 5 mm.
When finished sewing, pull the threads to secure.
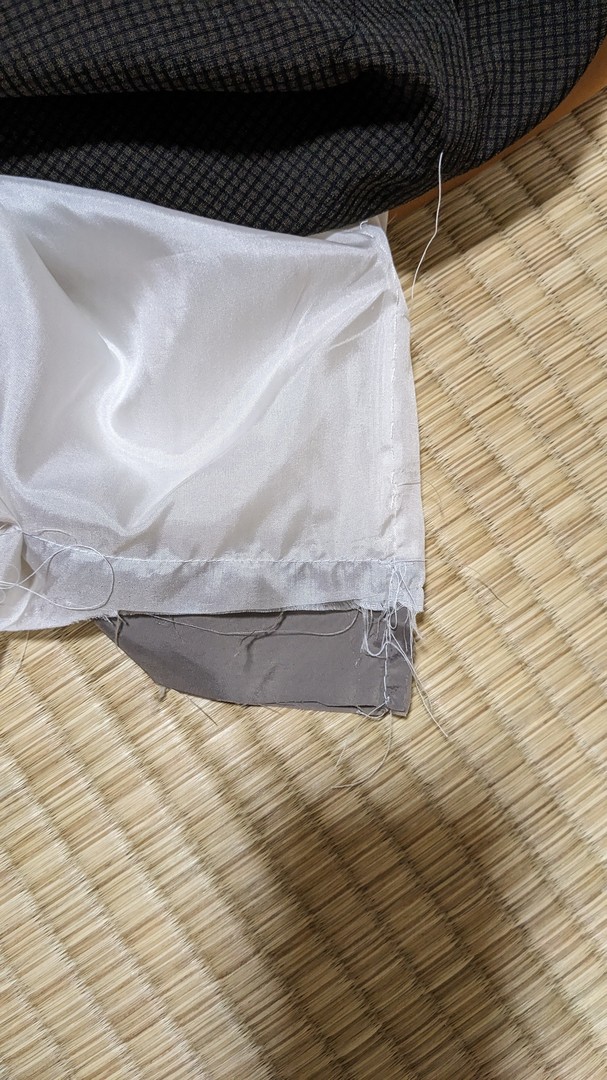
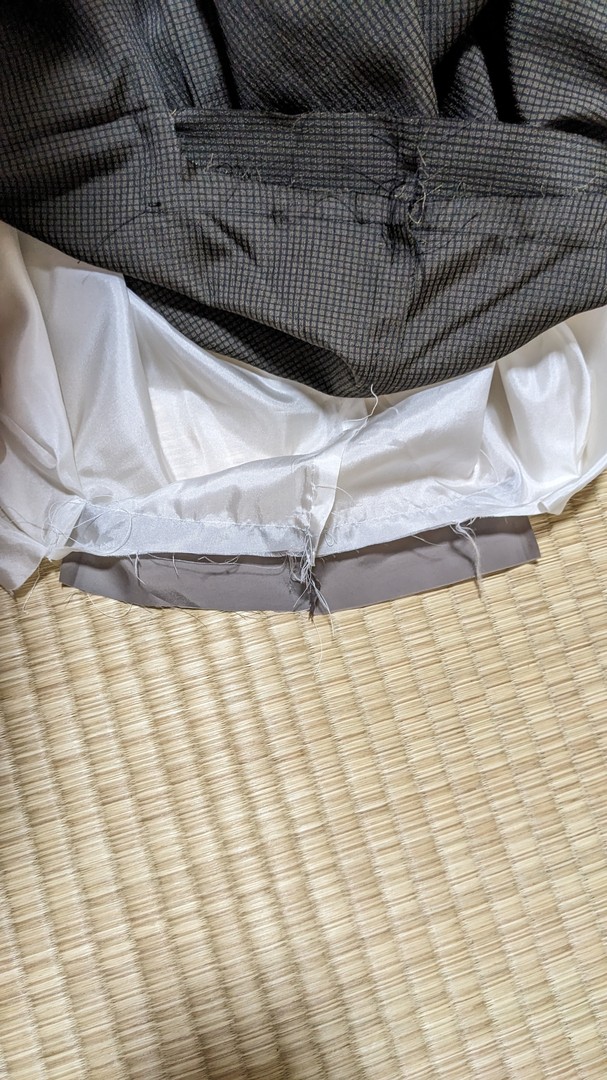
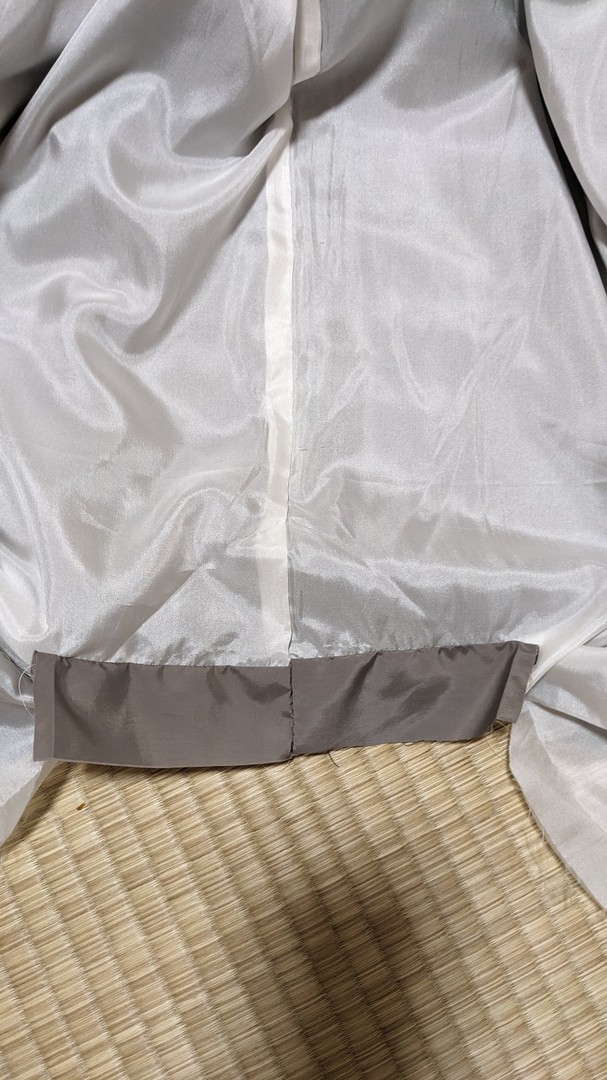
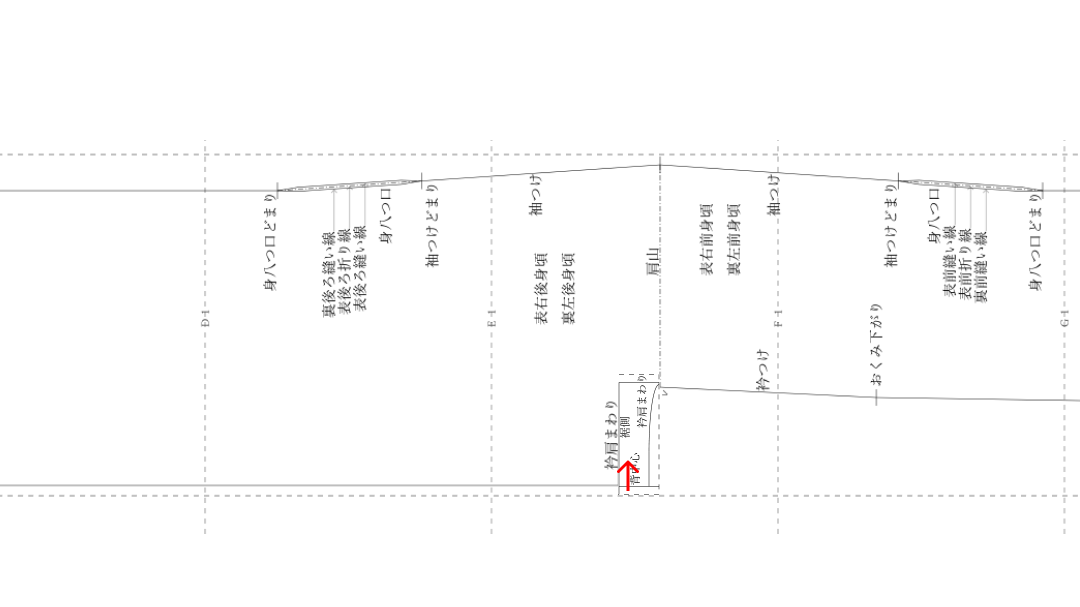
20. Press the back-center seam allowance to the left toward the wrong
side (opposite for lining).
Press the hem-side seam allowances toward the patch fabric.
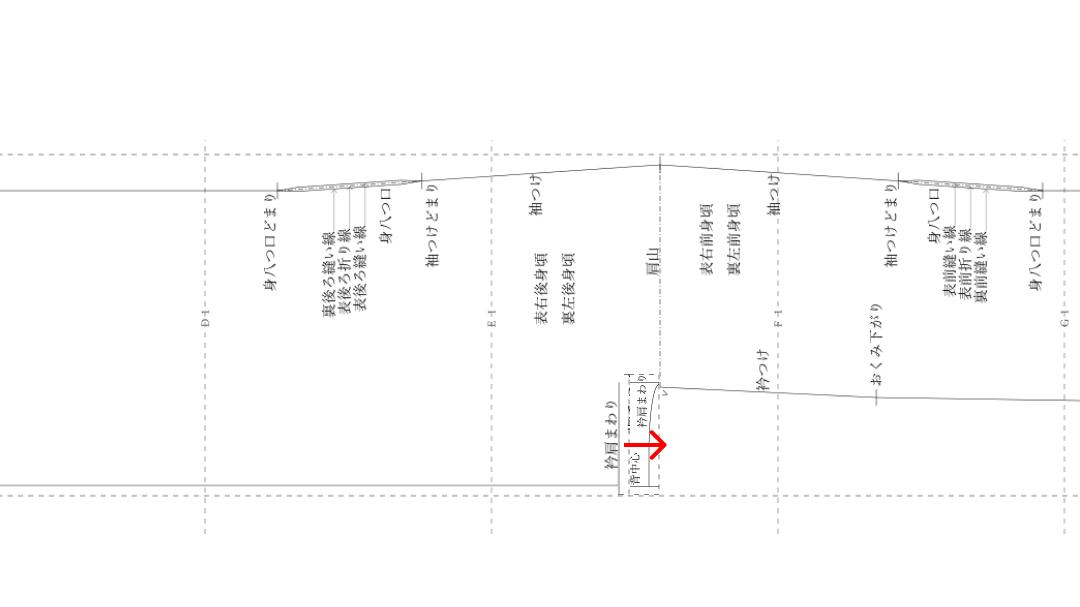
Press a crease with the iron from the wrong side.
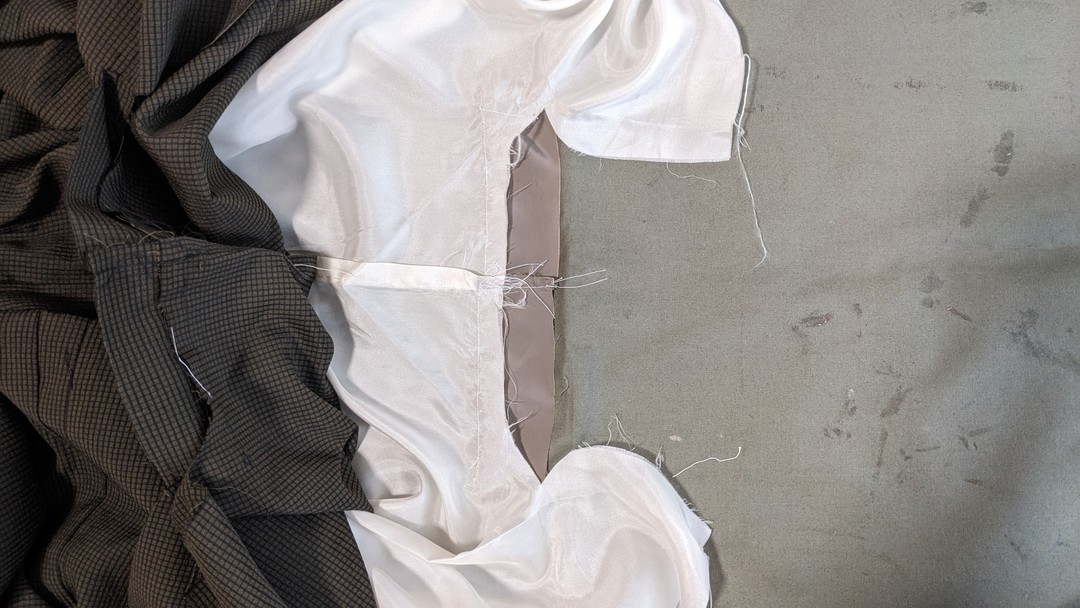
21. Open the body centered on the shoulder line, and layer the patch
fabric with outer sides out.
Fold the sleeve-attachment seam allowance and pin.
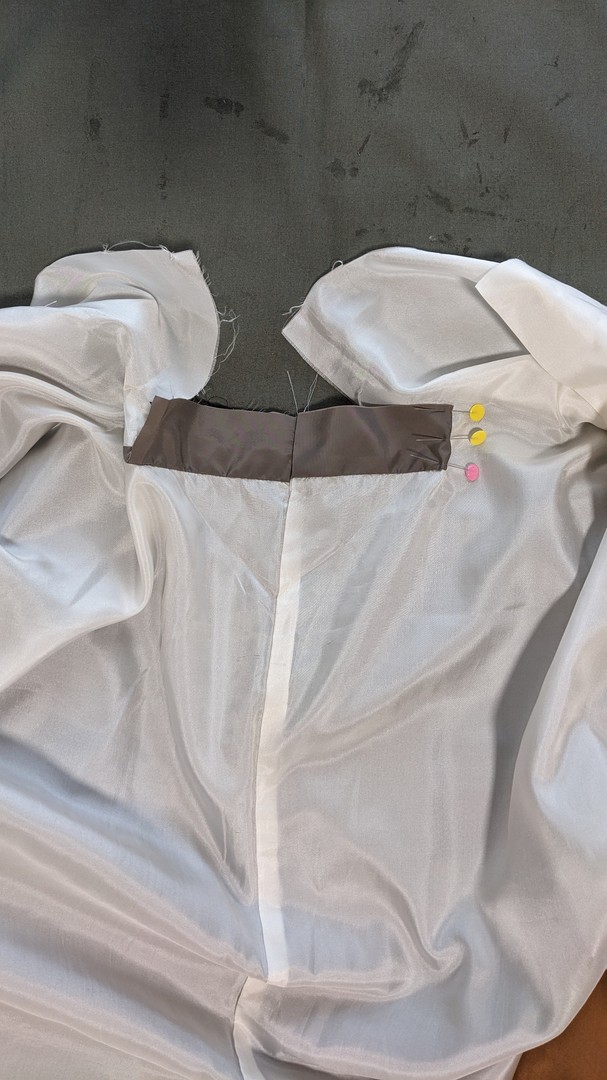
22. Blind-stitch (kuke) along the finish line to sew it to the body.
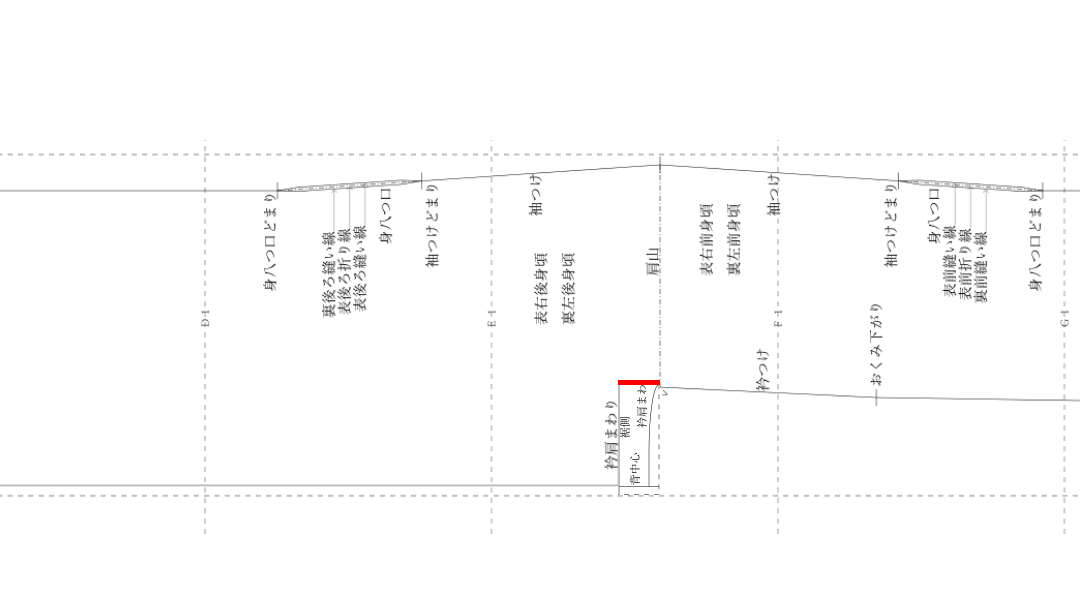
Kuke: stitching so the stitches do not show on the right side.
If kuke is difficult, sew with a regular running stitch or a straight
machine stitch.
When finished sewing, pull the threads to secure.
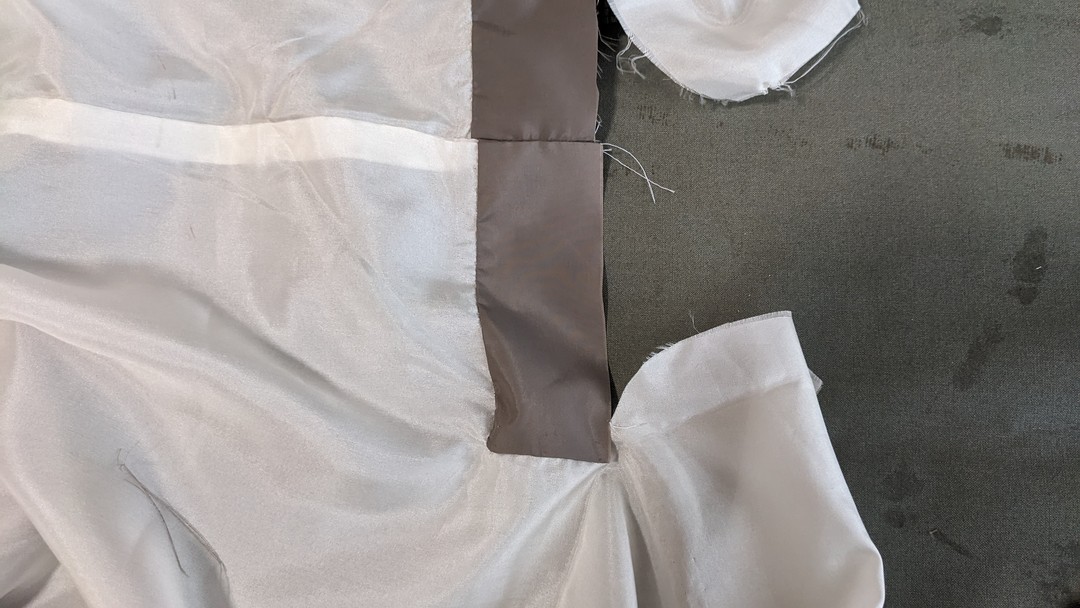
Do this on both left and right sleeve-attachment sides.
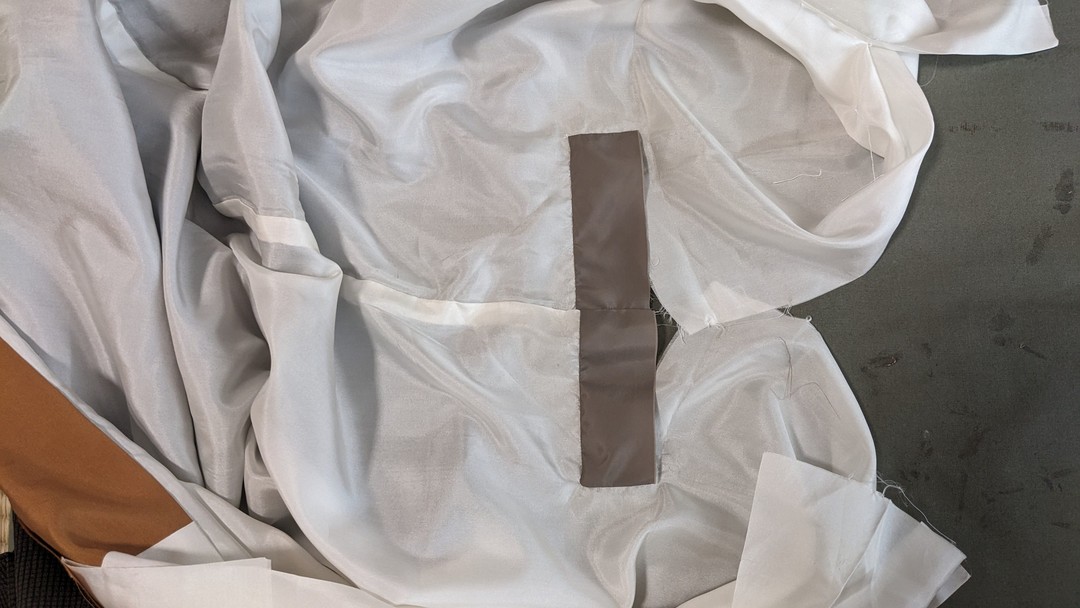
23. (Back joining) Layer the back centers of the outer fabric and
lining,
and pin on the stitch lines.
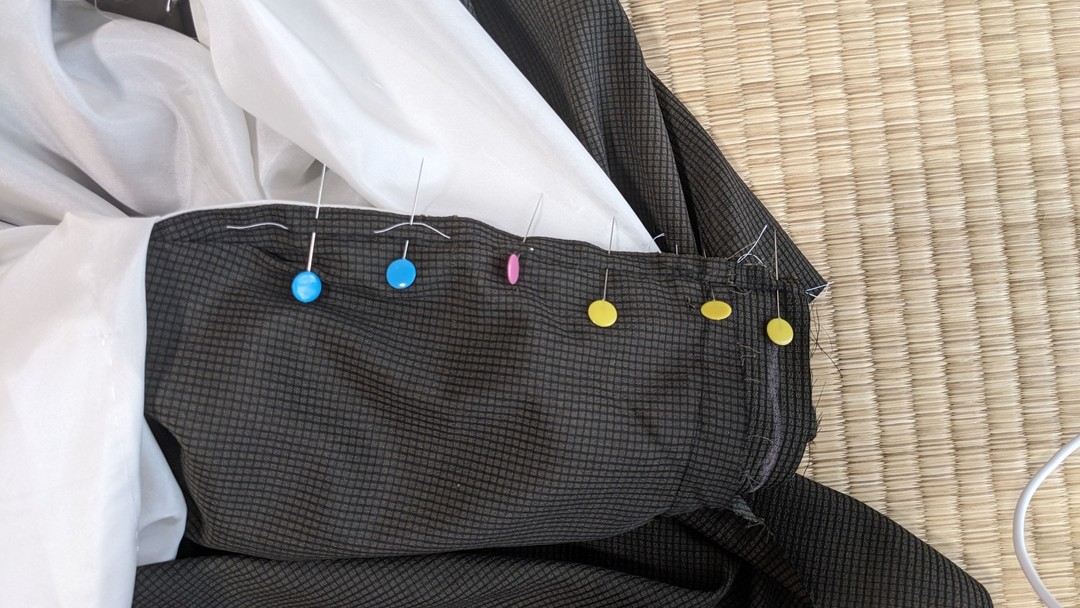
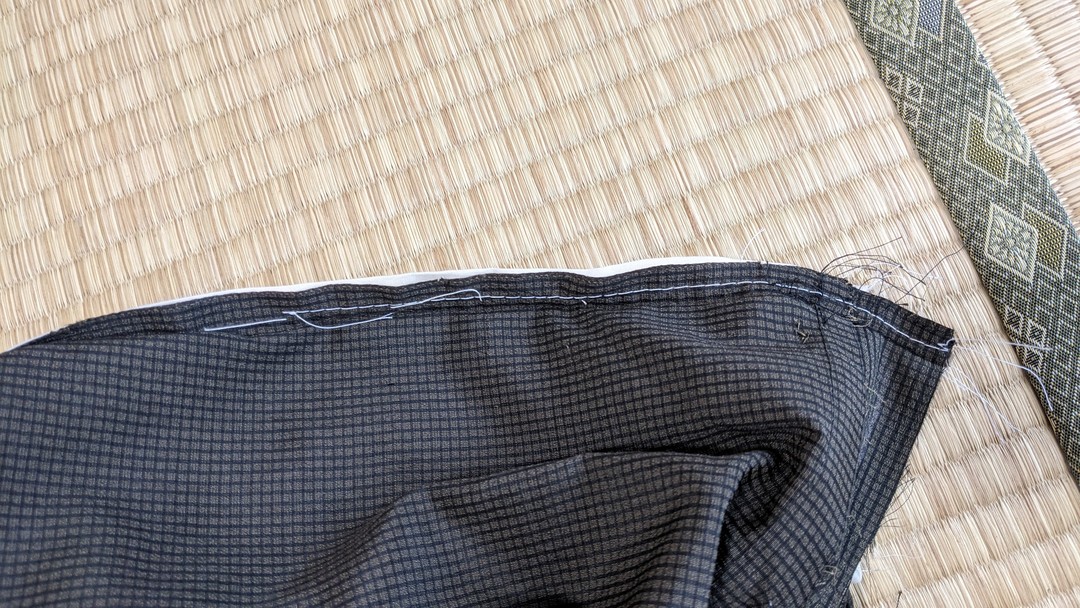
Parallel and 2 mm away from the stitch line,
sew all four seam-allowance layers together with a straight machine
stitch.
Stitch length is 5 mm.
When finished sewing, pull the threads to secure.
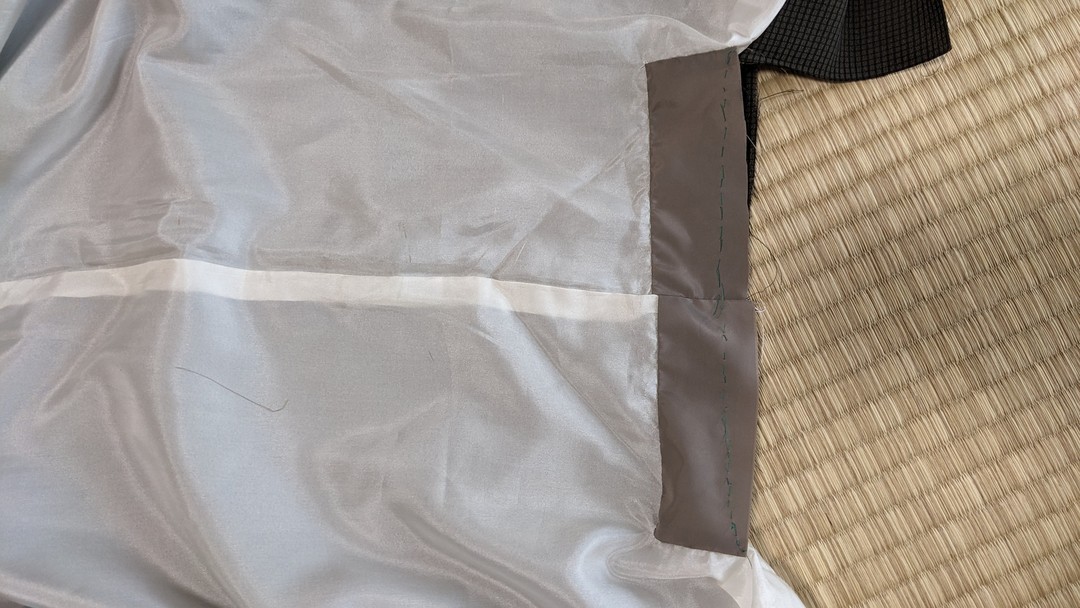
24. Cut off the finish line of the pattern’s collar-shoulder area.
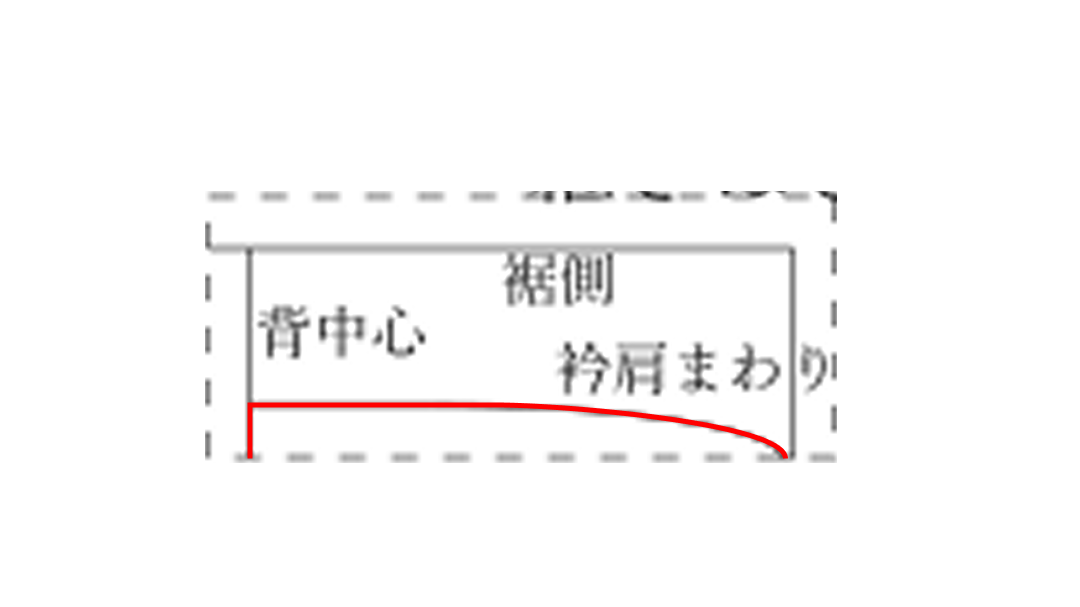
Place that pattern on the right side of the lining patch fabric at the
collar-shoulder area,
and transfer the finish line with chalk.
If the fabric is too smooth for chalk,
mark with “kiribi” — sew basting thread as a mark.
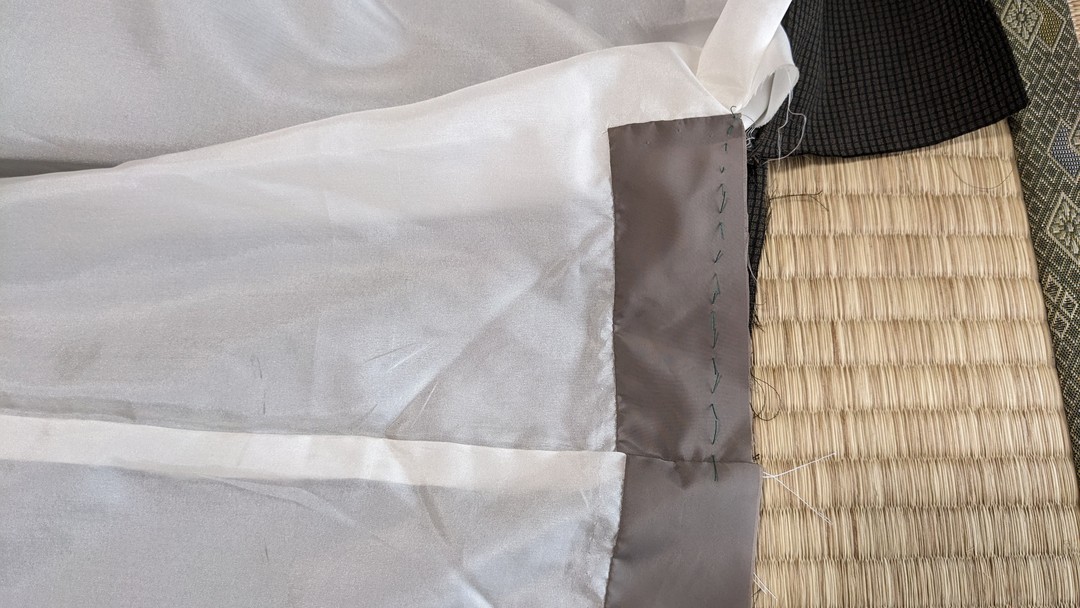
Do this on both left and right collar-shoulder areas.
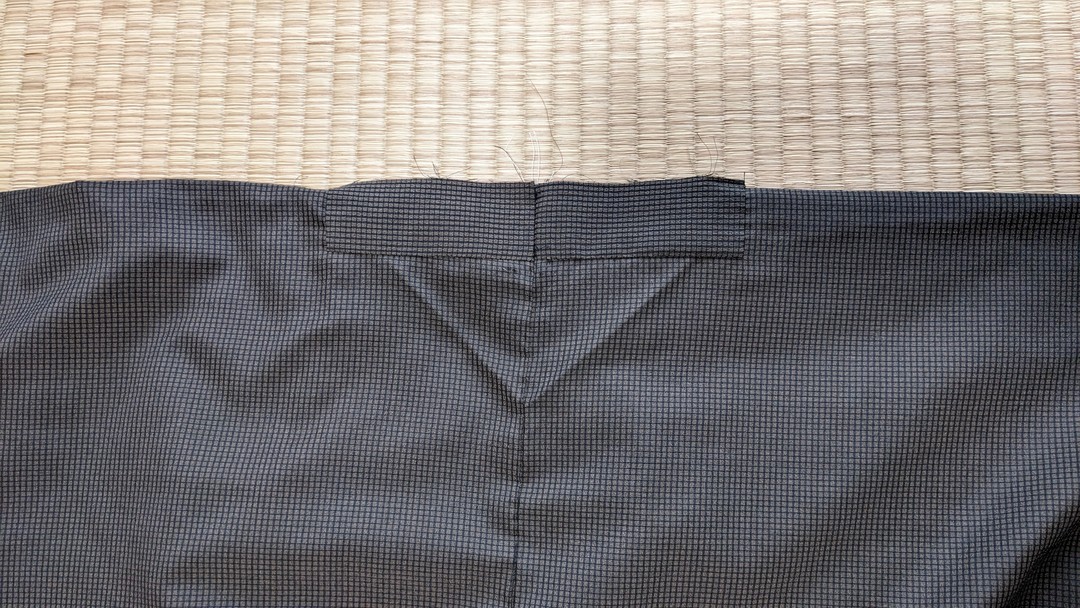
Finished
In the Alteration Guide, I enter the measurements of the kimono I have,
and enter the gender and size after tailoring,
and the differences are calculated automatically.
Places that should be altered and places that may be altered are
diagnosed automatically.
When I choose what I want to alter, the necessary patch fabric and areas
that can be taken from
are calculated automatically, and according to that area
videos on how to unpick, how to make patch fabric, and how to resew
are displayed.