
目次
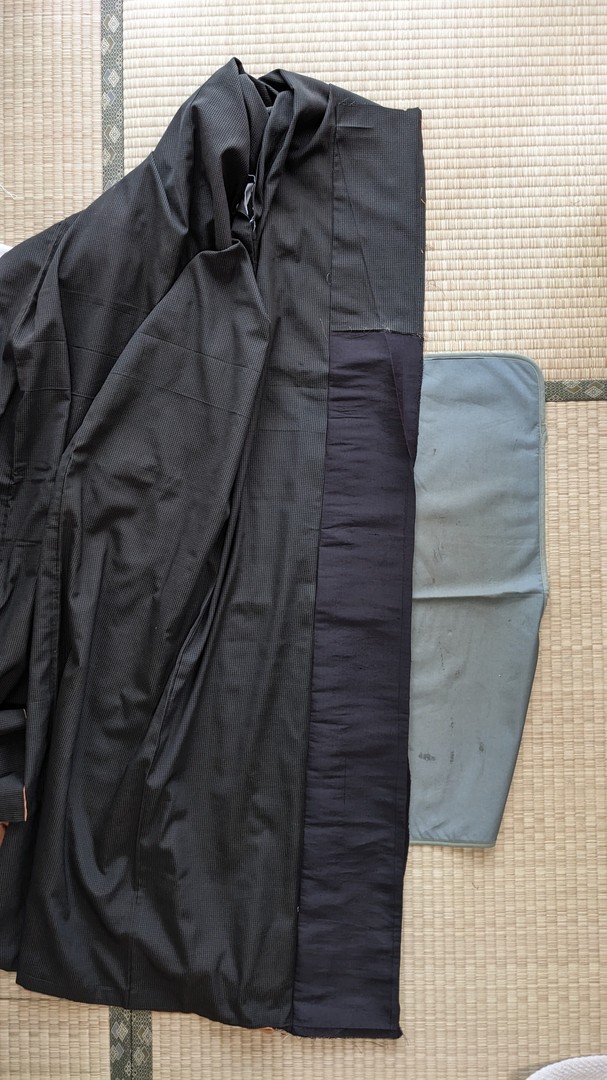
1. On the new okumi joined from the original fabric and separate fabric,
place the pattern and secure with clips.
2. Fold the fabric and pattern along the finished line,
press creases from the wrong side with an iron.
Mark the okumi tip and collar tip with chalk.
Remove the pattern.
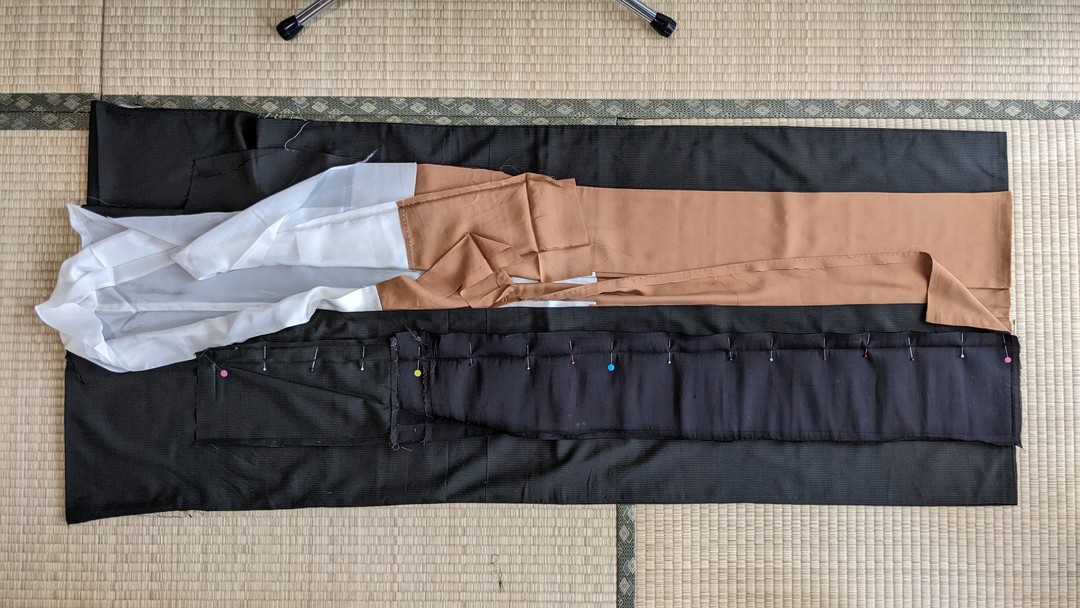
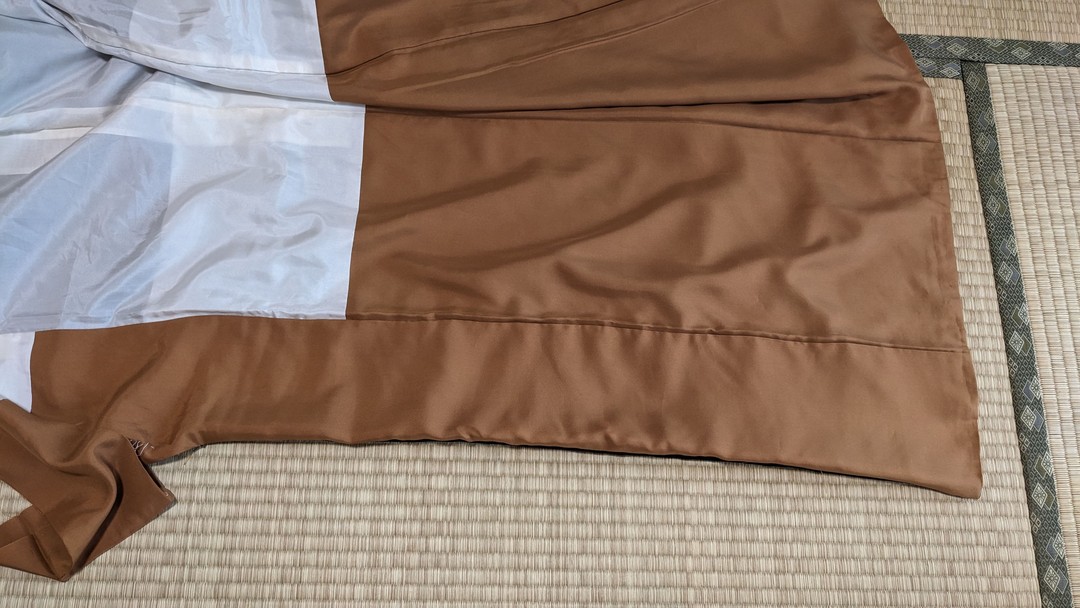
3. Fold the right side of the kimono and lay the fabric straight.
Place the right okumi on the right body panel.
Refer to the values calculated automatically on the Alteration Guide web page for placement.
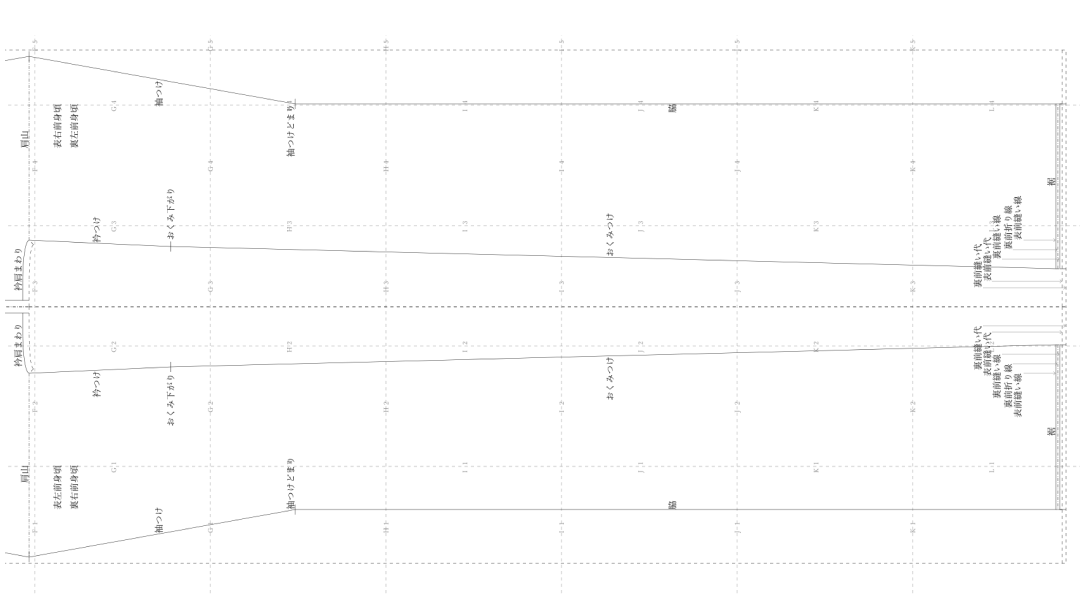
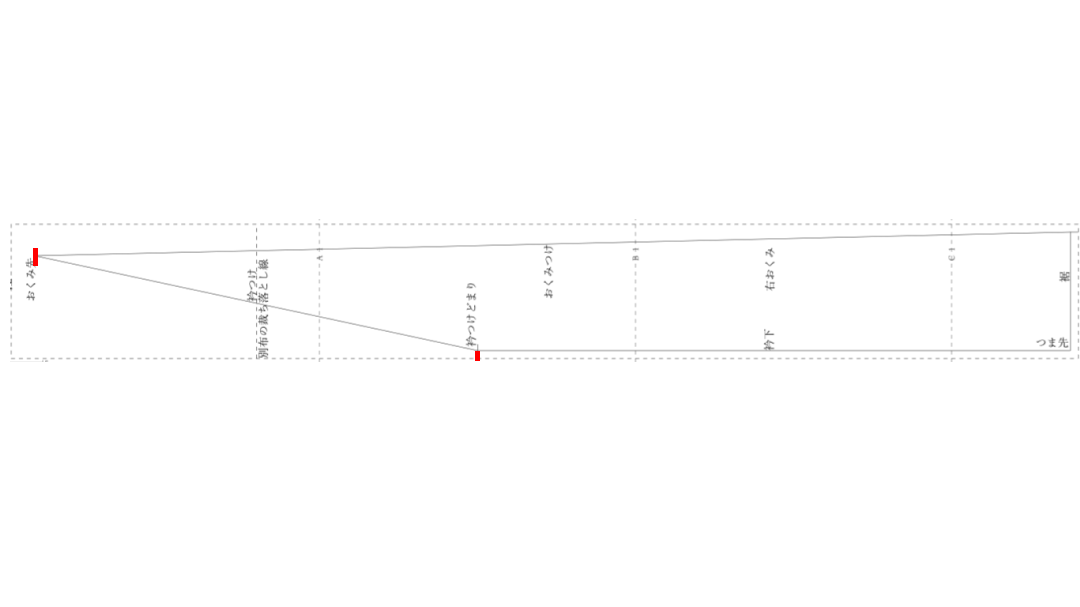
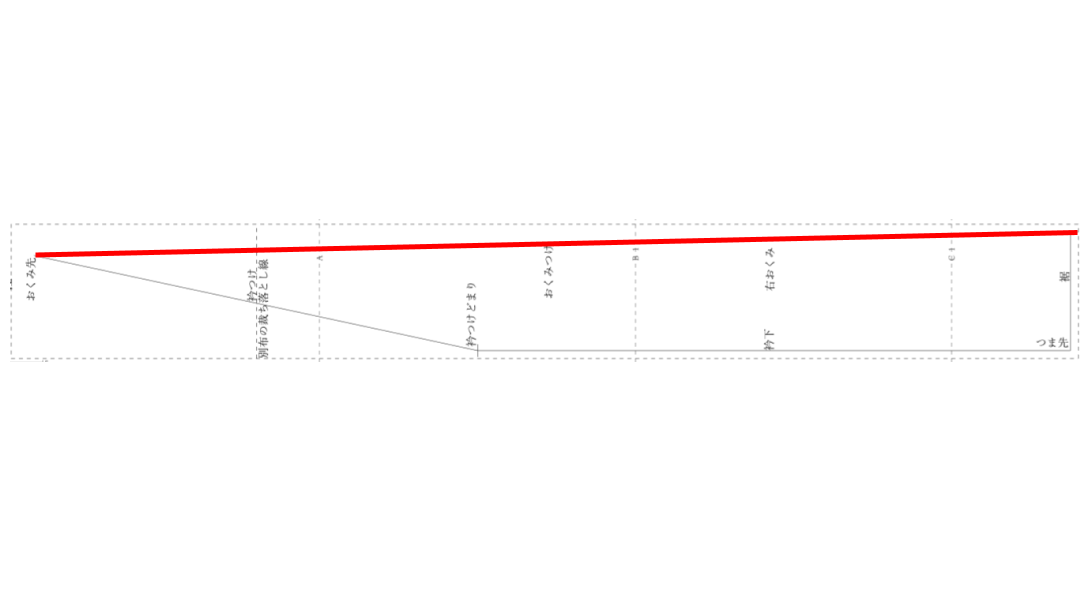
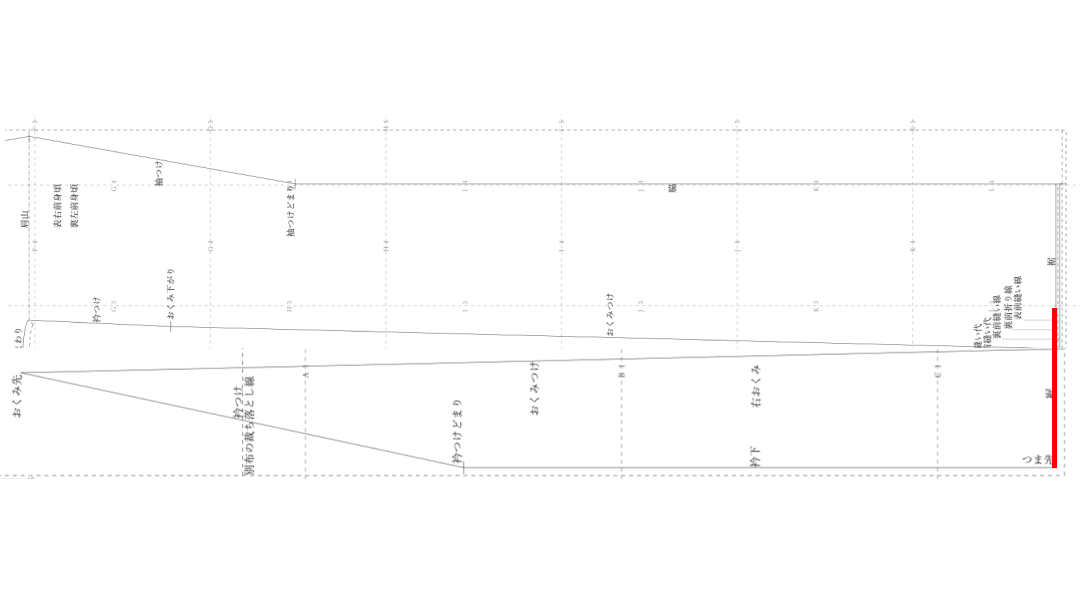
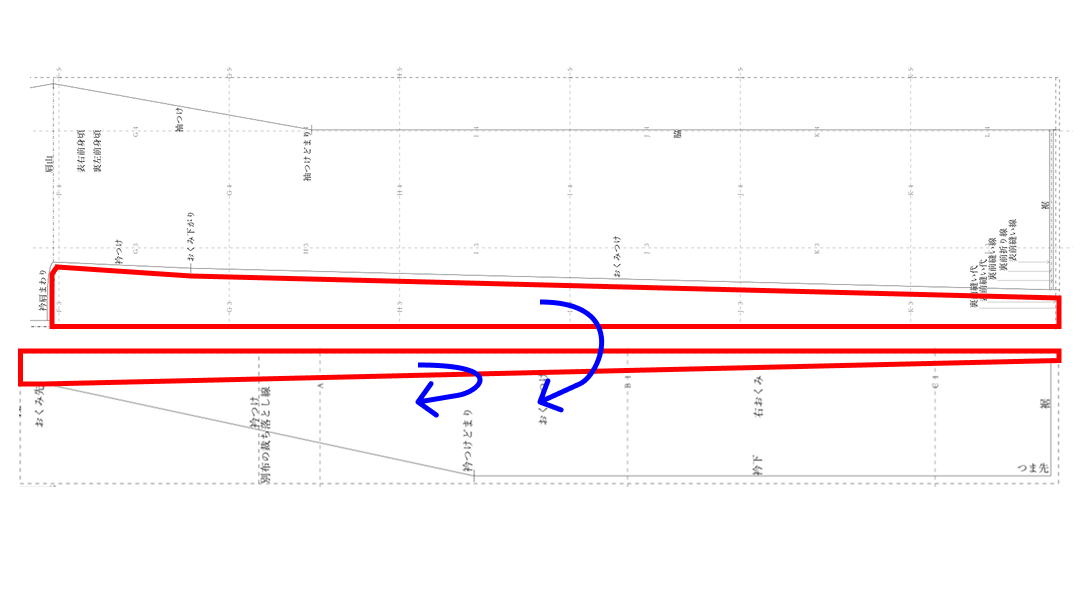
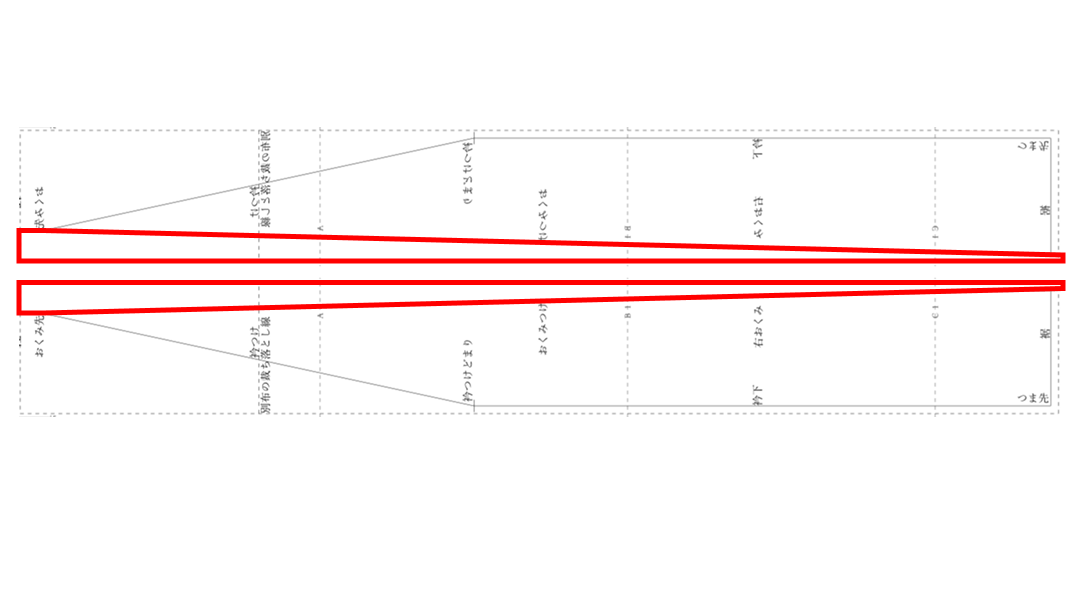
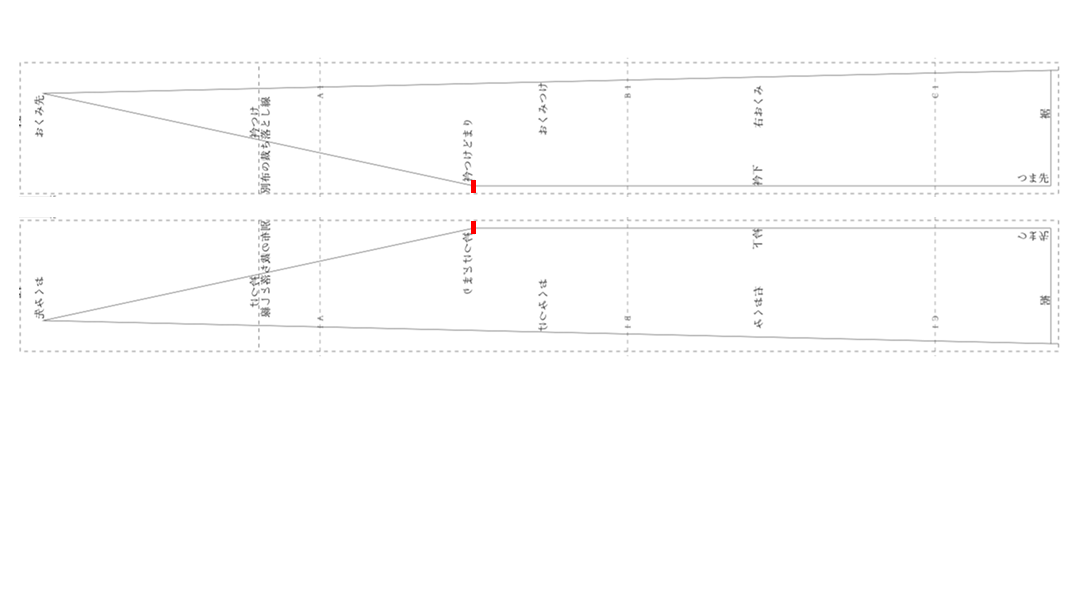
4. This is the front body diagram,
where the back center looks like this.
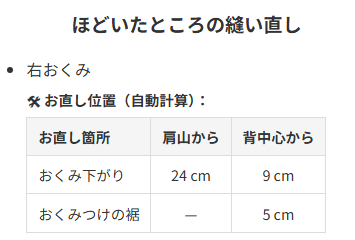
At hem height, measure back center to okumi attachment.
This time: “Okumi attachment hem: 5 cm from back center.”
Align the hems at the fold,
and match back center to okumi attachment fold at 5 cm.
Pin at the okumi attachment hem.
Next, pin at the okumi drop point.

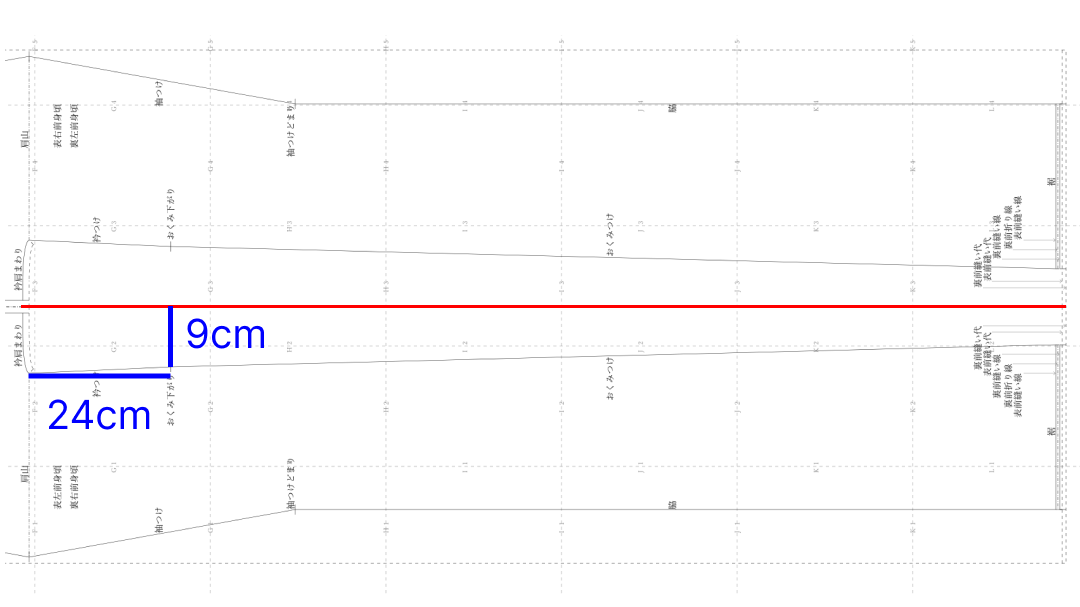
This time: “Okumi drop: 24 cm from shoulder line, 9 cm from back center.”
Pin at the okumi tip.
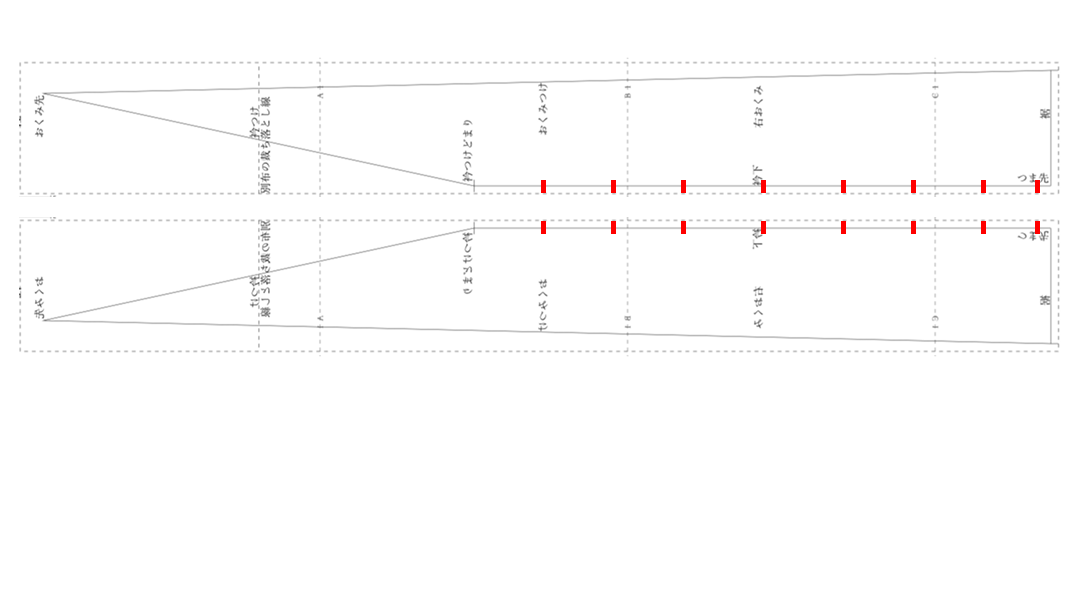
Pull the two outer fabric layers at the two pinned points straight,
pin at the midpoint between them,
and repeat halving until basting pins are about 5 cm apart.
5. Sew together with a straight machine stitch through the hem seam allowance to the okumi tip.
Stitch length is 5 mm. Sew from the hem toward the okumi tip.
When finished sewing, pull the threads to secure.
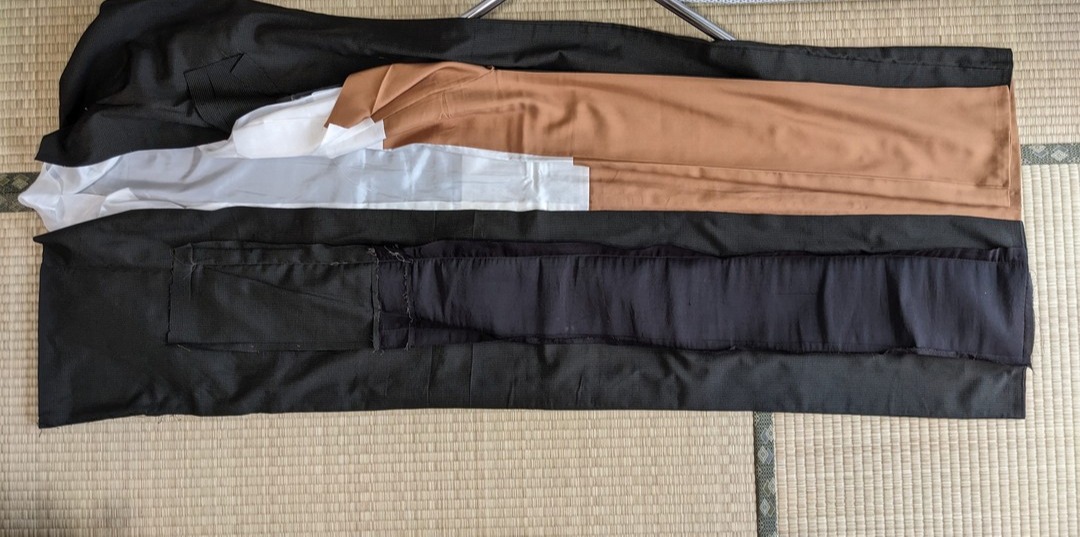
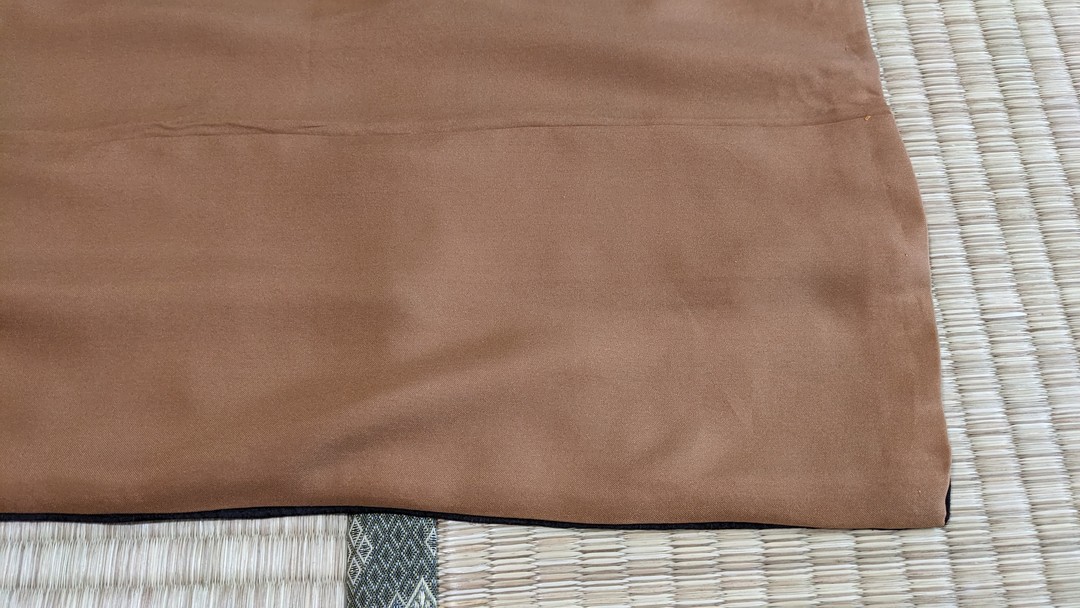
6. Press the okumi attachment seam allowances of the outer fabric together. (Flat iron)
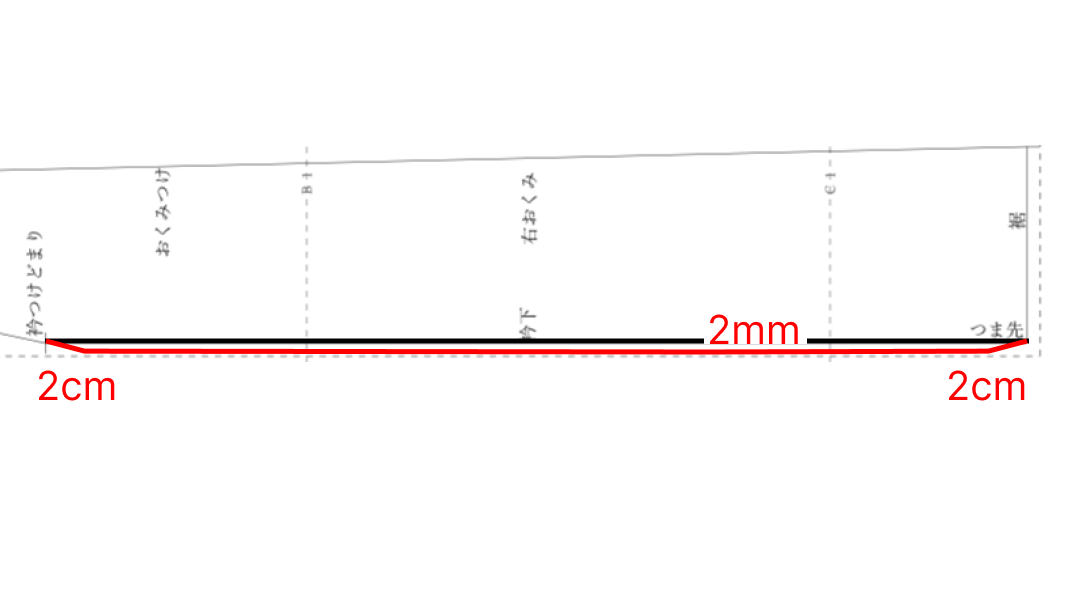
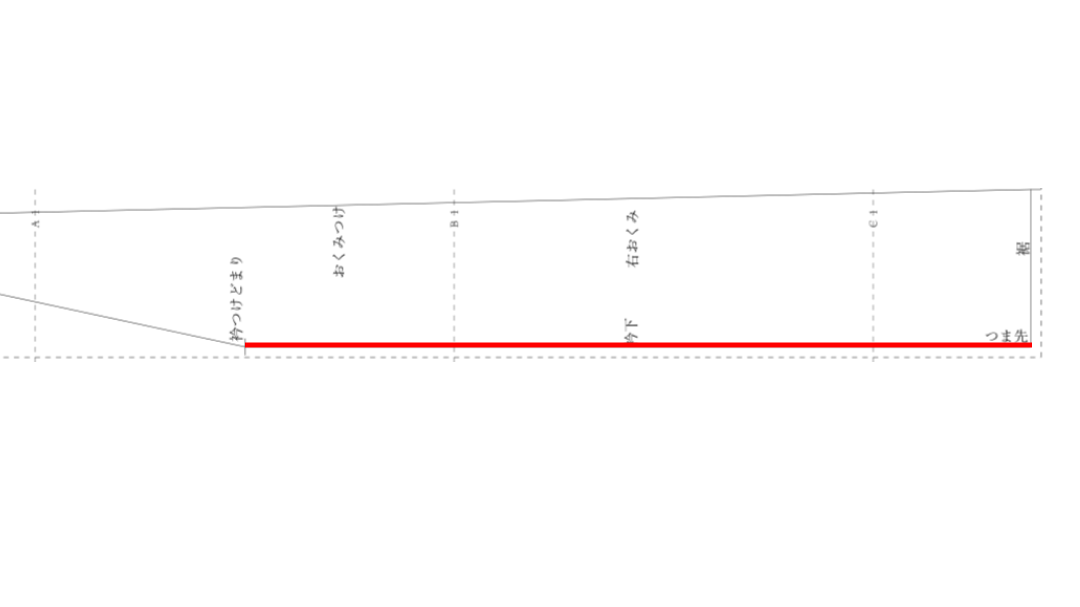
Parallel to the okumi attachment seam, 2 mm away,
fold both layers together toward the outer fabric side and press creases. (Clapper)
Open the folded outer fabric,
and press the okumi attachment from the wrong side. (Point presser)
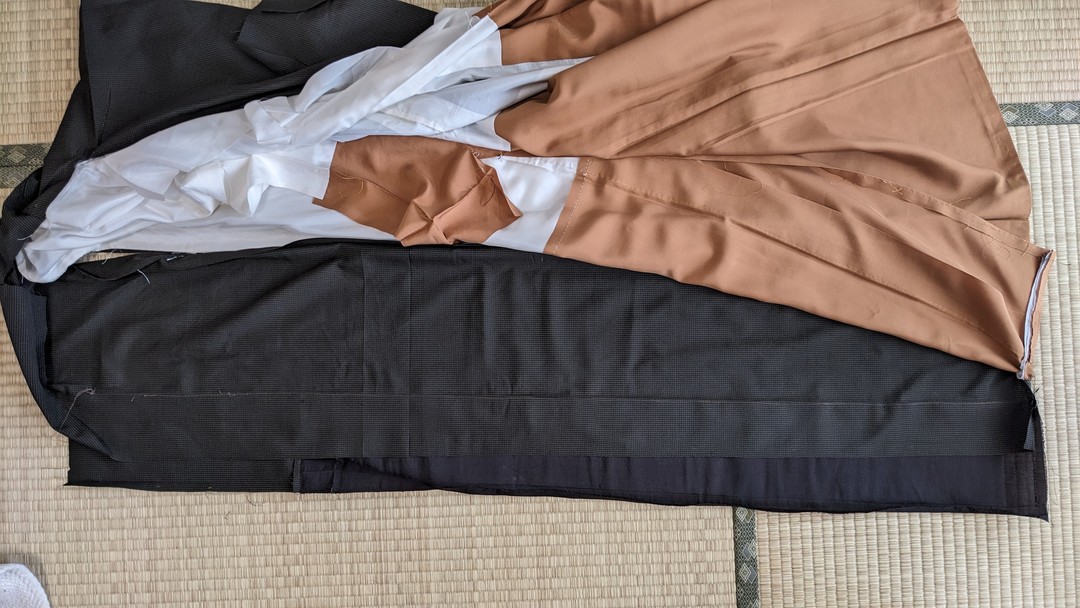
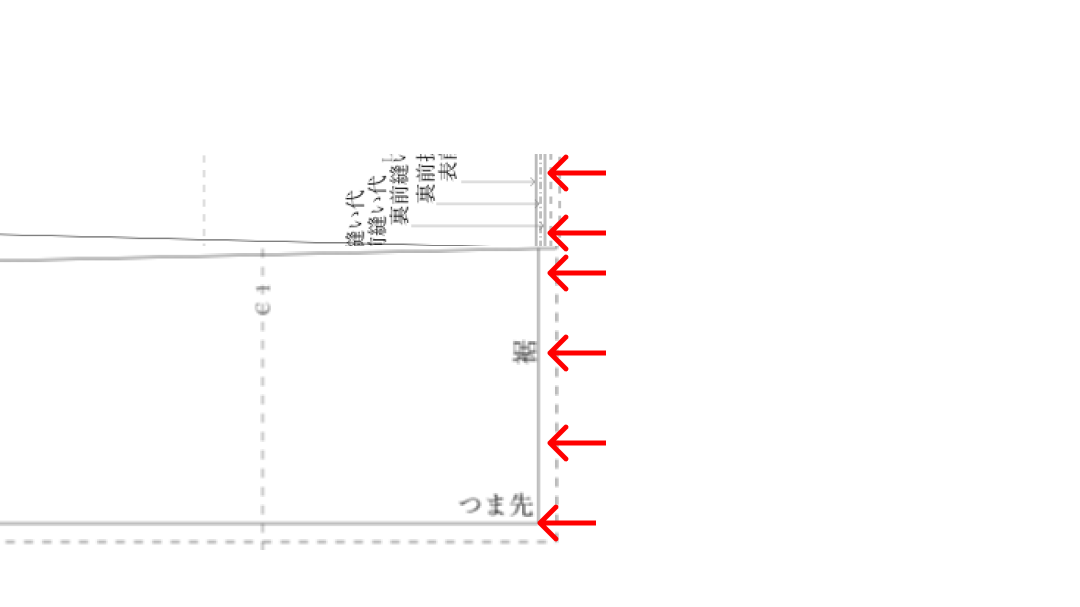
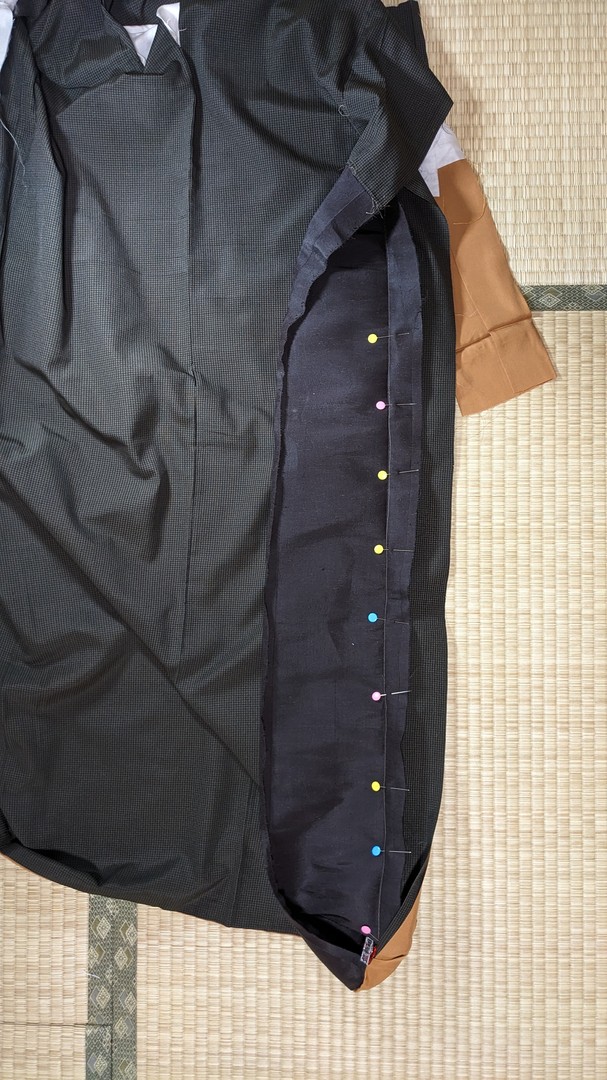
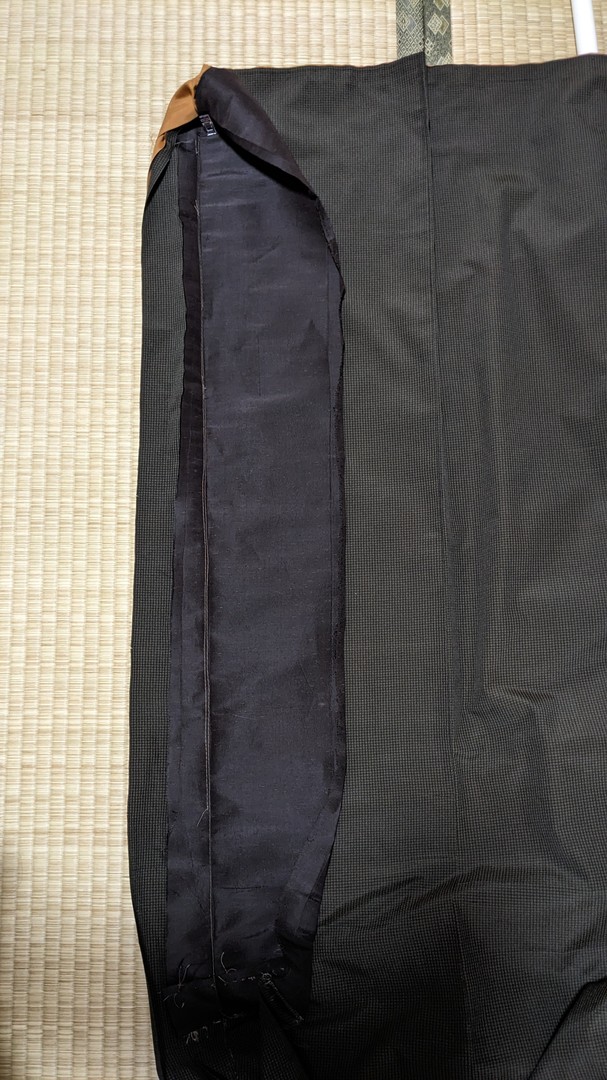
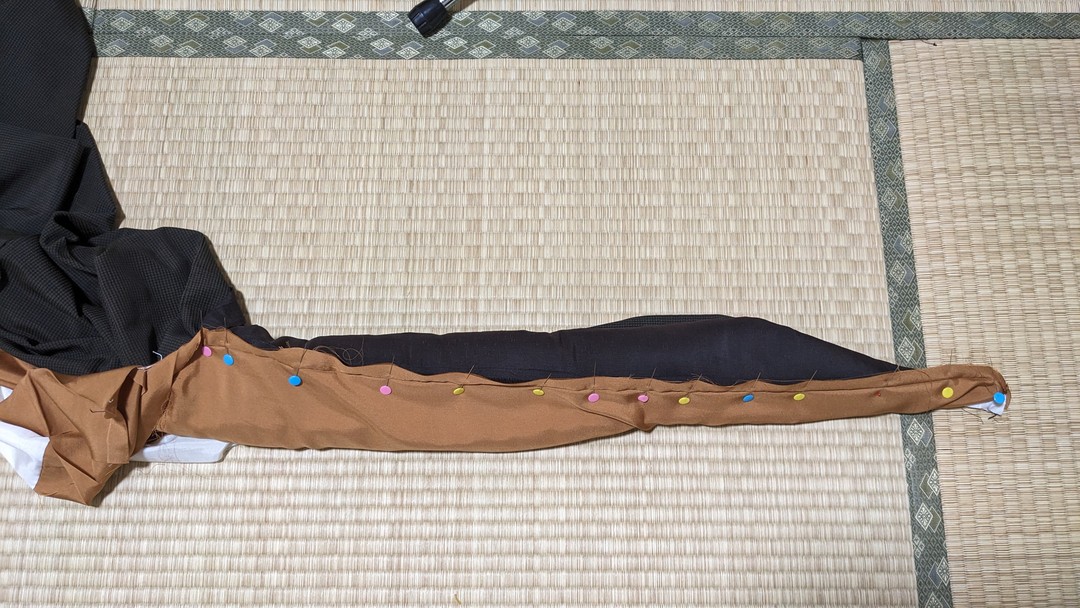
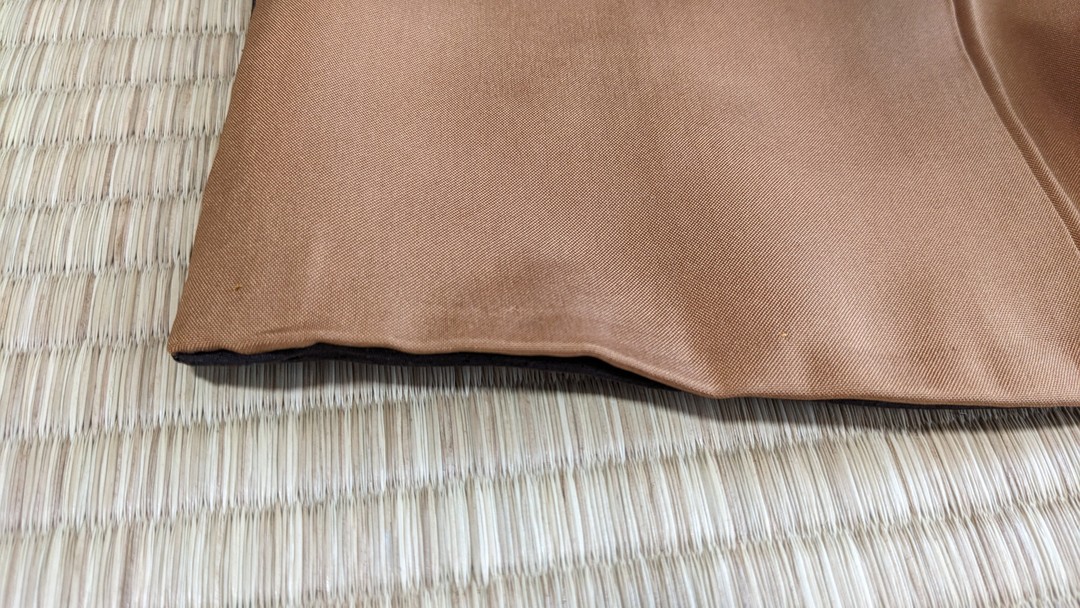
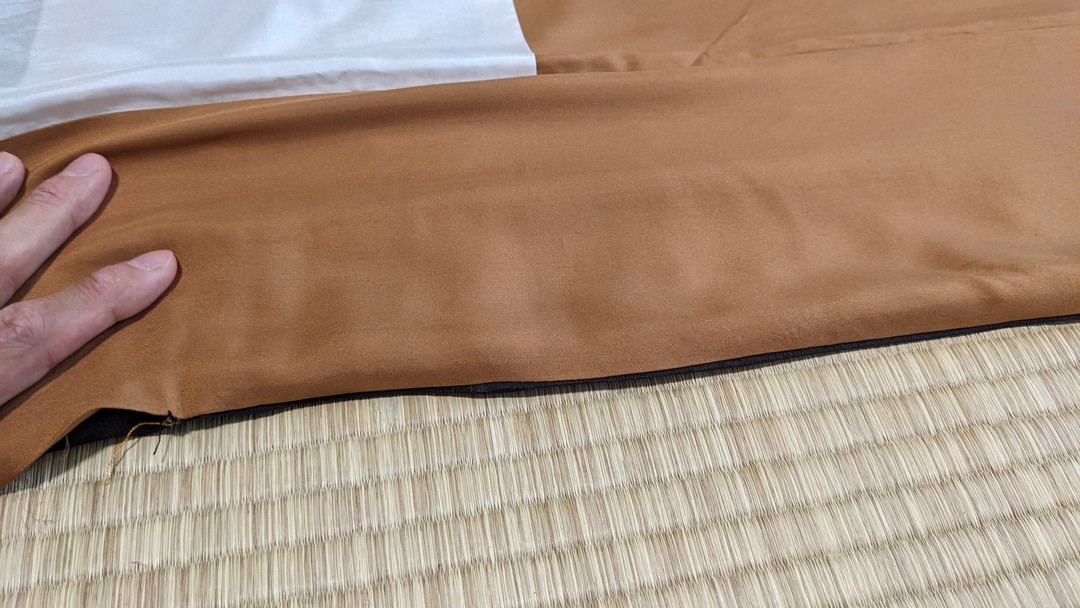
7. Align the okumi hem with outer sides facing out, and pin.
Let the lining extend 3 mm longer as a hem fold than the outer fabric.
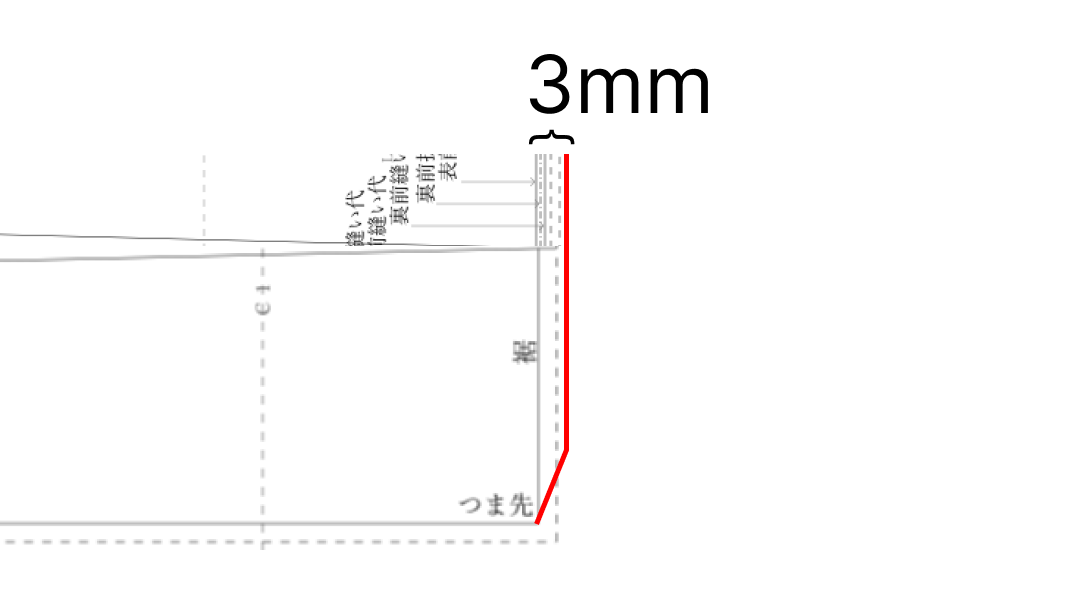
At the toe, align outer and lining fabric (pinch together).
Within about 2 cm of the toe, gradually narrow the hem fold.
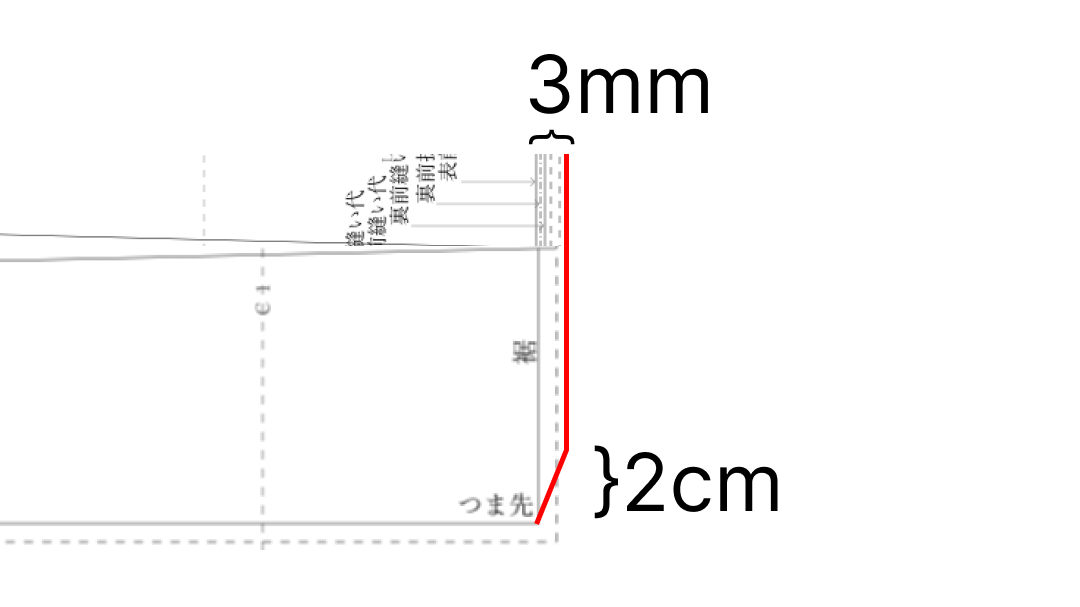
Match the toe fold line on outer and lining, and pin.
At 2 cm from the toe, pin with a 3 mm hem fold.
Pin in between with a 3 mm hem fold as well.
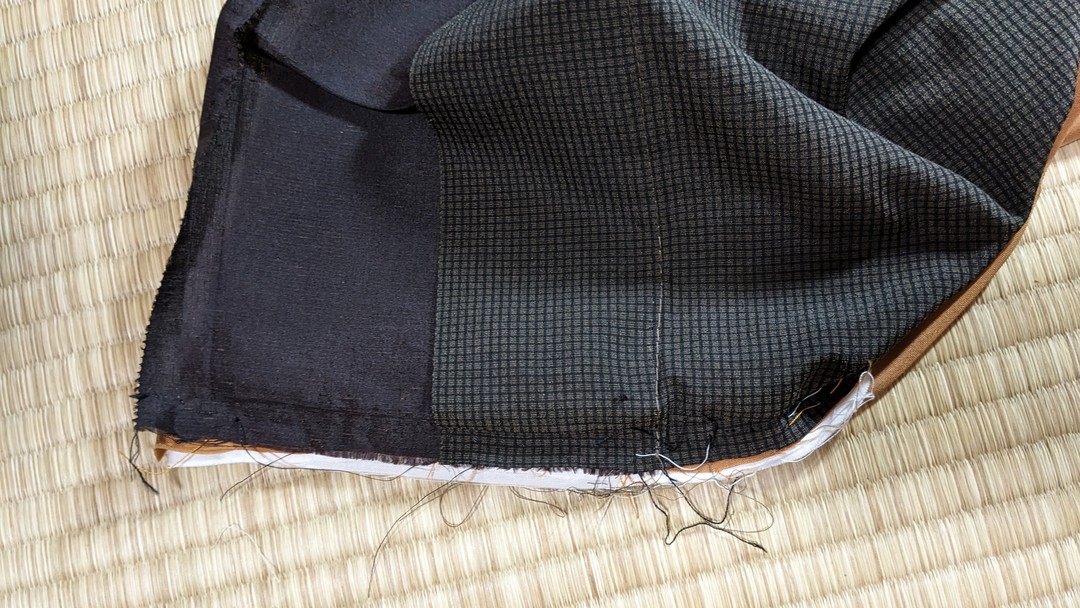
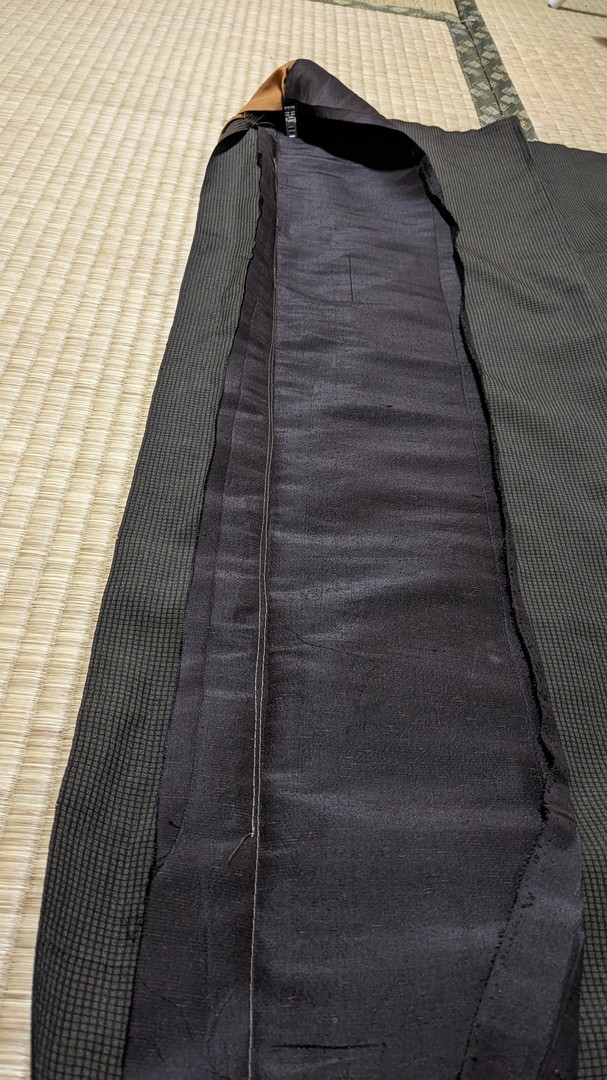
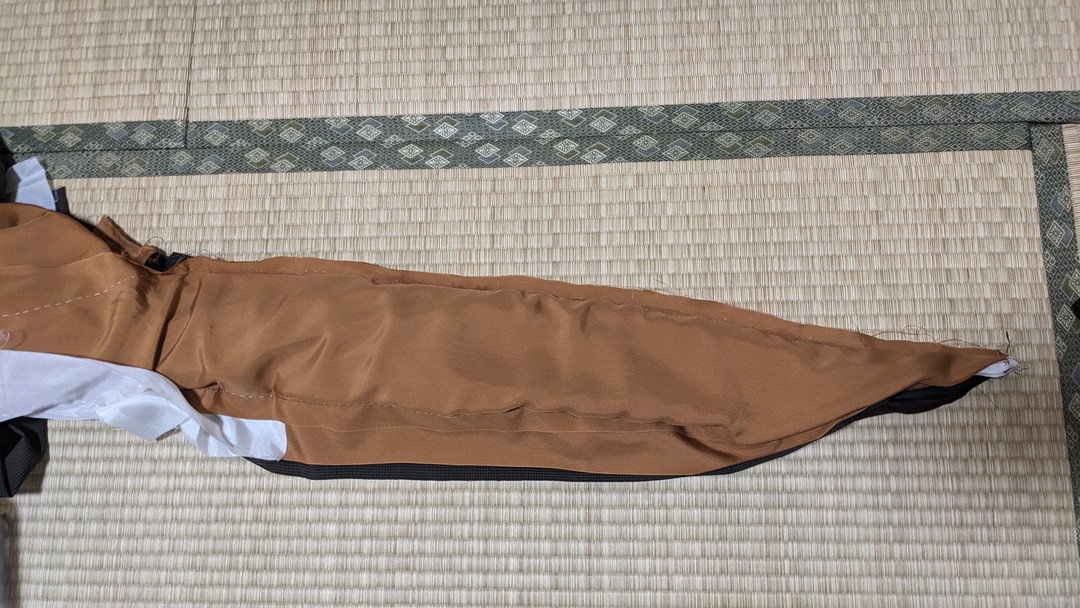
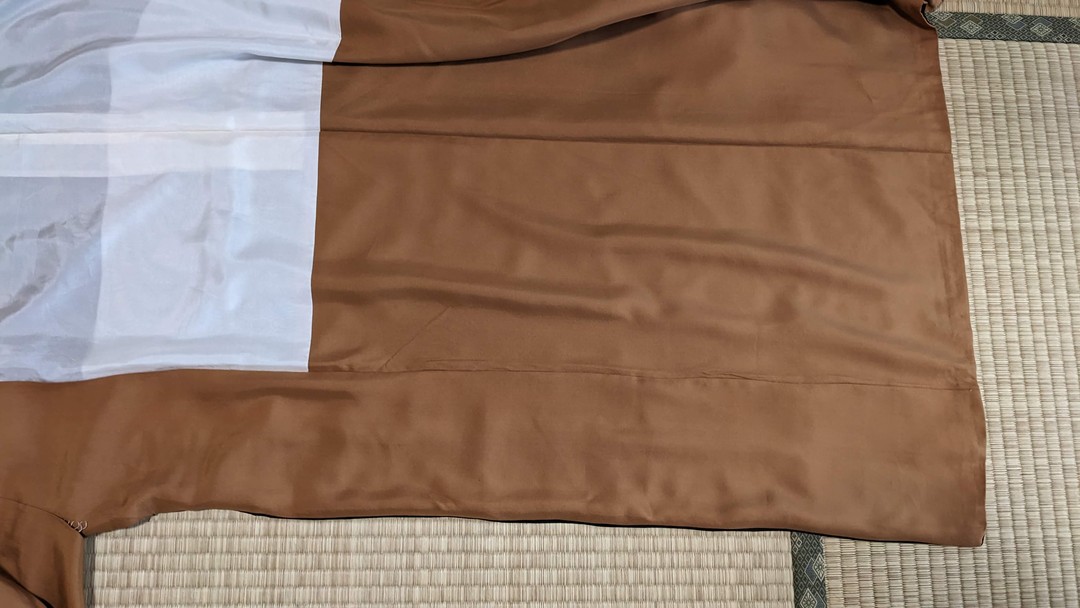
8. Turn the okumi hem inside out,
and pin only the seam allowances of outer and lining and the hem interfacing.
Remove the basting pins on the right side.
Straighten the hem interfacing and seam allowances.
9. From the outer fabric, sew the hem 4 mm below the fold line.
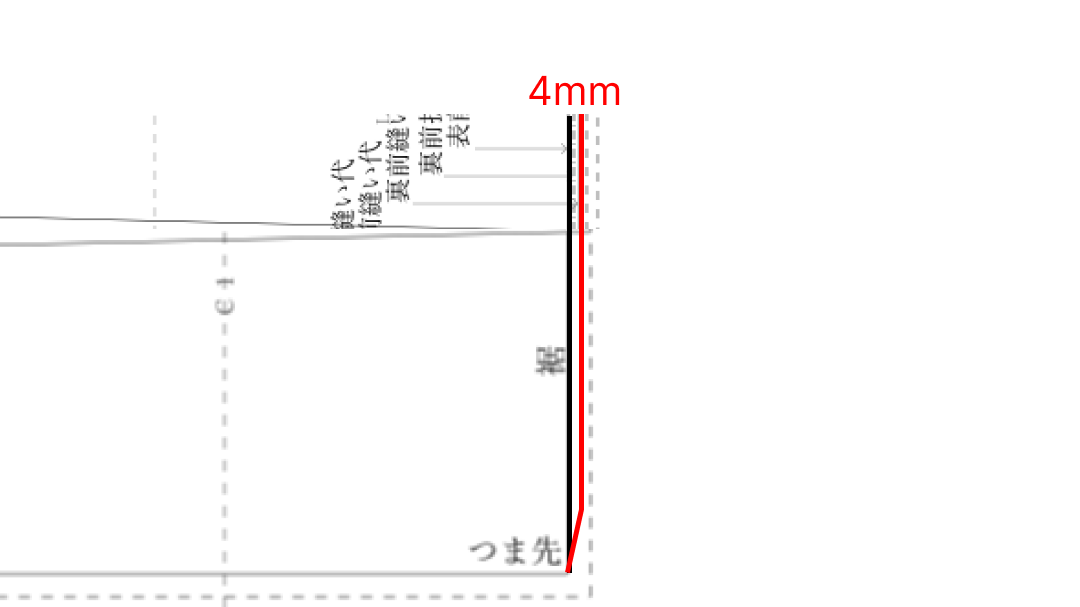
Measure 4 mm from the outer fabric fold.
There, continuing from the existing seam,
hand-sew the seam allowances of outer and lining and the hem interfacing with a running stitch.
Sew parallel, 4 mm from the outer fabric fold.
You may sew one stitch at a time.
From 2 cm before the toe, sew toward the fold line at the toe.
When finished sewing, pull the threads to secure.
Inside out
Outer side out
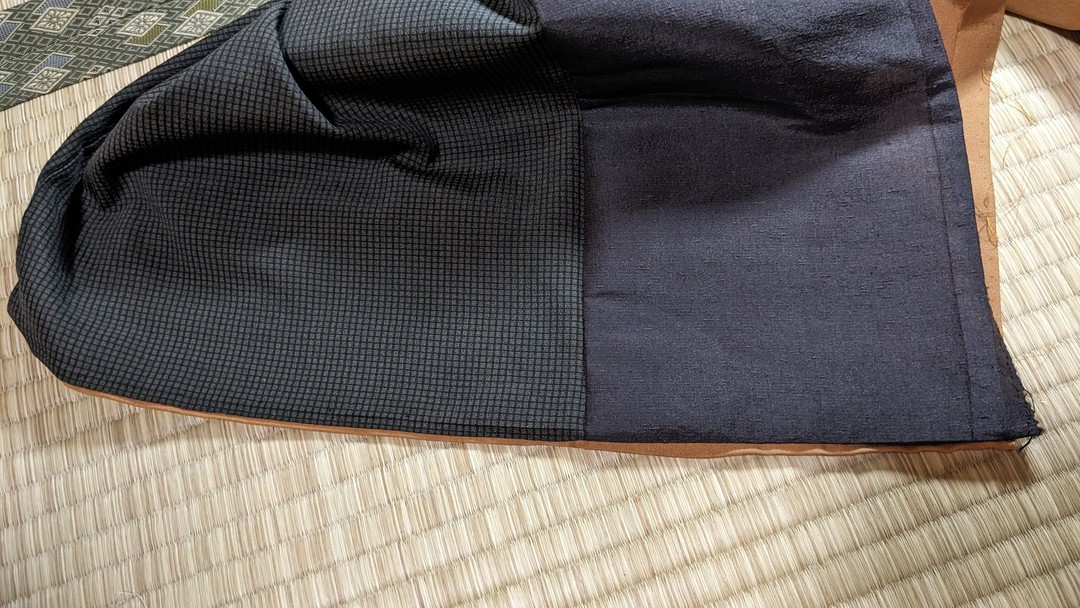
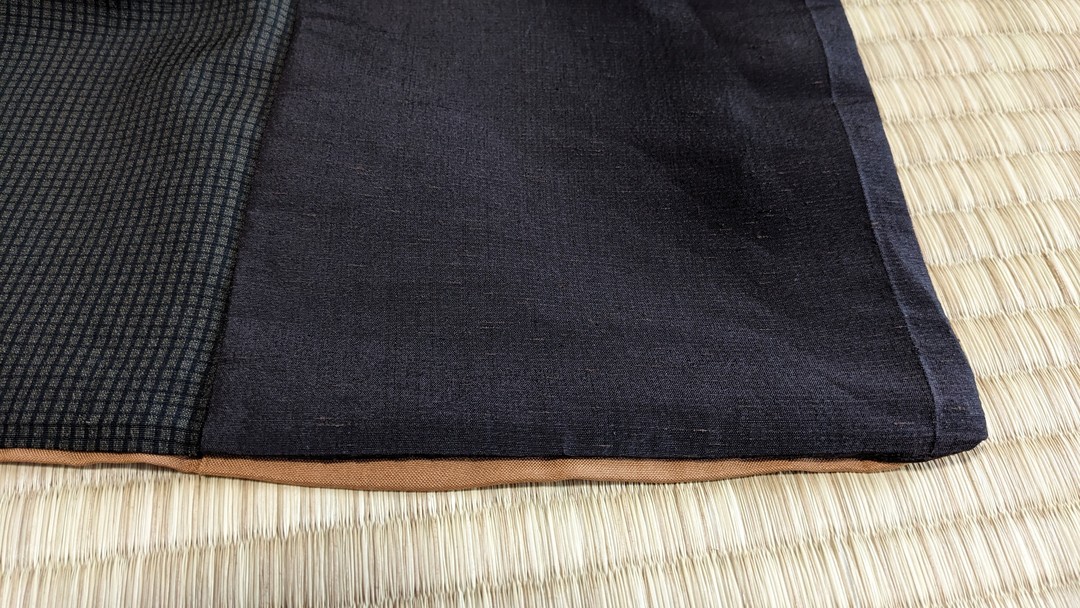
10. Press the okumi attachment seam allowances of outer and lining toward the okumi side.
Fold the right okumi with the outer side out and straighten the fabric.
At the collar attachment stop mark on the outer fabric, mark the lining too.

Pin at the mark on the outer fabric, straighten the fabric,
pin the lining at the same position, and mark with chalk.
11. Sew the okumi attachment seam allowances together. (Fell stitch)
Align the okumi attachment seams of outer and lining, and pin.
Pin from about 8 cm up from the hem to the collar attachment stop height.
Pin at the midpoint in between,
and repeat halving until basting pins are about 5 cm apart.
Sew the pinned area parallel, 2 mm from the seam. (Fell stitch)
Stitch length is 5 mm.
When finished sewing, pull the threads to secure.
12. Turn the under collar inside out, wrap in the right front and right back body panels,
and at the collar attachment stop, match outer and lining to the marks,
and pin. (Pinch together)
13. Overlap the under-collar fold lines of outer and lining.
Pin at the midpoint of the under collar.
Set the lining back 2 mm (so it won’t show from the front),
so place the lining fold 2 mm toward the fabric edge from the outer fold line.
Repeat halving until basting pins are about 5 cm apart.
Where the lining is set back 2 mm.
Within about 2 cm of the toe and collar attachment stop, gradually ease off the 2 mm offset.
Pin at 2 cm from the toe with a 2 mm offset.
At the collar attachment stop too, pin at 2 cm from the toe with a 2 mm offset.
14. From the hem, with the lining on top, machine-stitch the lining fold line.
Stitch length is 5 mm.
When finished sewing, pull the threads to secure.
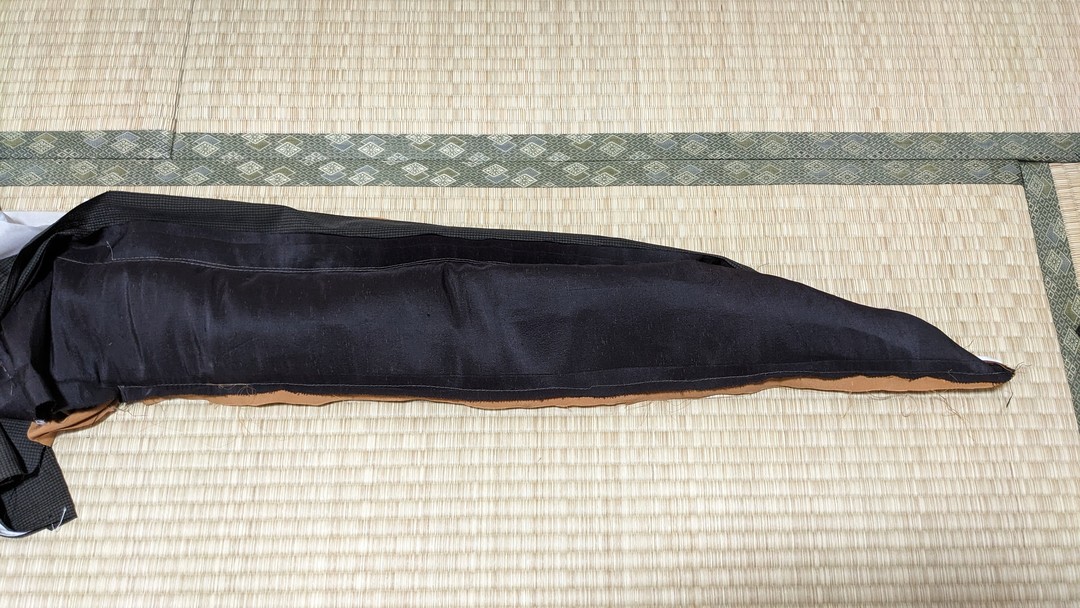
15. Fold the toe at a right angle to the seam and clip.
Turn the right okumi to the outer side. Remove the clips.
Ease out the toe seam with basting pins so it lies perfectly.
16. Press so the lining is set back 2 mm (the lining sits slightly inside,
so it won’t show from the outside when worn).
Cover with a cloth and press from the lining side.
Do not set back at the collar attachment stop or the toe.
At the okumi attachment too, cover with a cloth and press from the lining side.
Finished

On the Alteration Guide, enter the measurements of the kimono you have,
enter the target gender and size after tailoring,
and the differences are calculated automatically.
What needs alteration and what can be altered are diagnosed automatically.
When you choose what you want to alter, the required patch fabric and where it can be taken from
are calculated automatically, and according to that area,
videos on unpicking, making patch fabric, and resewing
are displayed.